I love the sceince & emotion of photographic compostion. For some, composition comes naturally. But for most (myself included), good photography composition is a learned skill. Just like any learned technique such as the technical side of exposure ( Shutter Speed Aperture, ISO), you can learn and apply composition rules to your photography. It takes awareness, practice and real effort to create an engaging photograph.
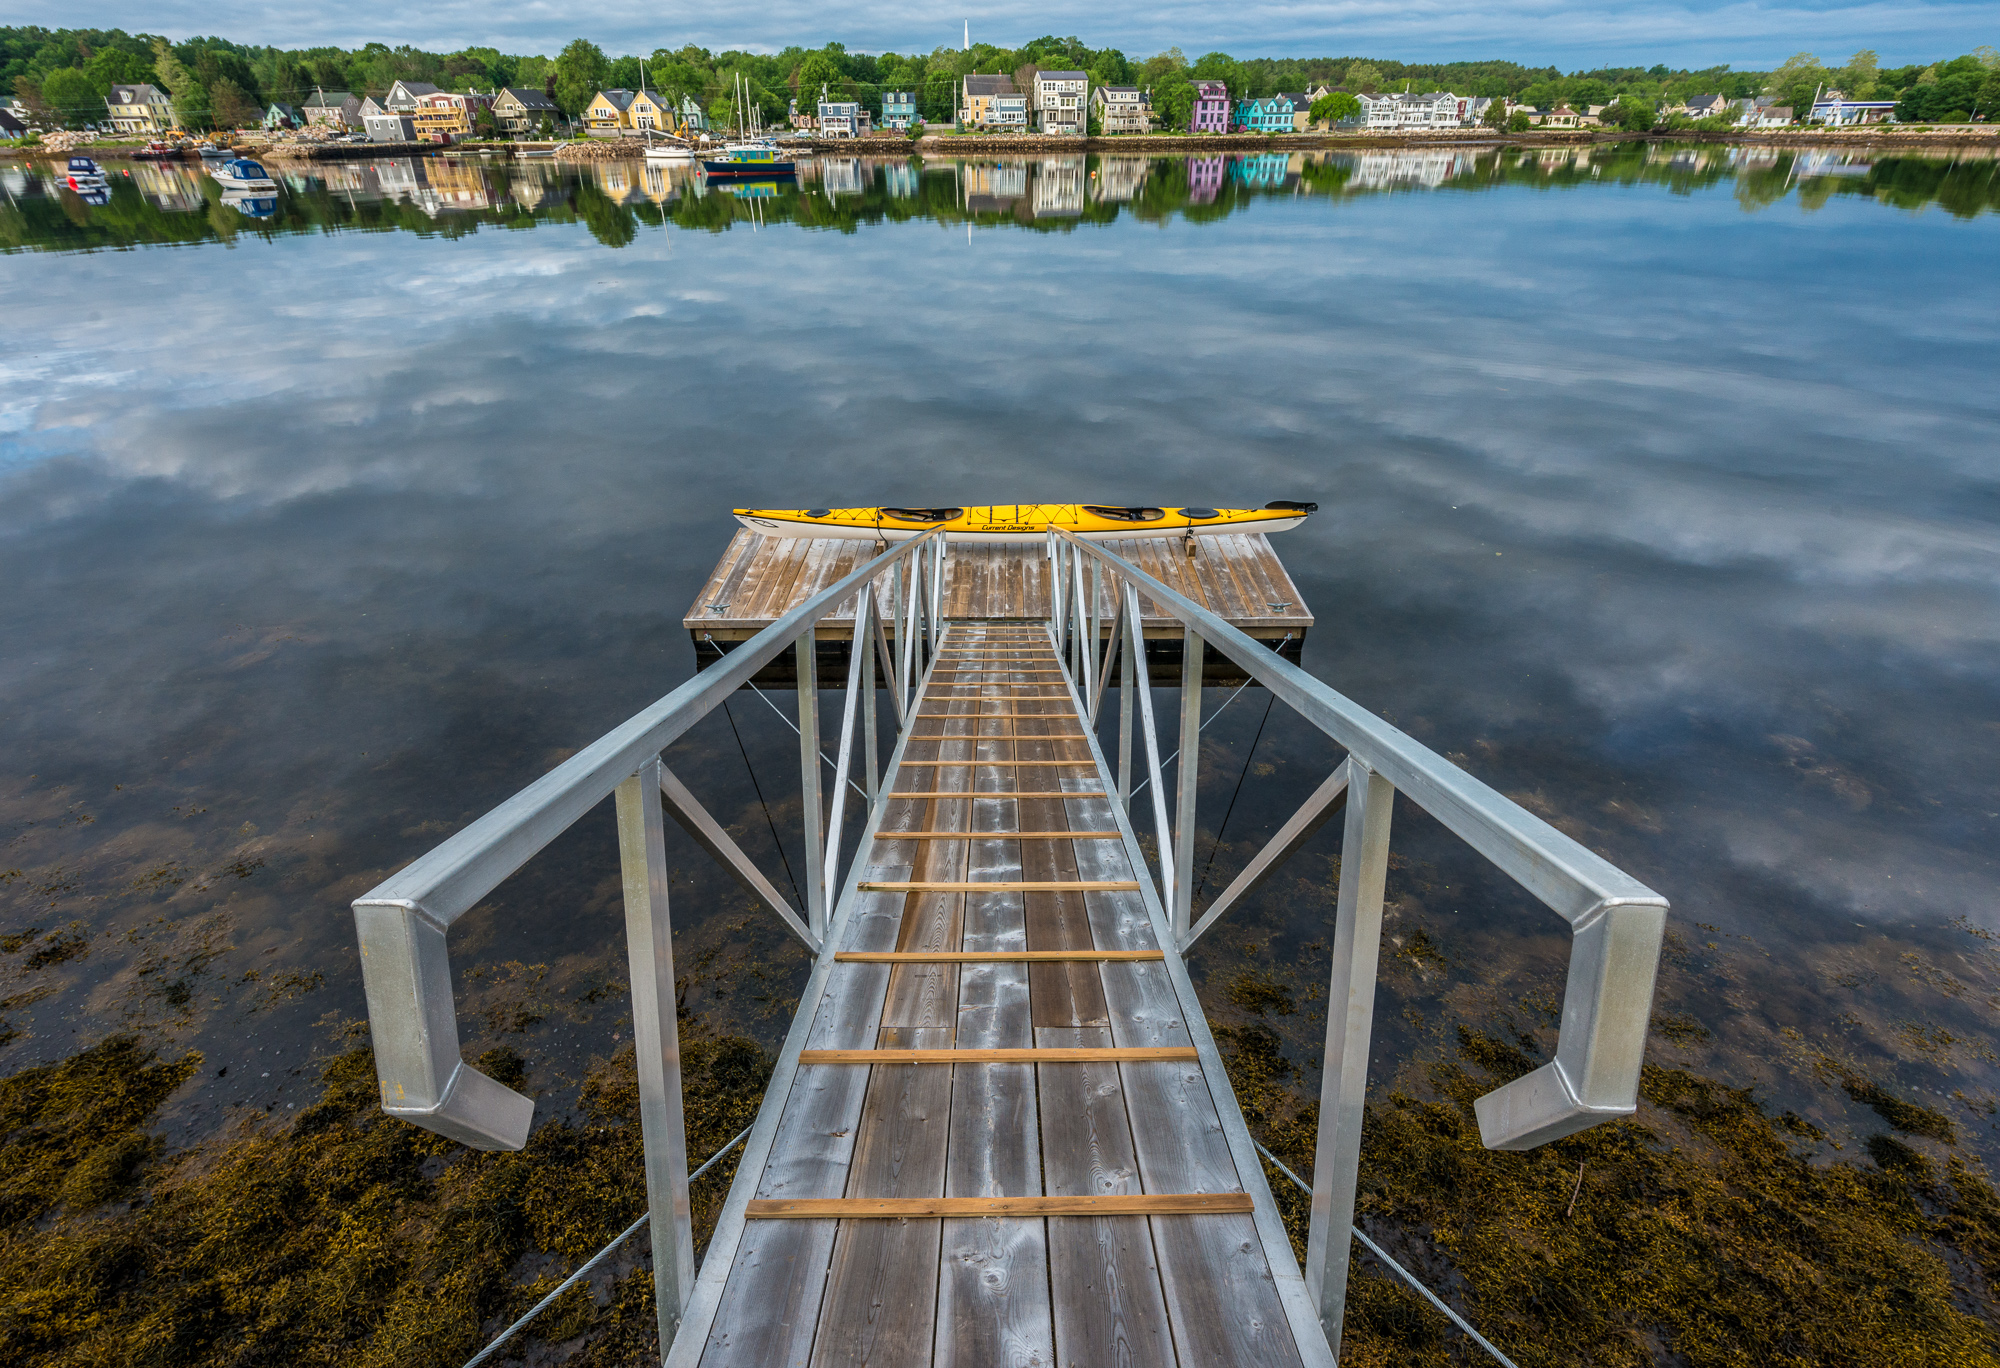
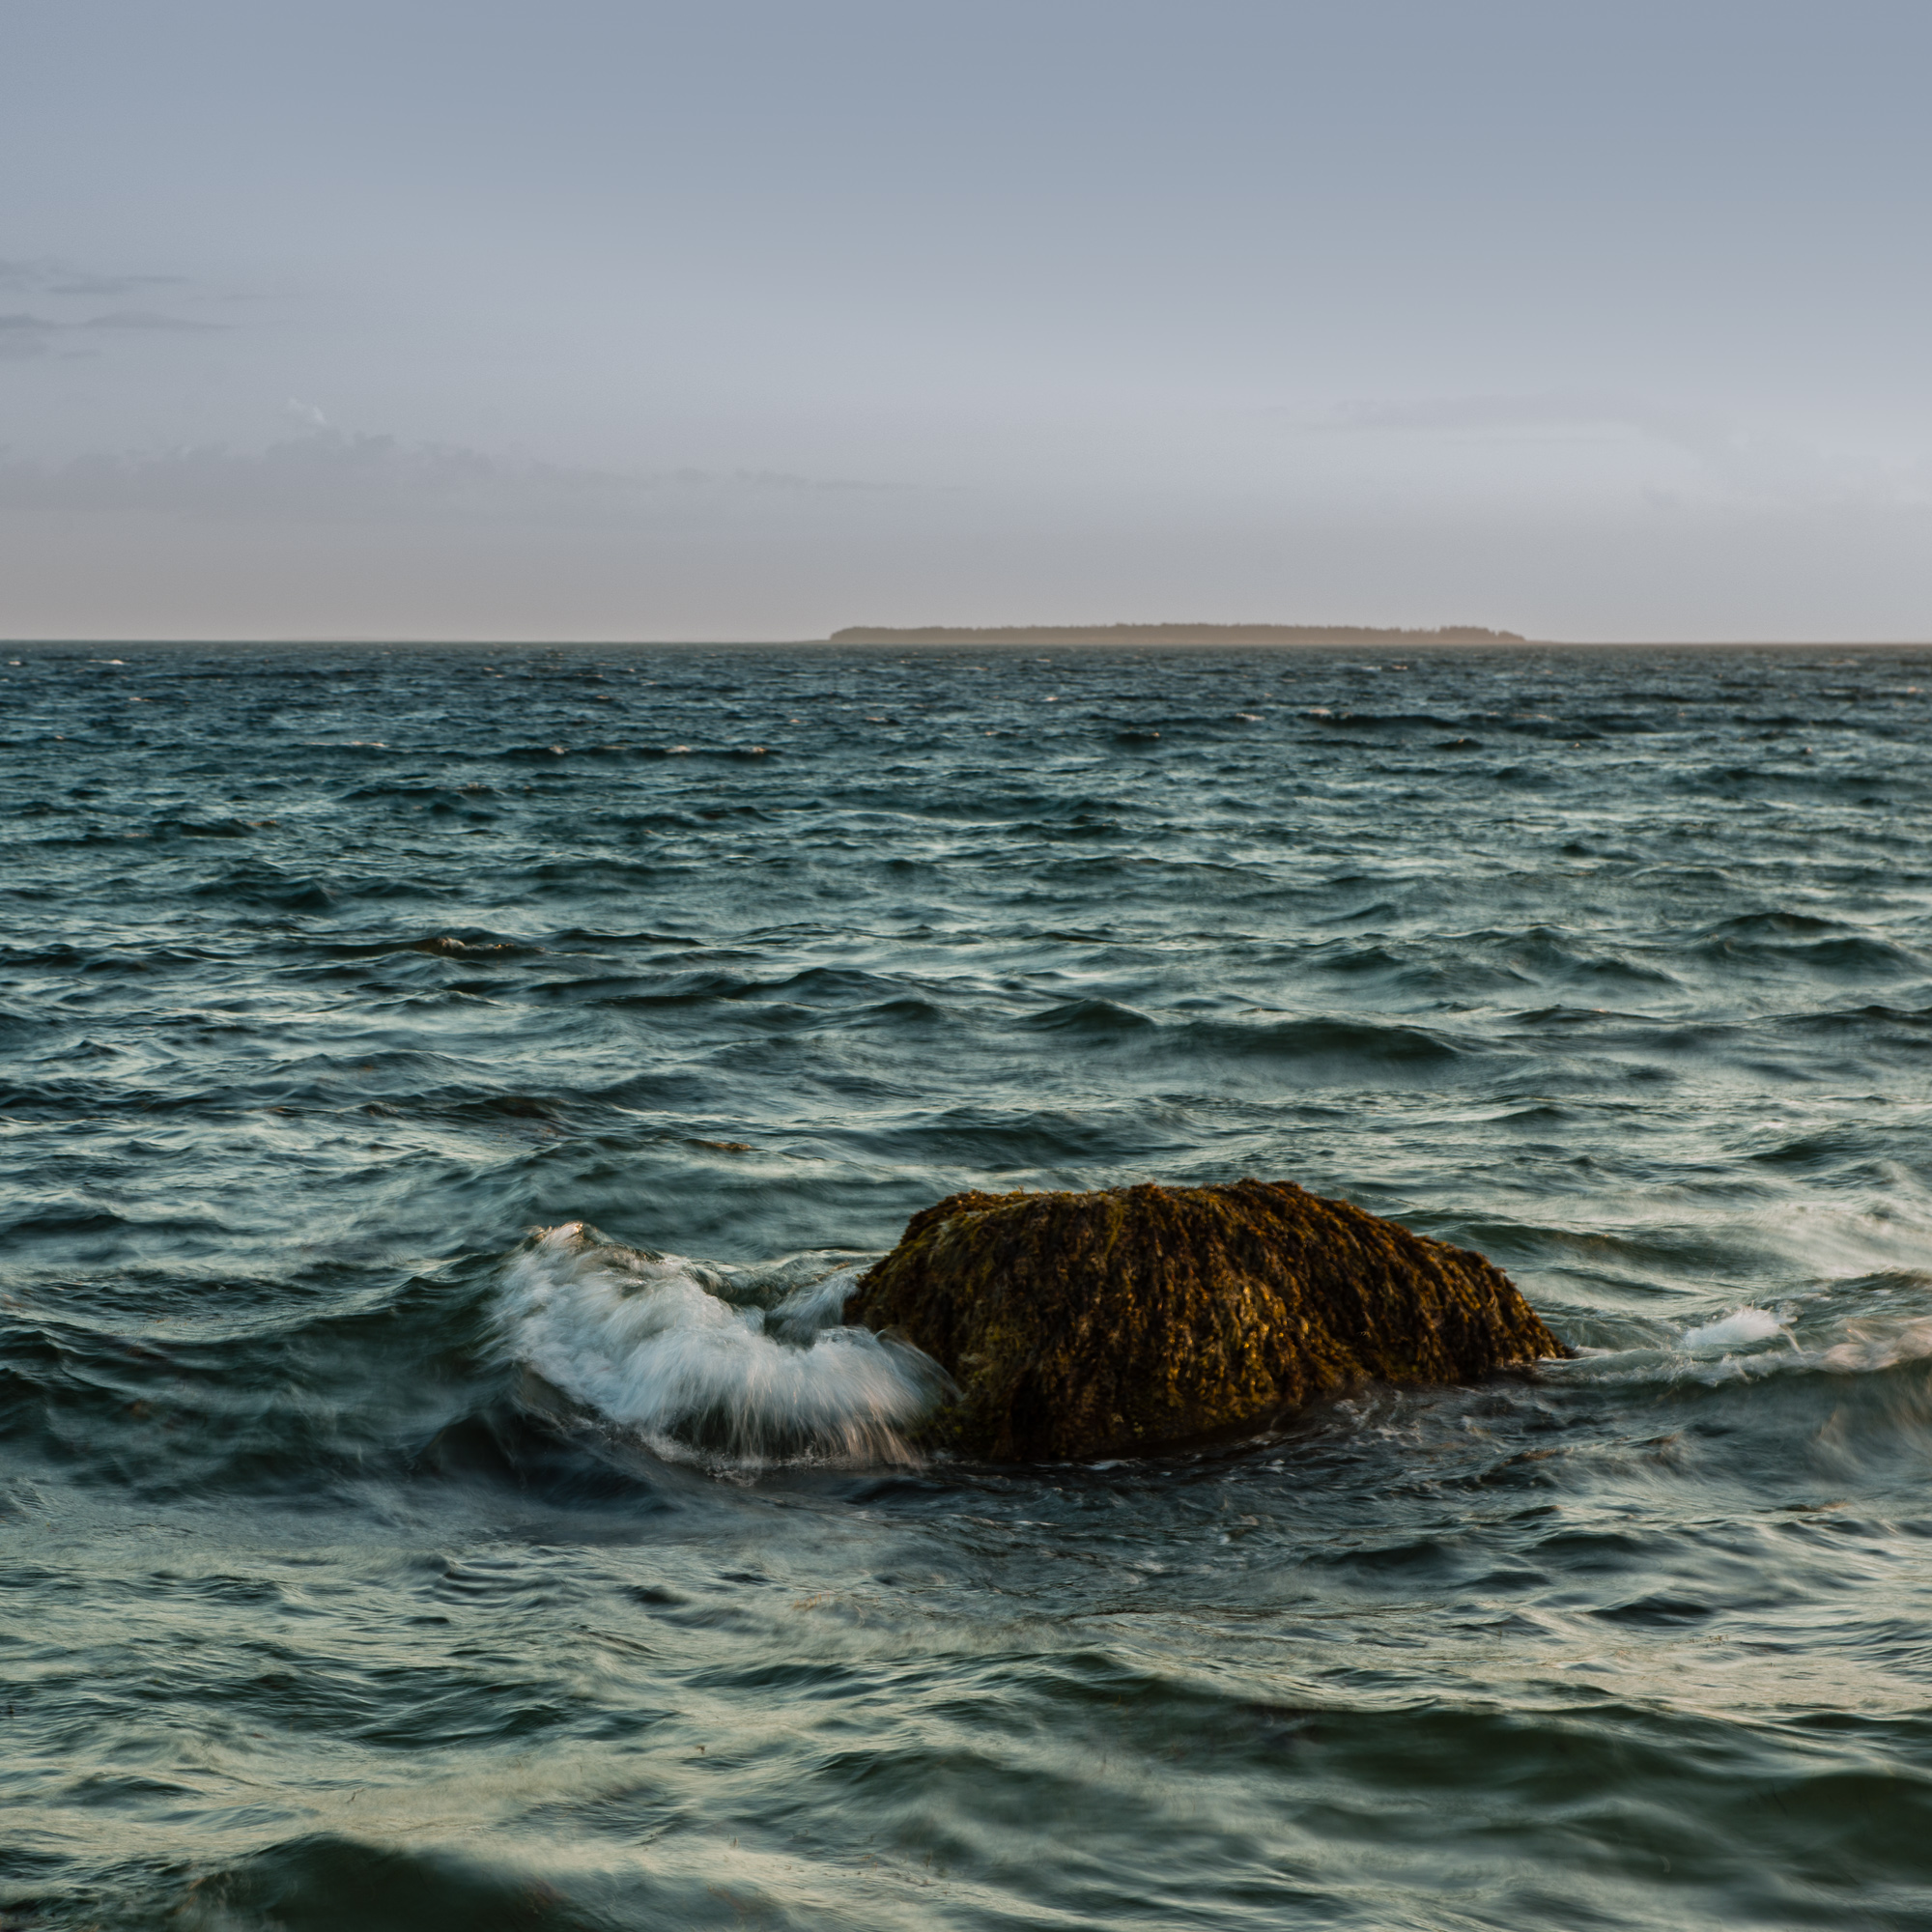
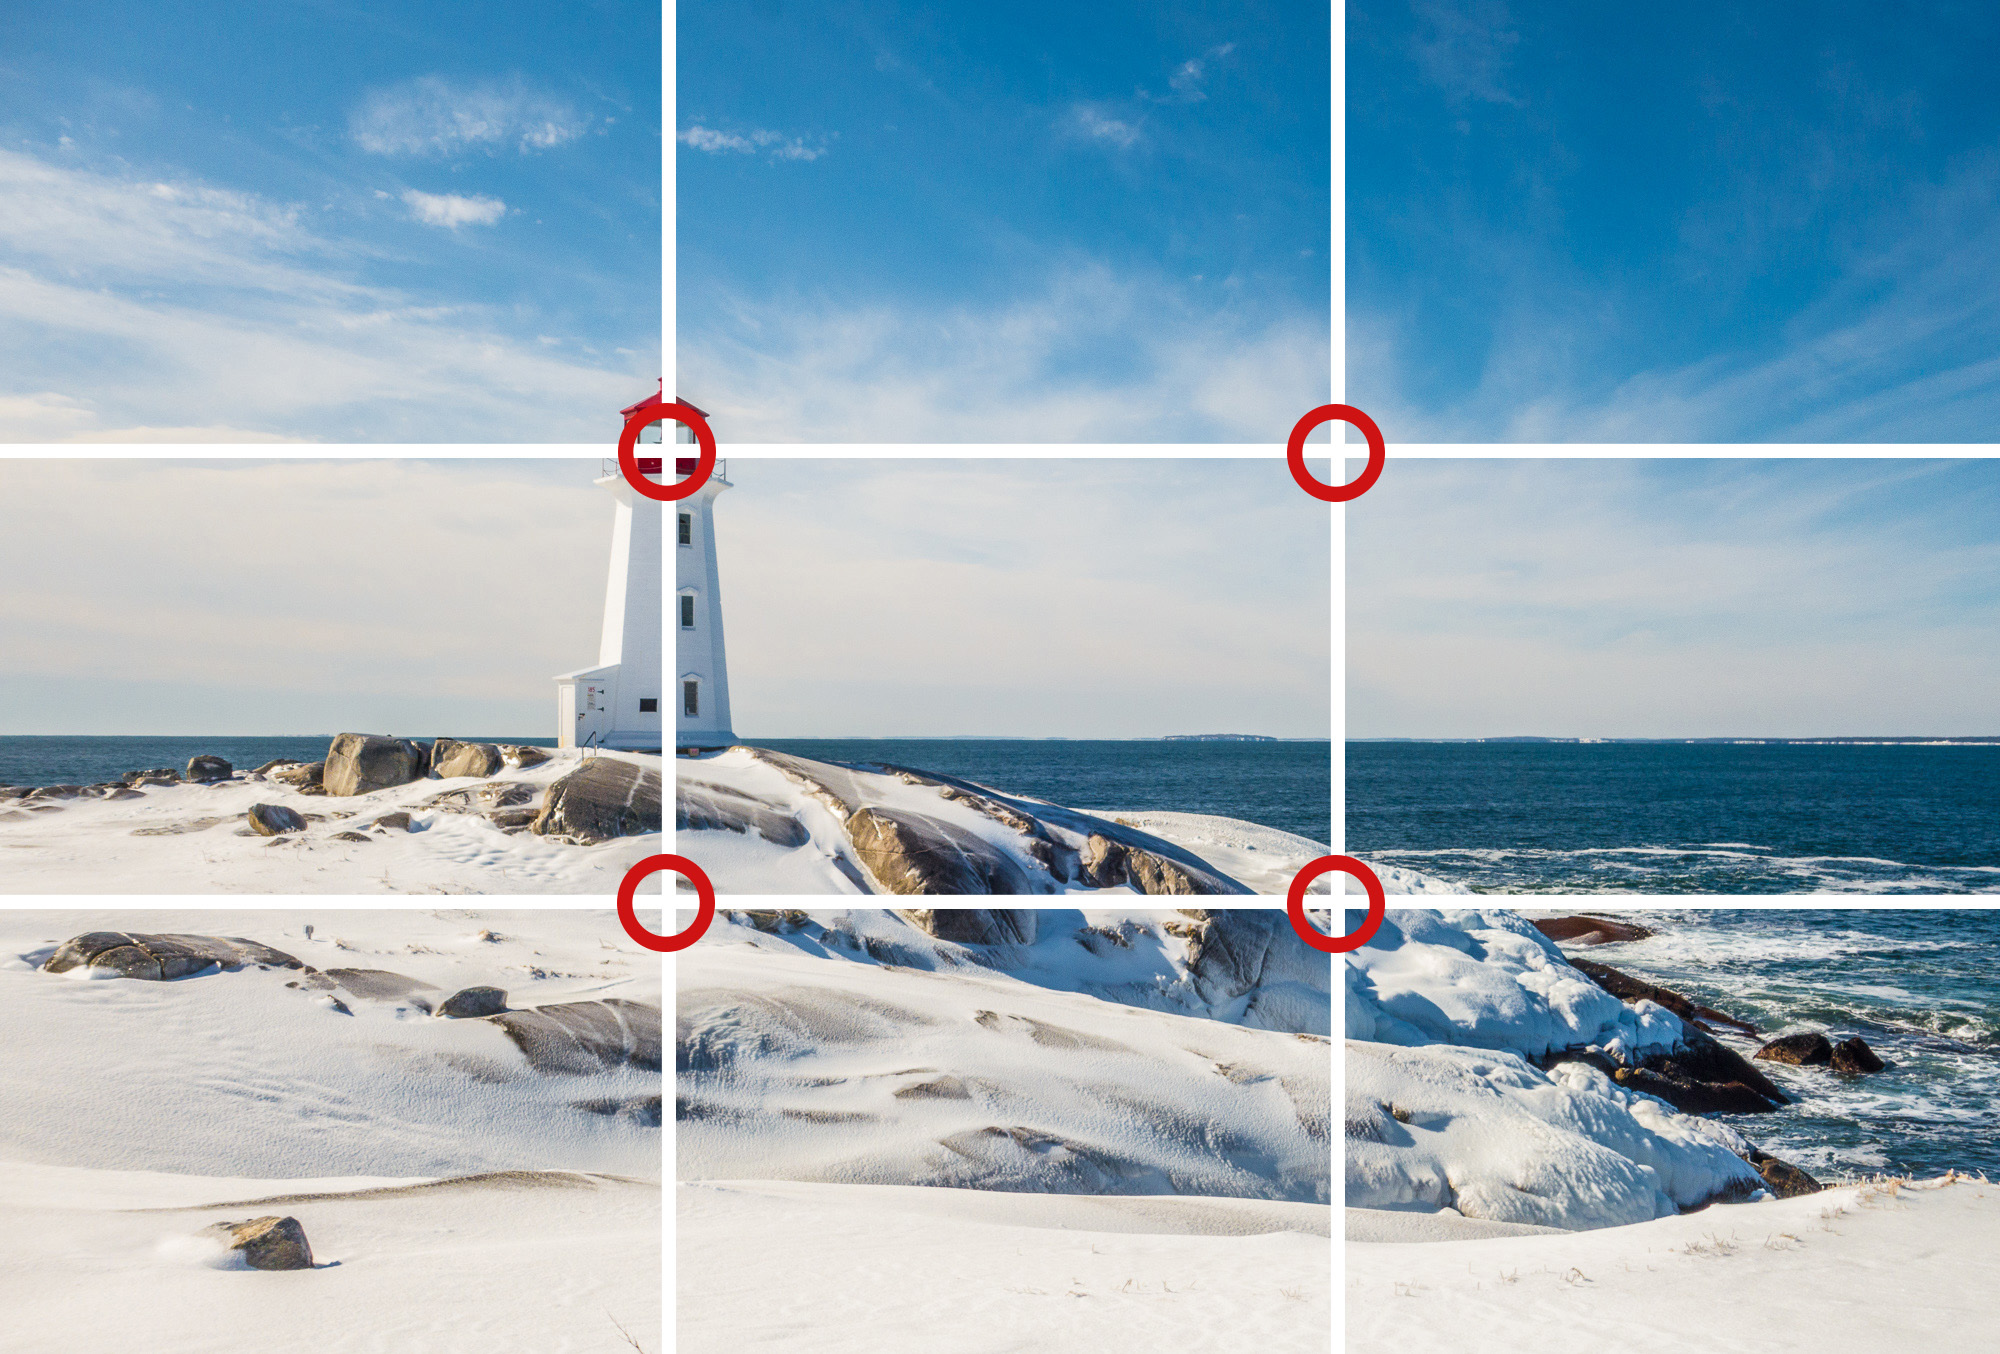
Rule of Thrids - Peggy's cove, Nova Scotia
When you apply good composition to your photography you create visual interest in your photos. It helps to lead the viewer through your image and adds to telling the story you want to express.
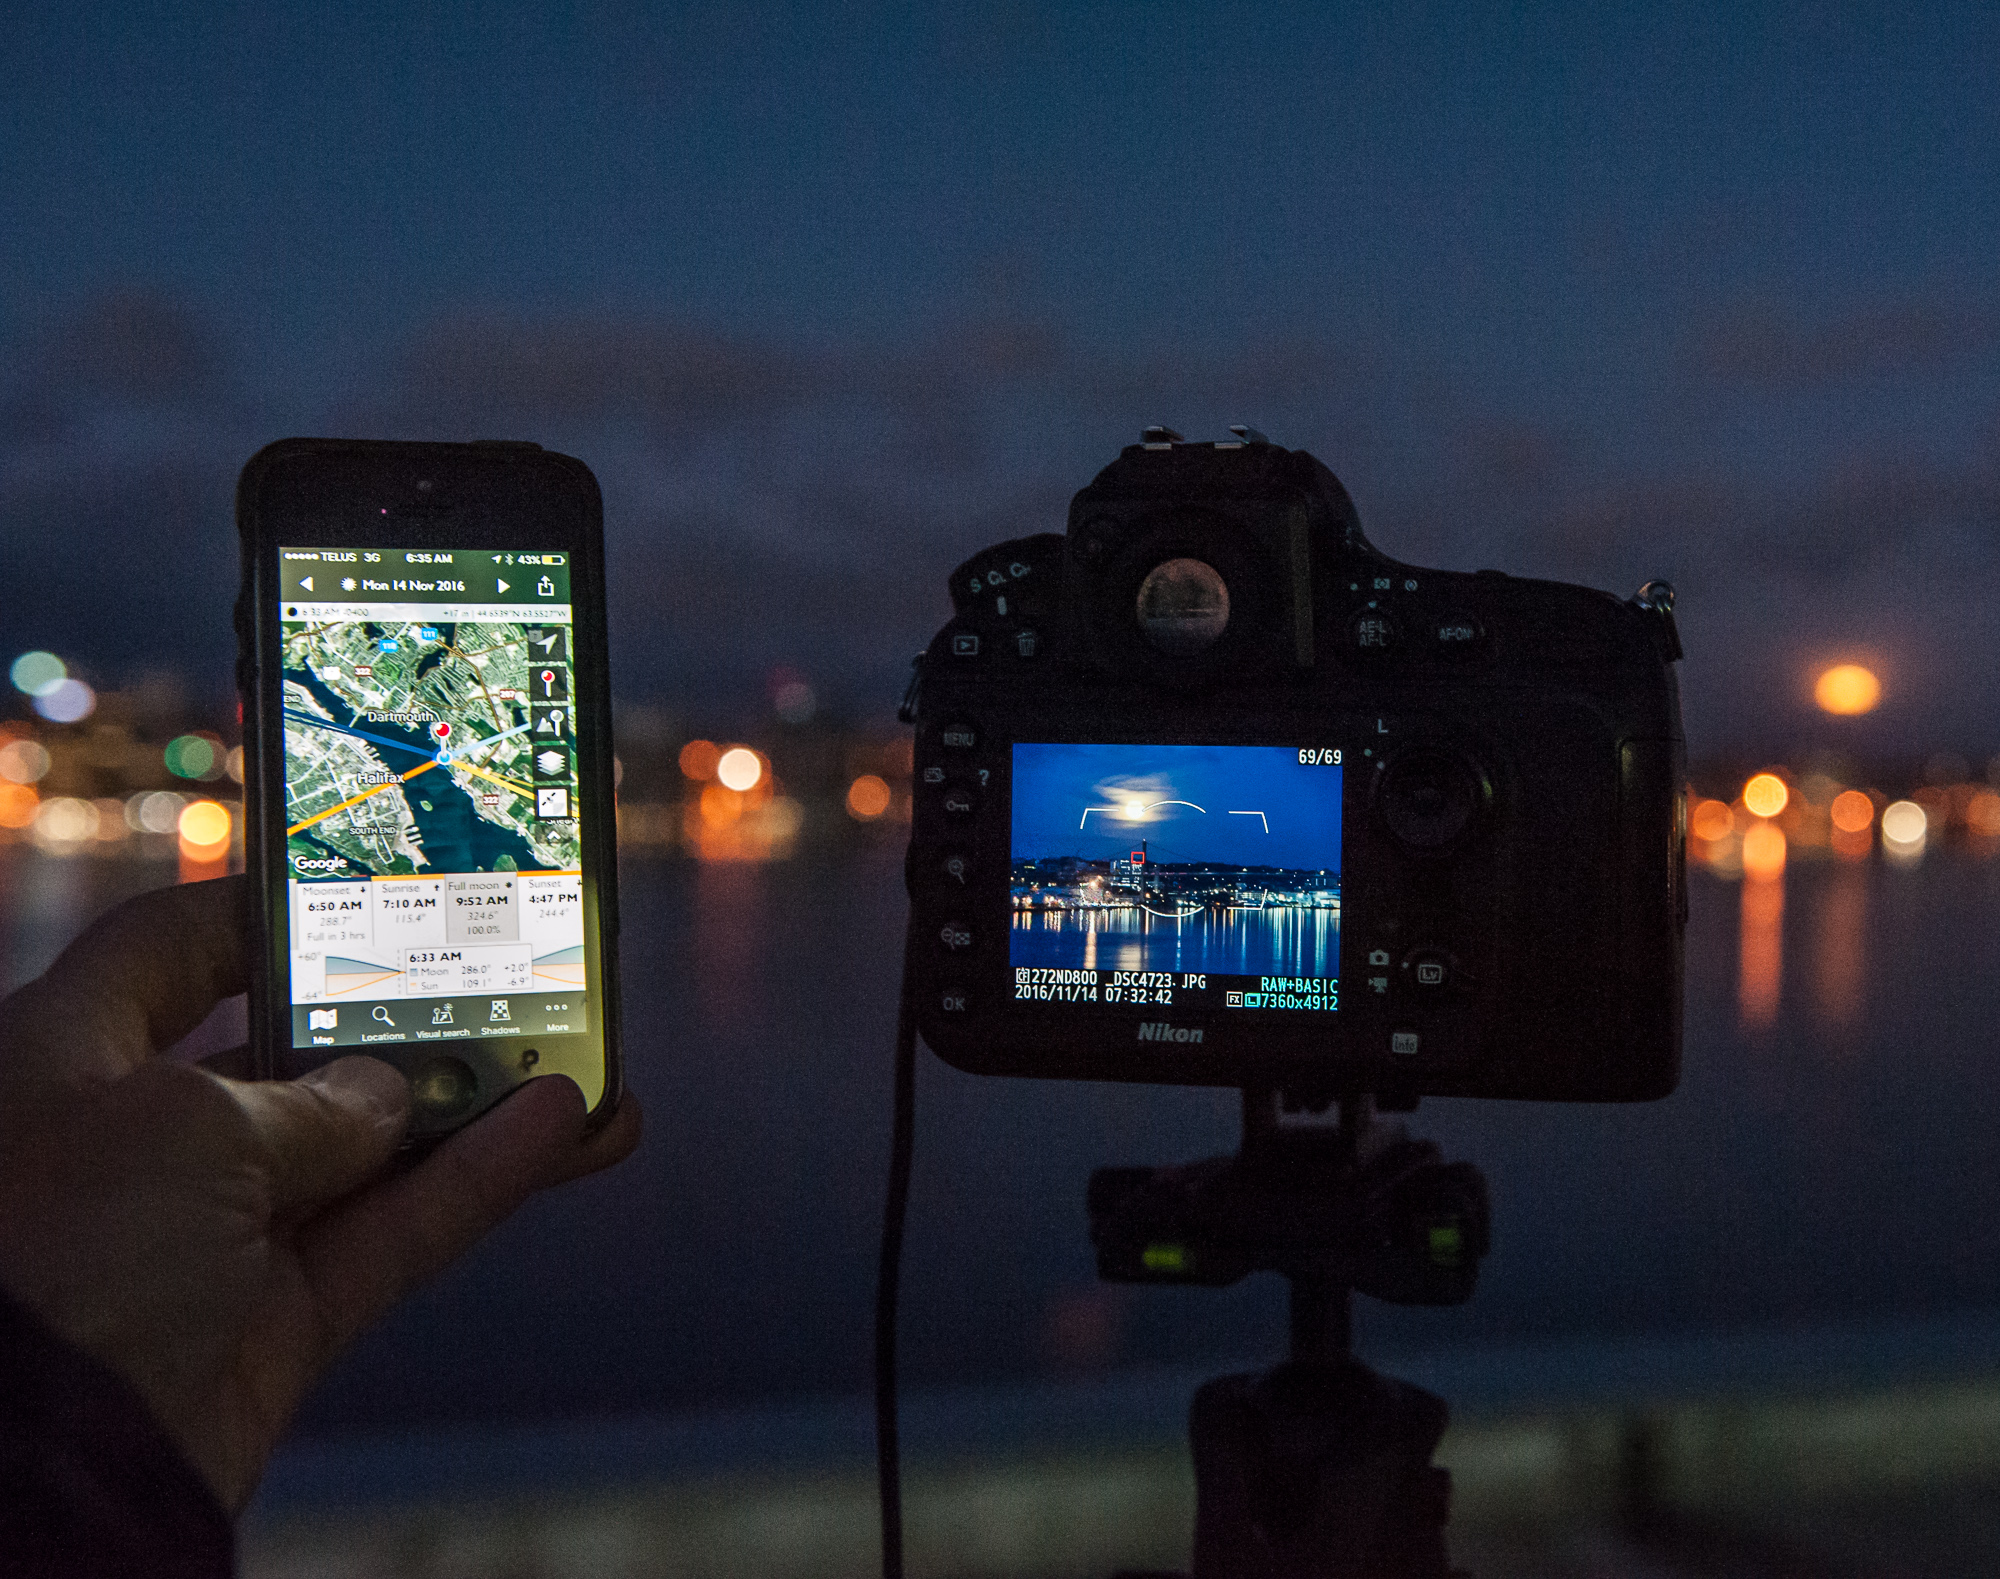
Remember, as a photographer you have complete control of every visual element in the frame of your camera; what you shoot, time of day, distance to subject, camera settings, camera type and of course composition.
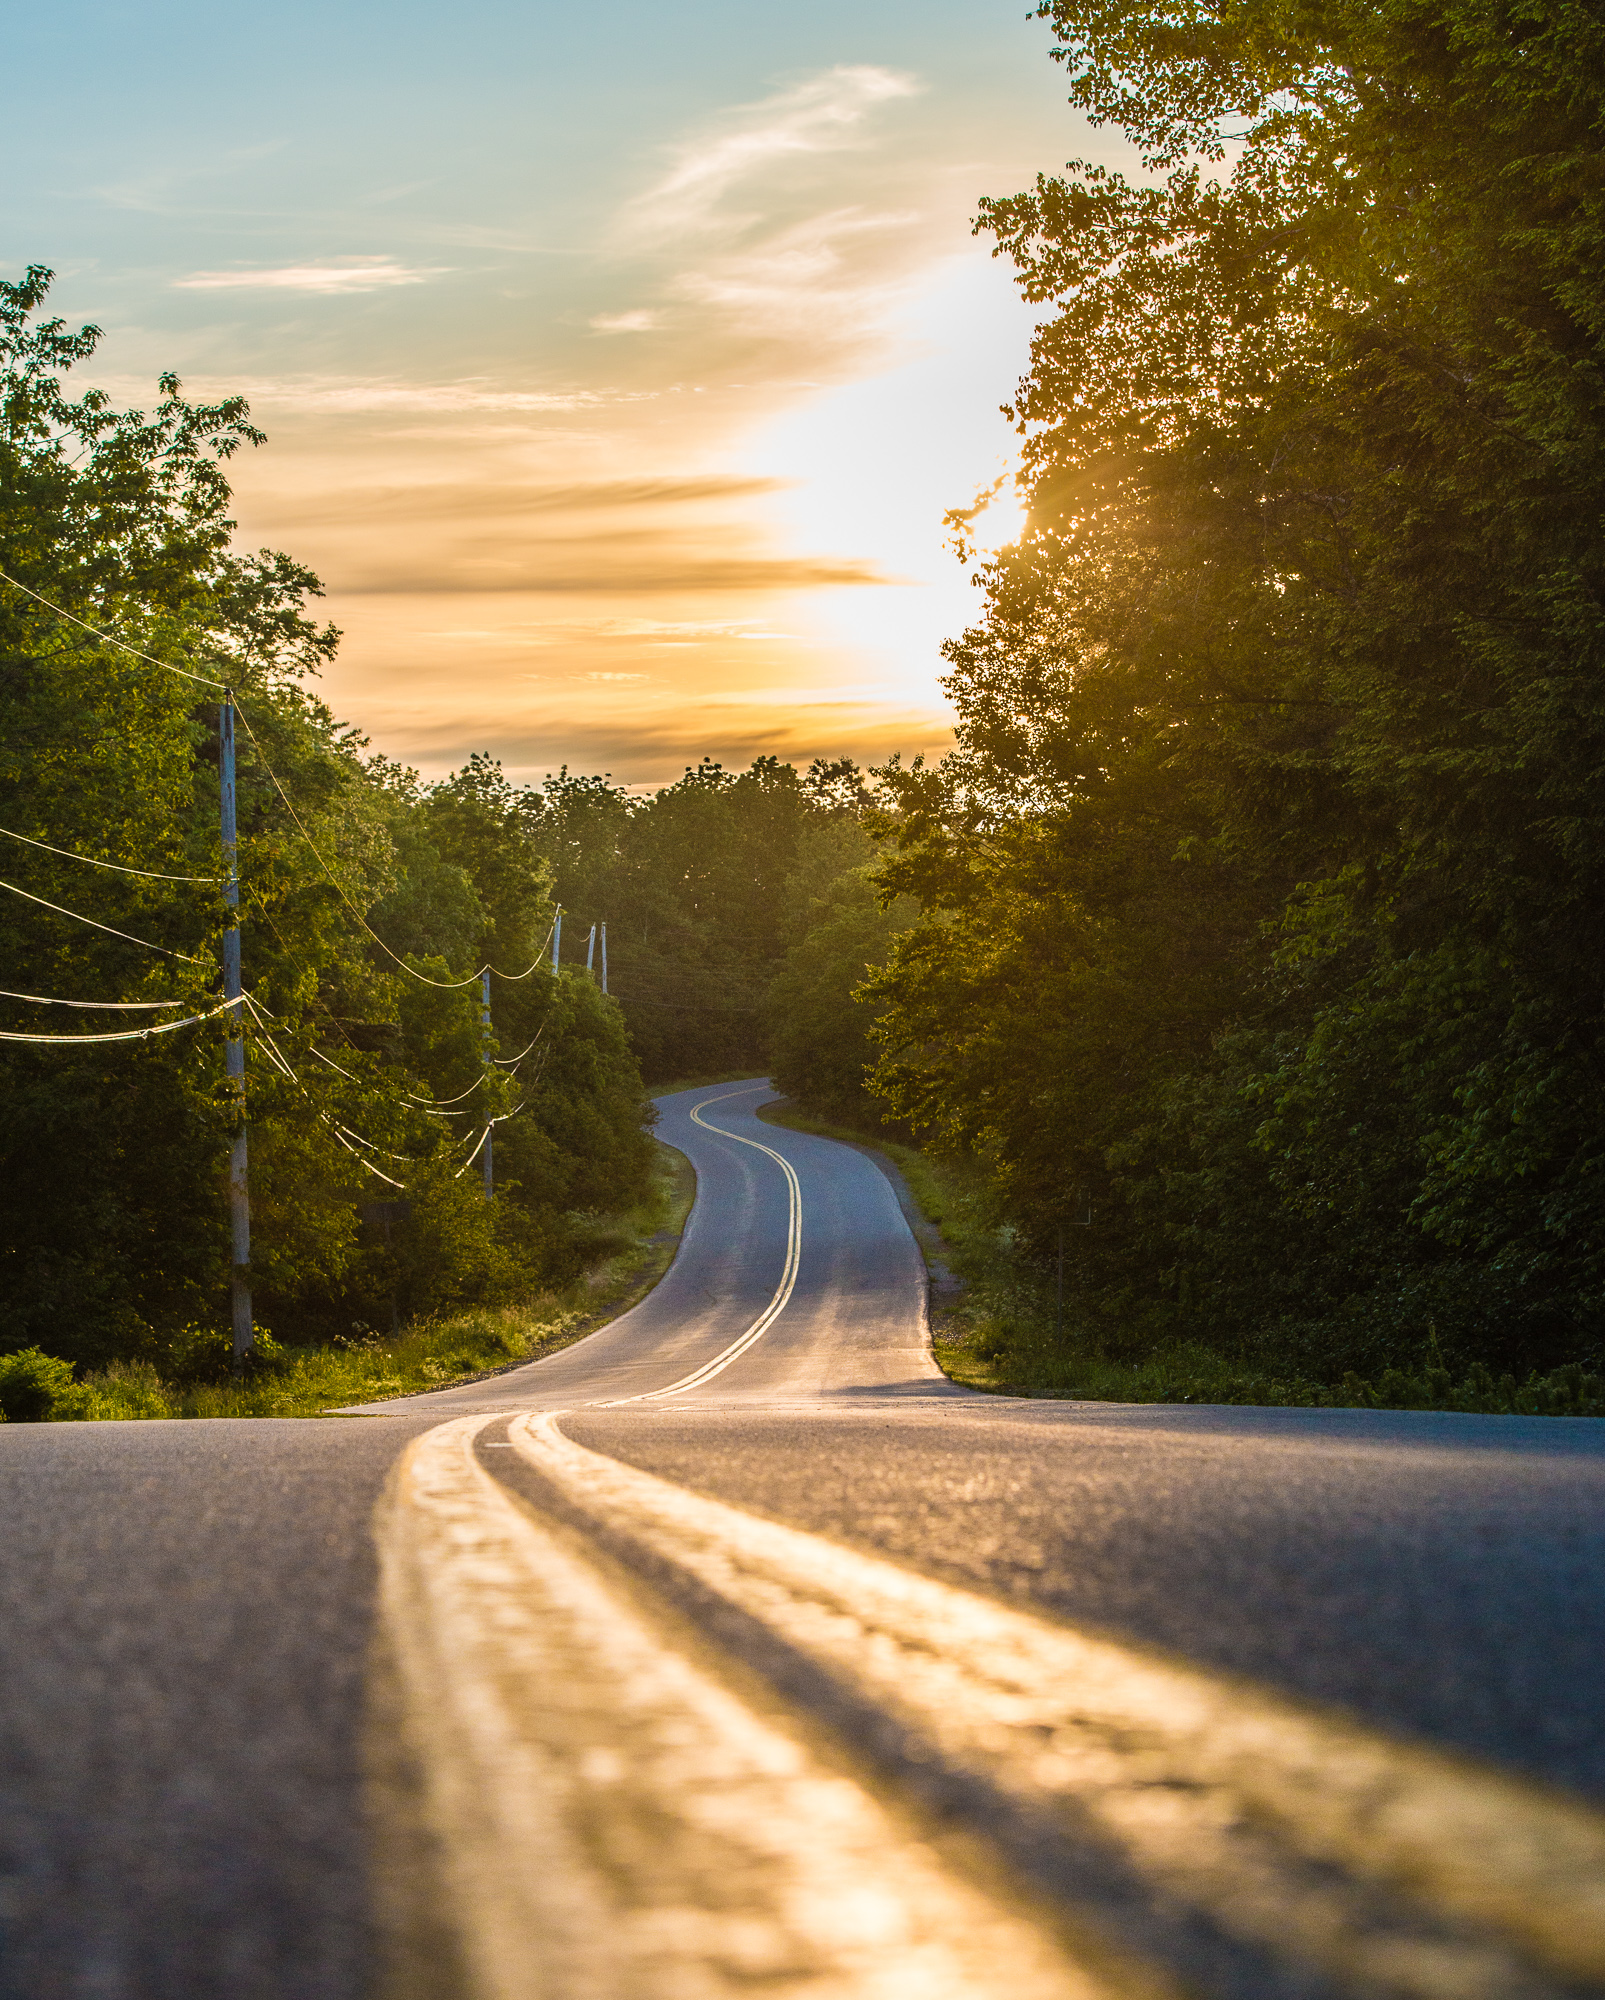
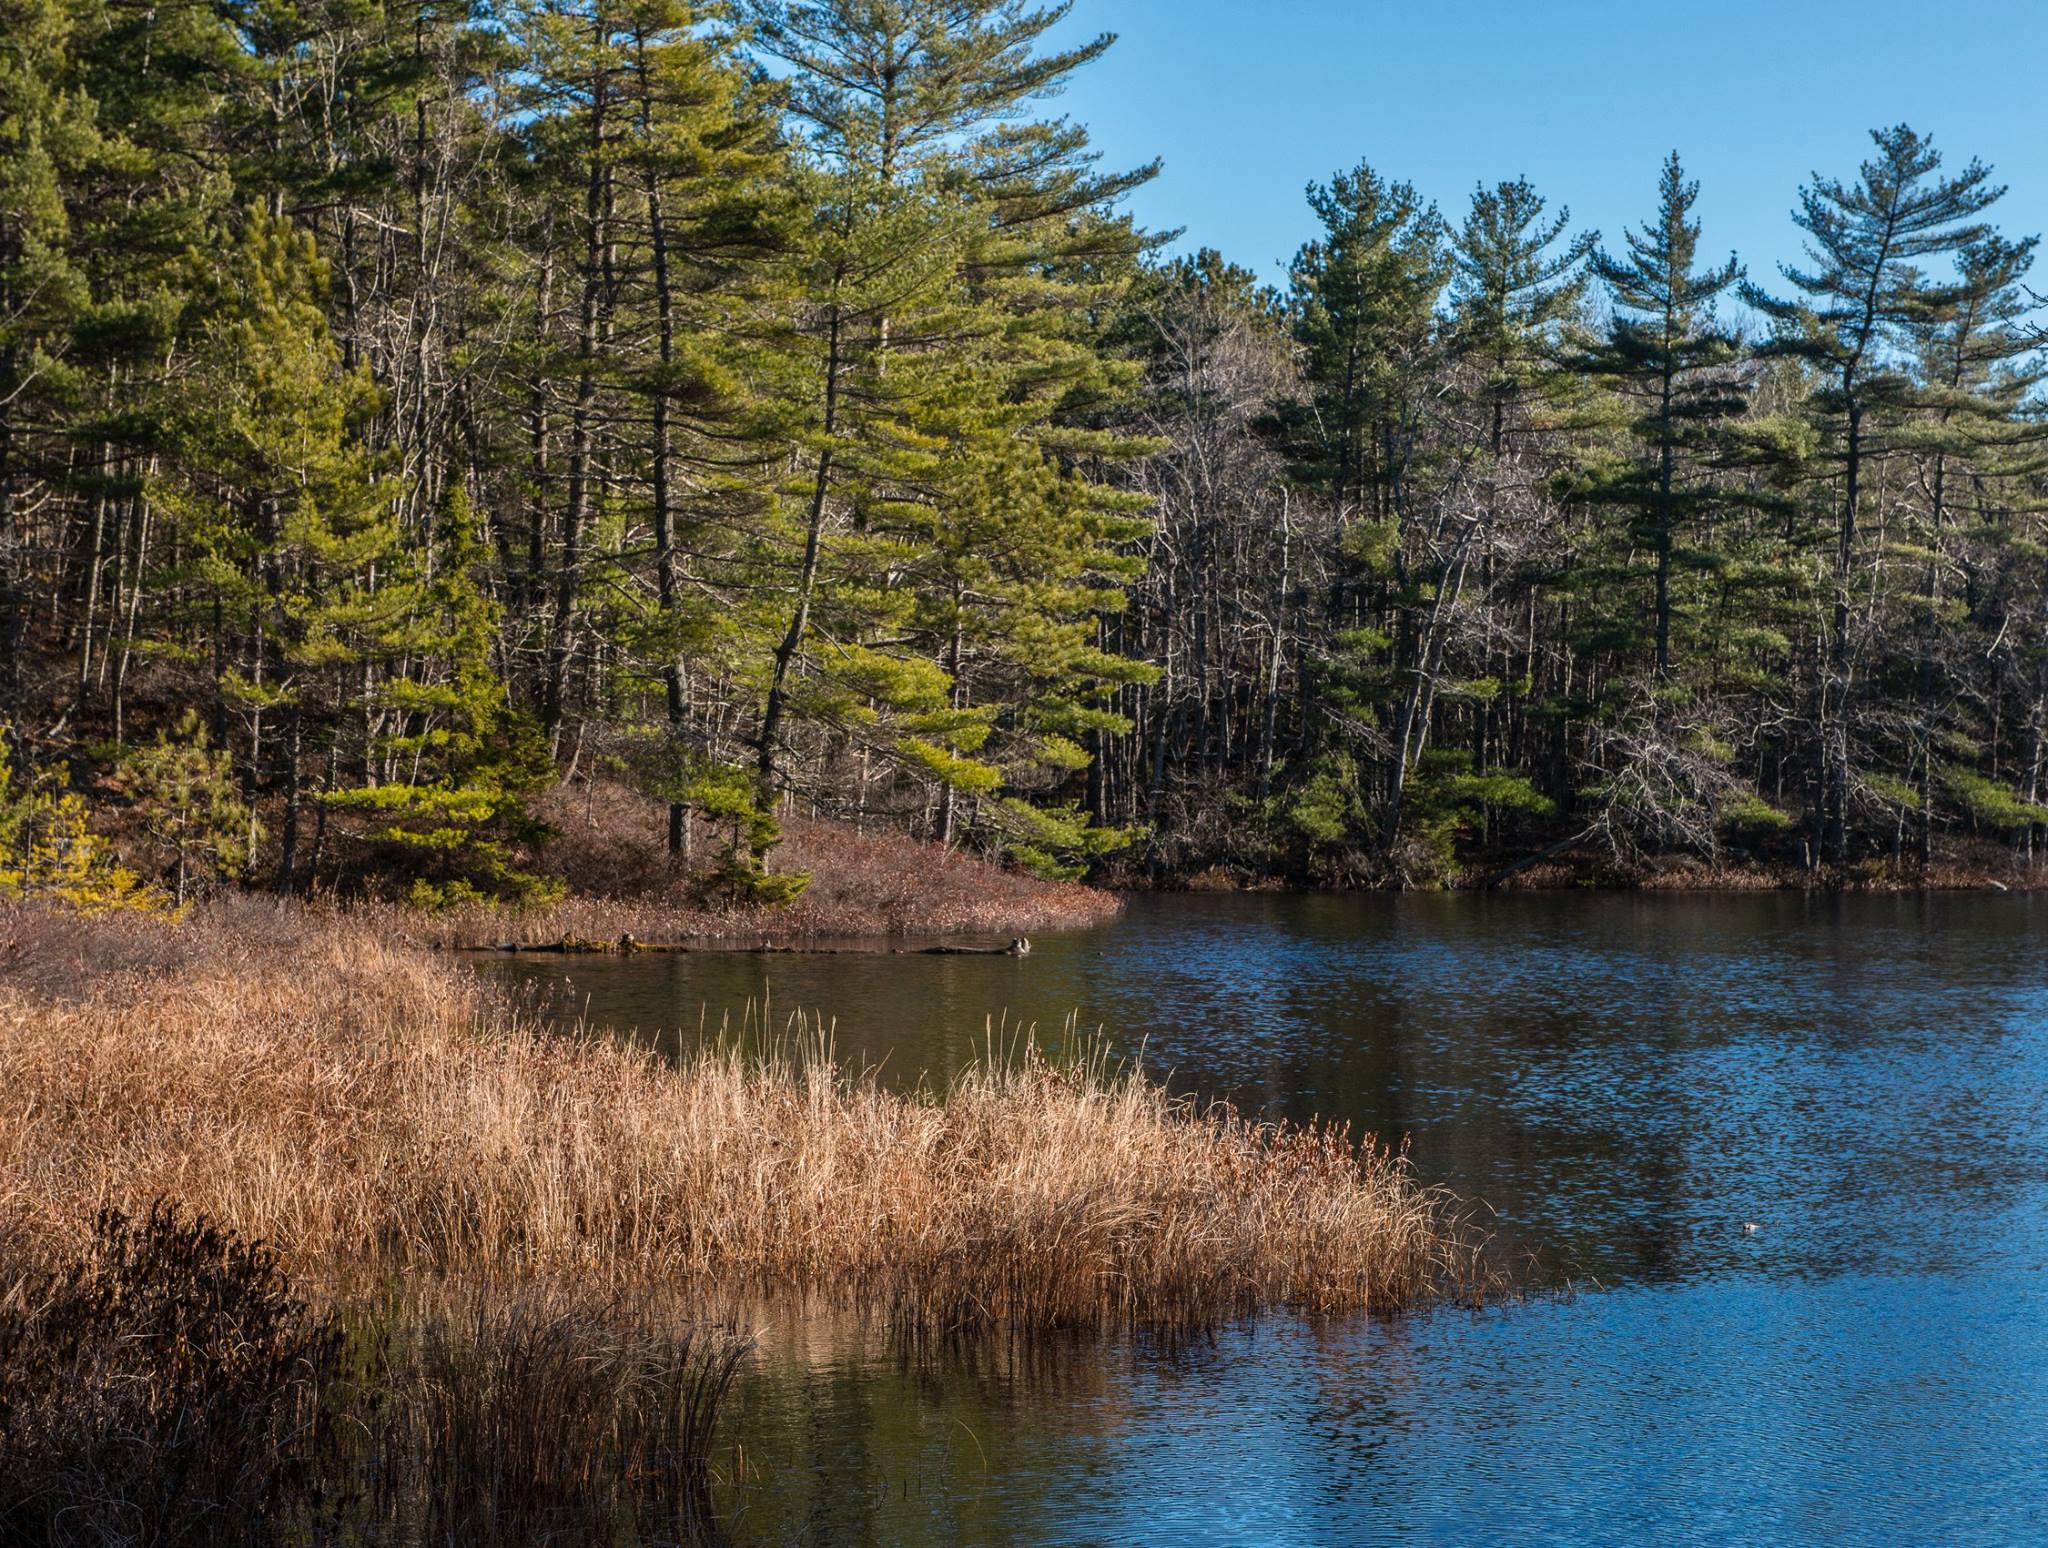
Leadng lines - McCabe Lake, Nova Scotia
When you apply specific composition techniques within a photograph you are creating visual interest within your photo. Think back to the time you saw a particular photo and said “Wow that is a great photo”. Now, try and analyze why you think it is a “wow” image. Usually, there is at least one composition principle being used in the photo.
A strong subject matter can have a lot to do with the interest of the photo. However, a strong subject matter and poor composition may create less engagement with the viewer.
From a scientific point of view, when we use compelling composition in our photography it actually creates more activity in the brain for the viewer. This increased brain activity increases the subconscious feeling of connection and interest within your photograph.
With just a bit of effort and planning, you can dramatically improve your own photography with these simple techniques.


The amazing concept I love about composition, is that you do not have to have a particular type of camera or expensive gear. Any type of camera can create a beautiful image. Composition is not based upon technology. The best camera you have is your mind’s eye. The physical camera is simply an extension of what you see and want to create.
Below are 7 short composition techniques that will improve your photography.
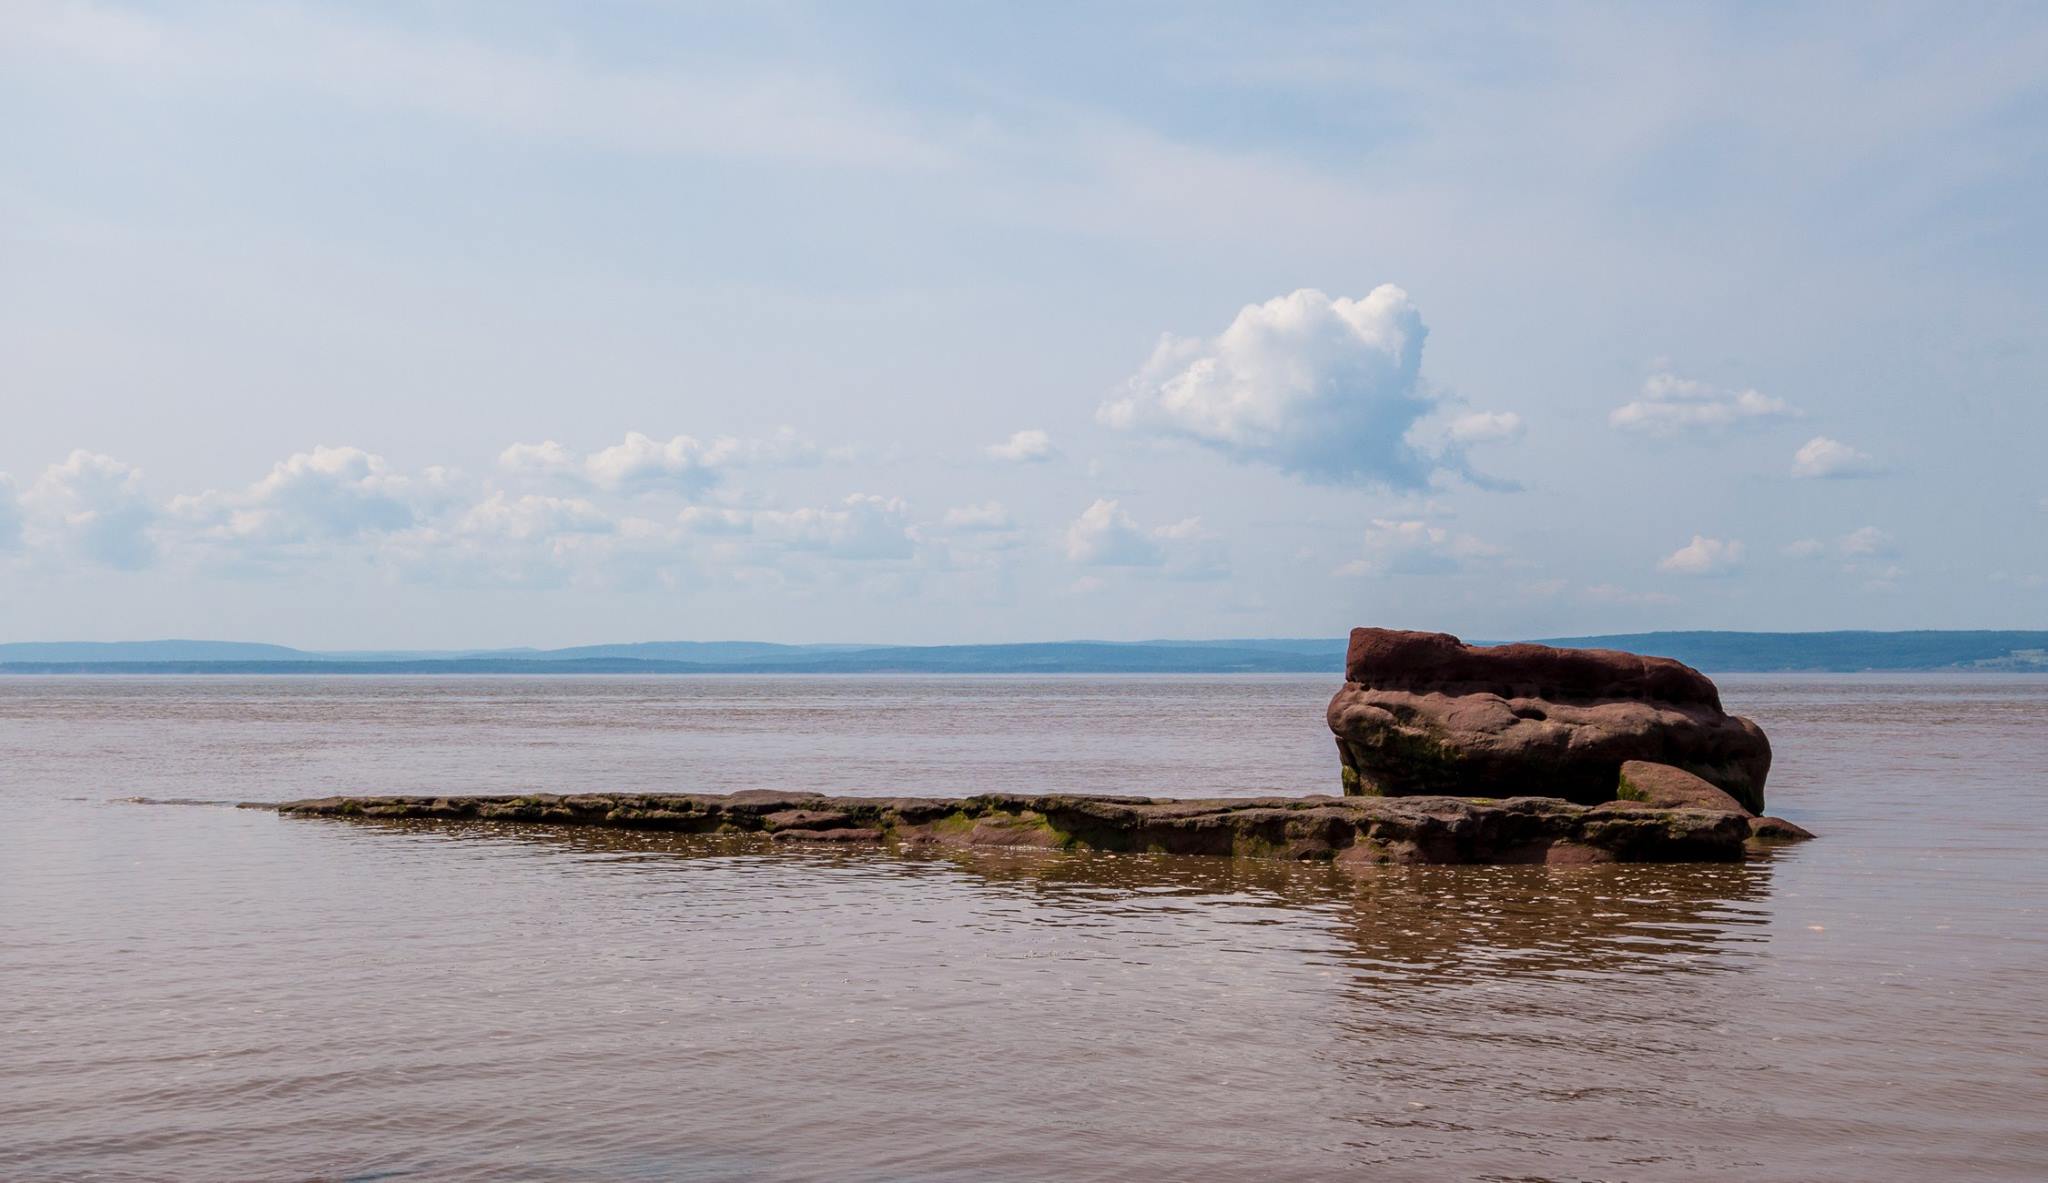
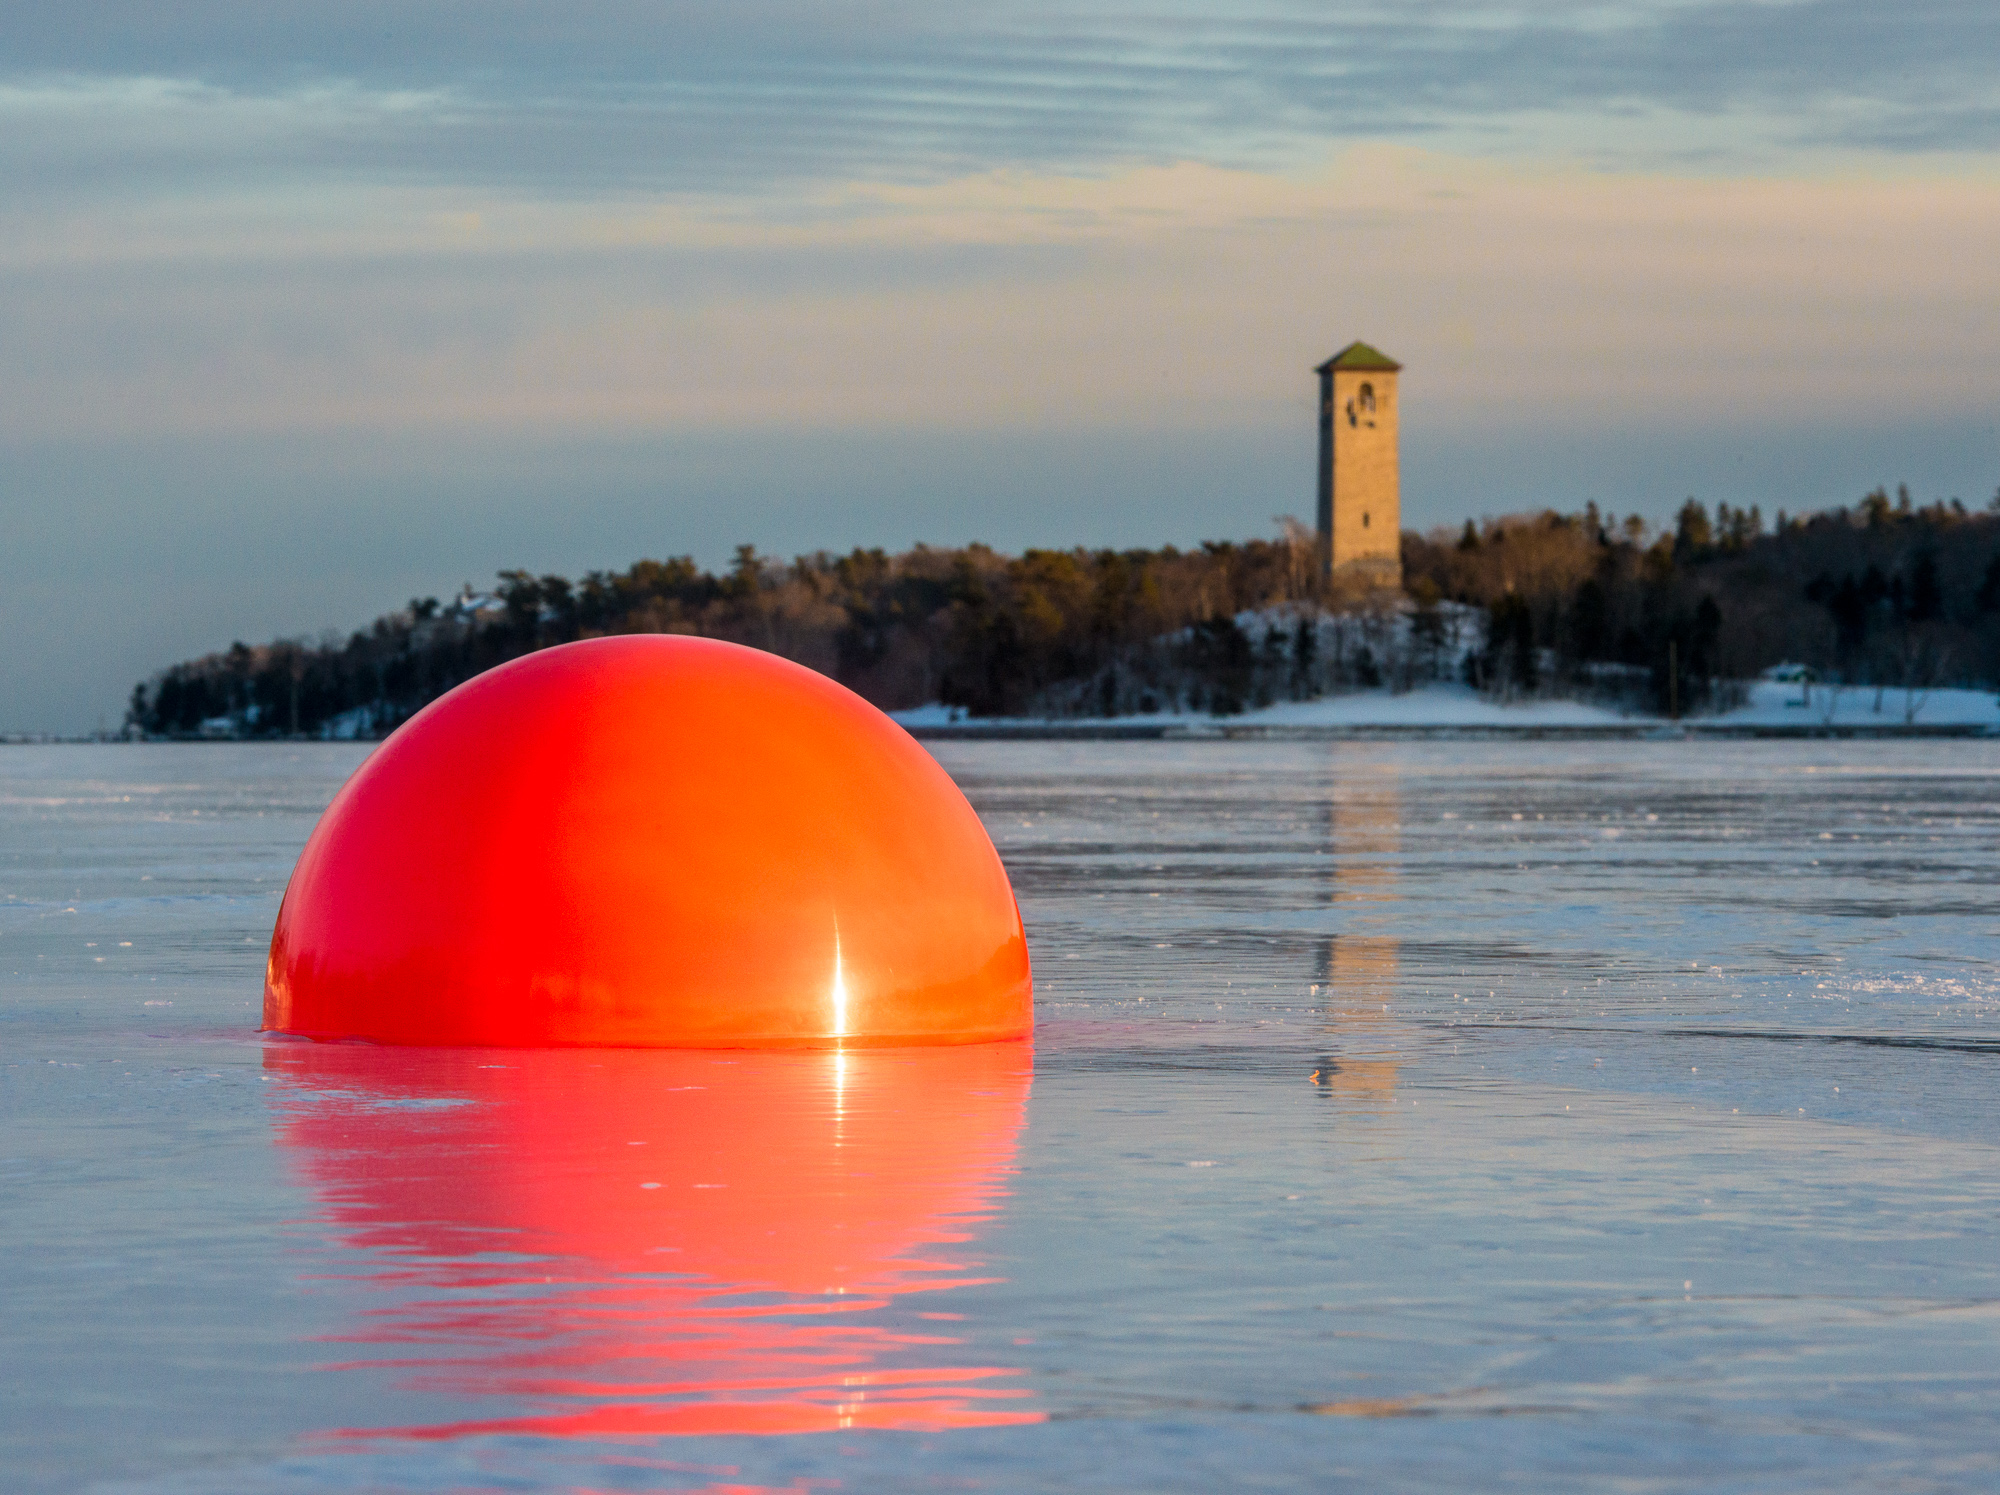
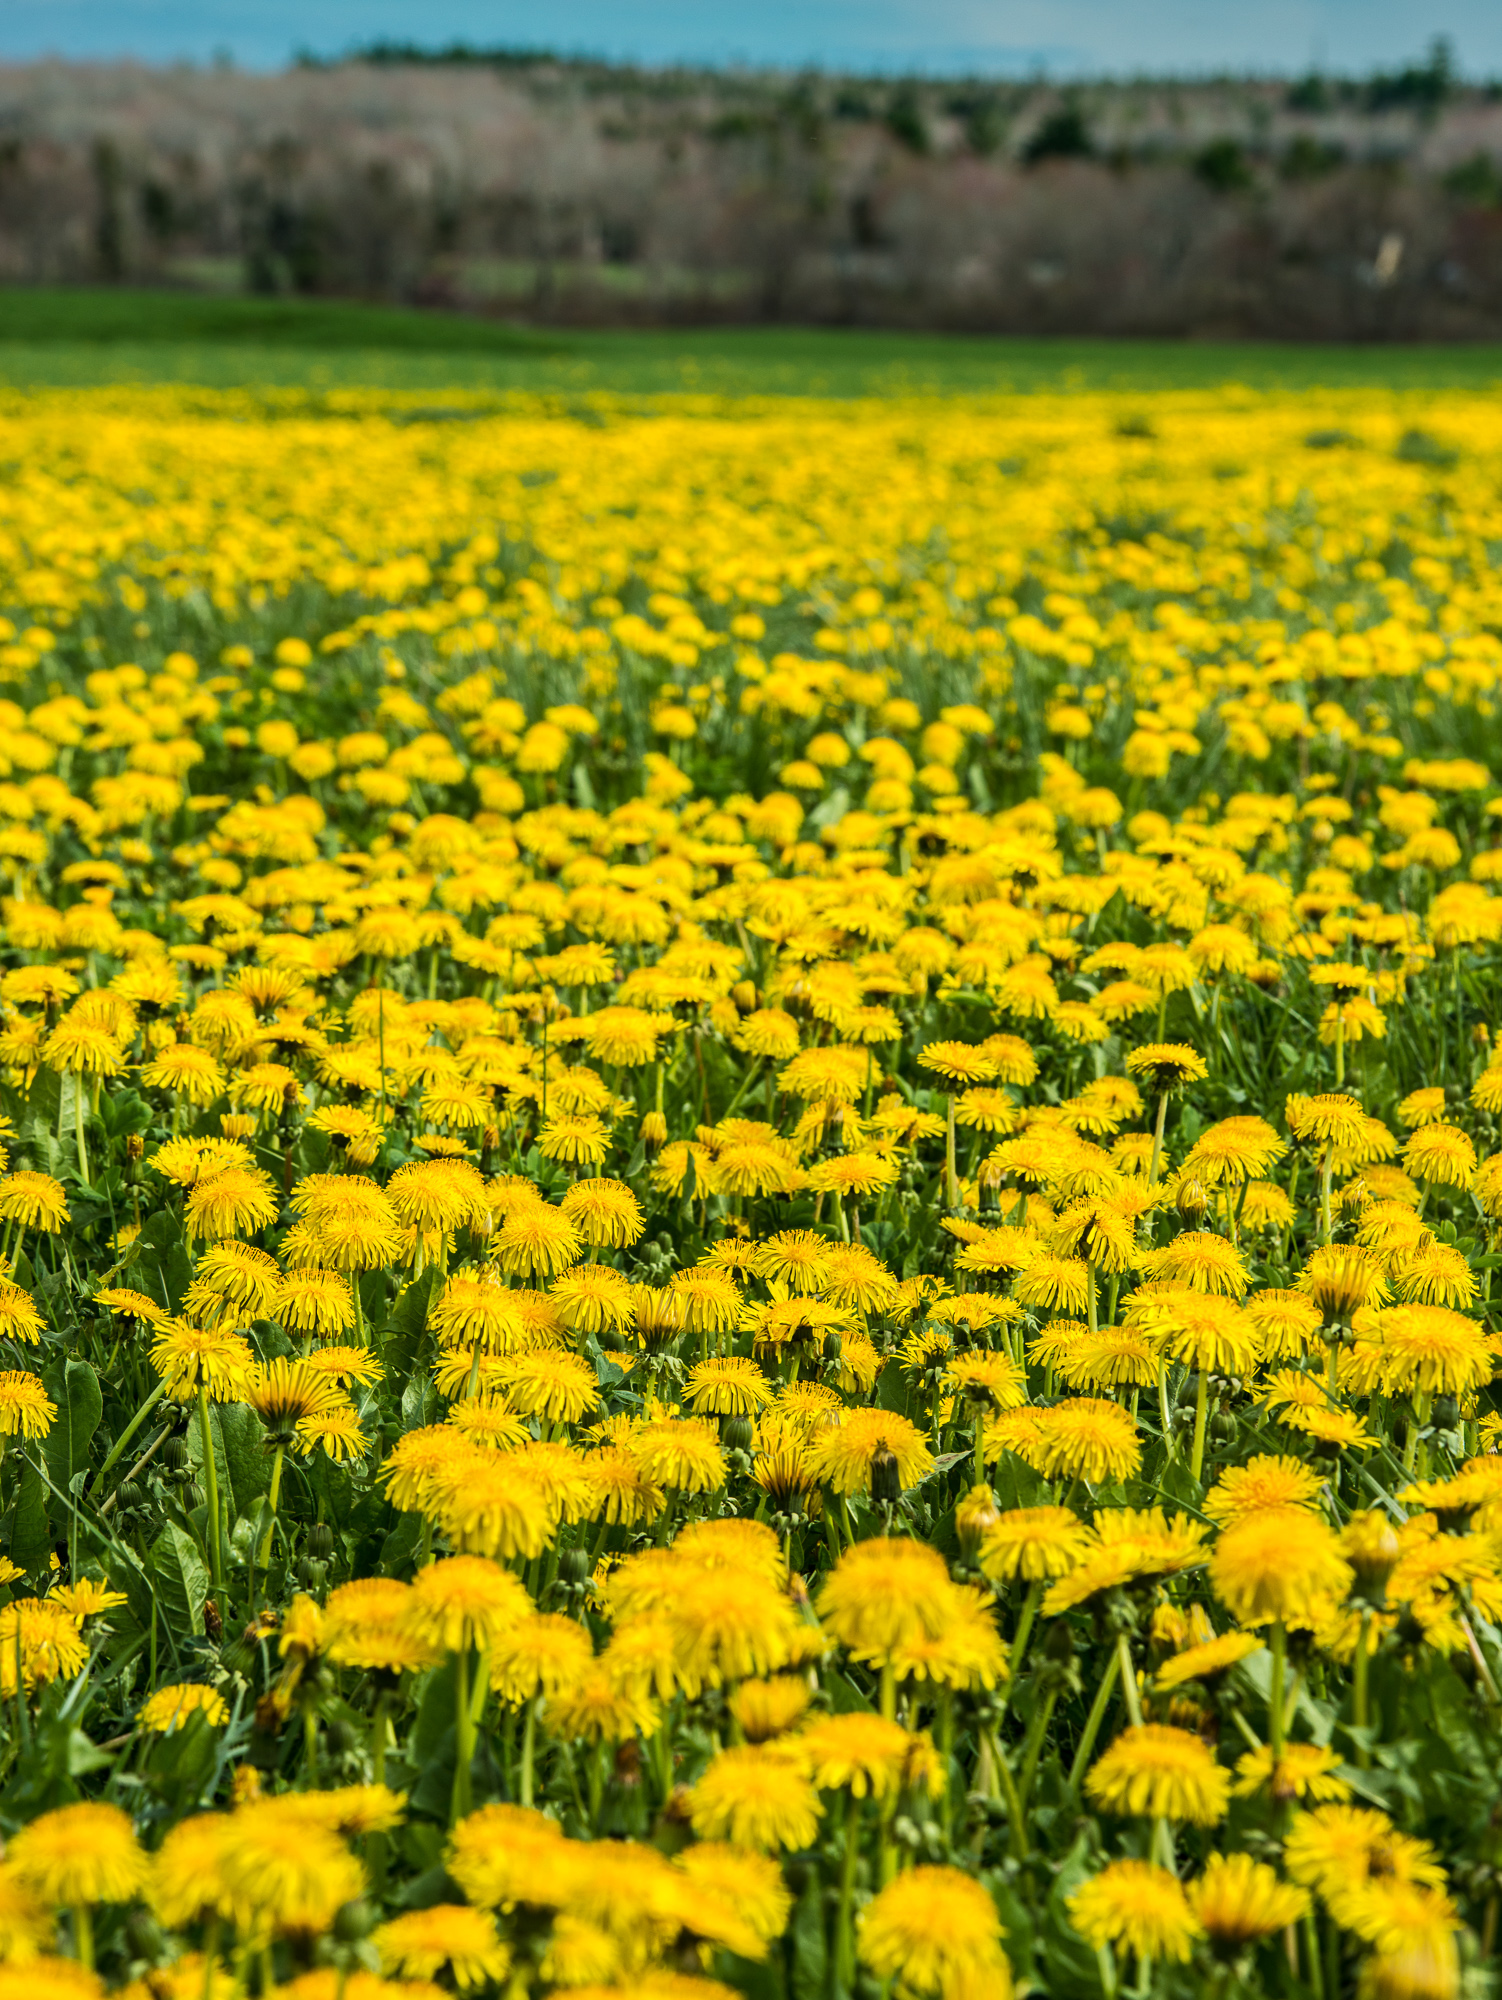
(1) Define the main subject with your photo
Try and show a clear main subject in the photo and this does not mean it has to be a person. It could be a mountaintop, coastline, flower or even how the light is sweeping across a room. So before you start snapping away, think about what is the main subject you are trying to photograph and how the subject is interacting with all the other visual elements within your frame.


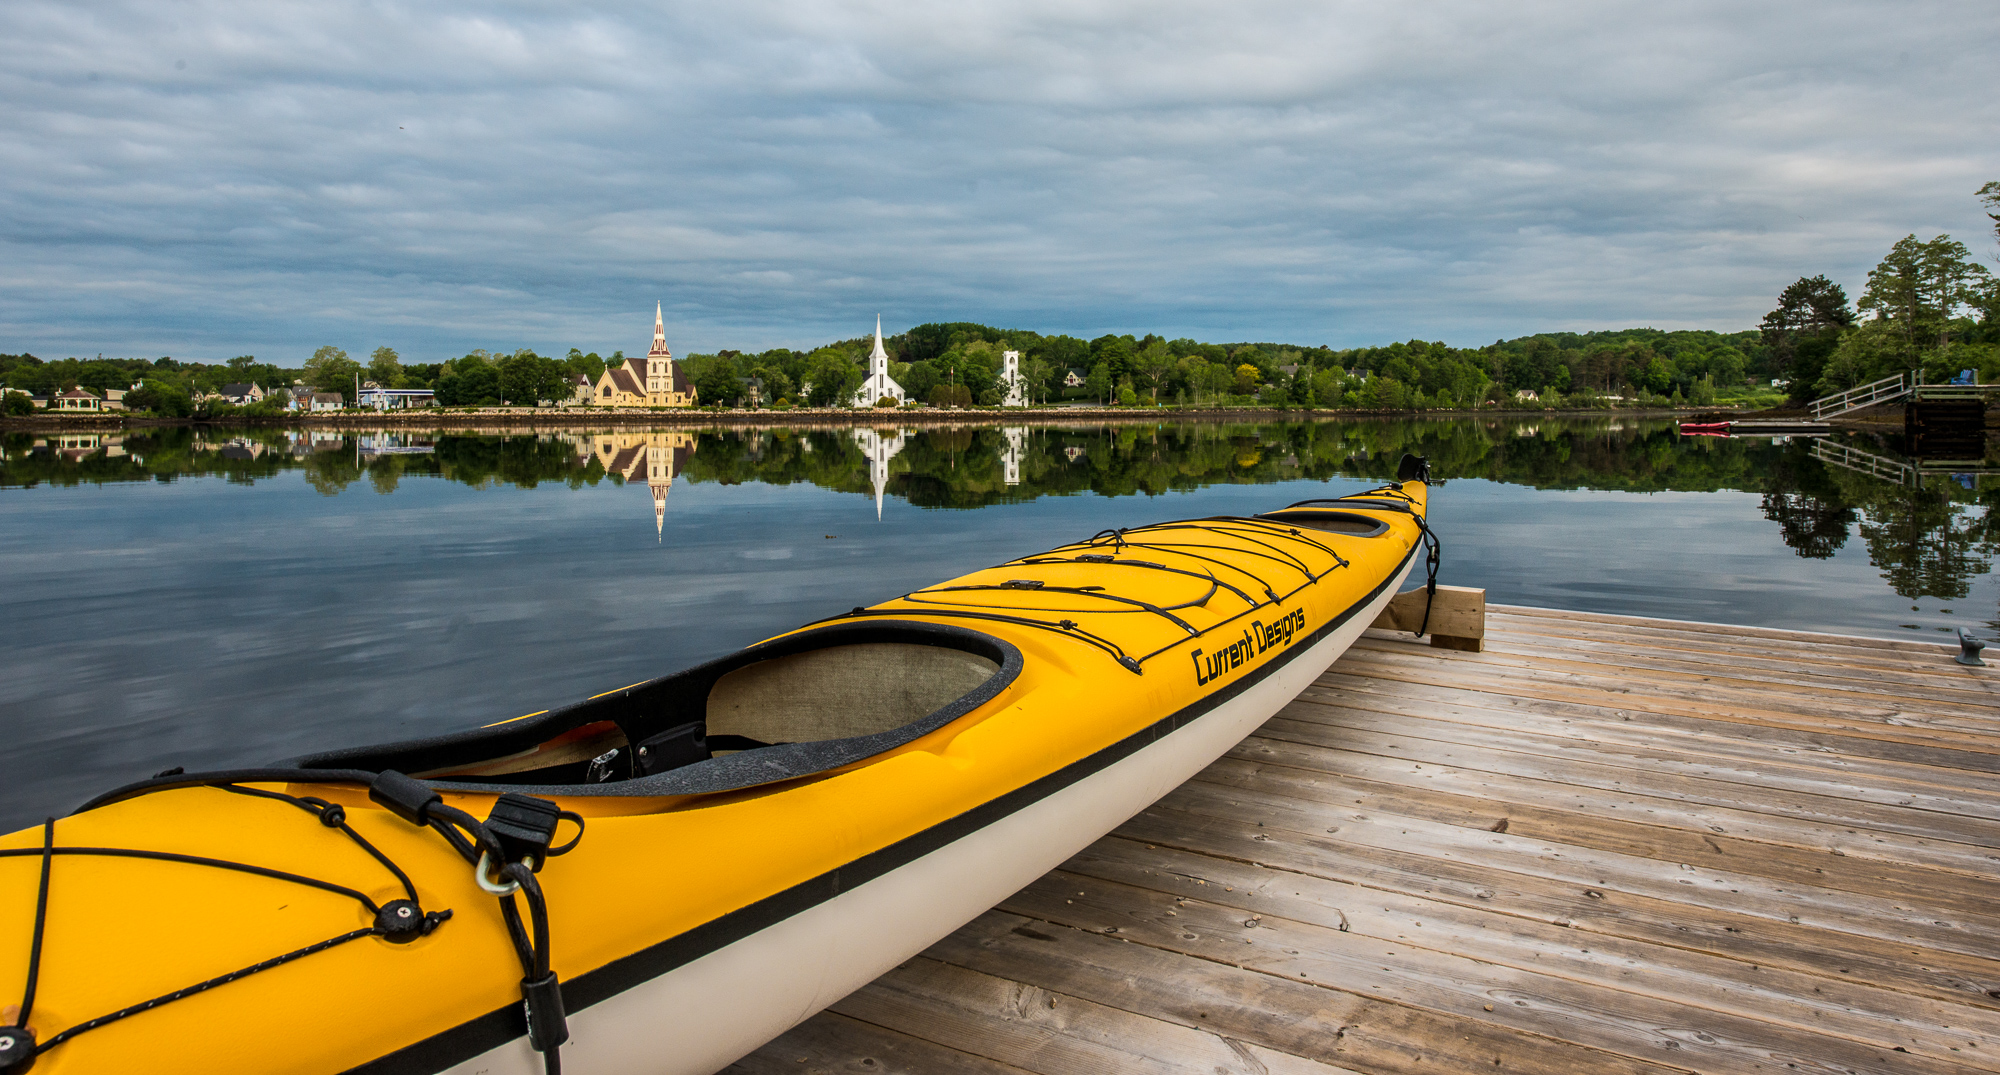
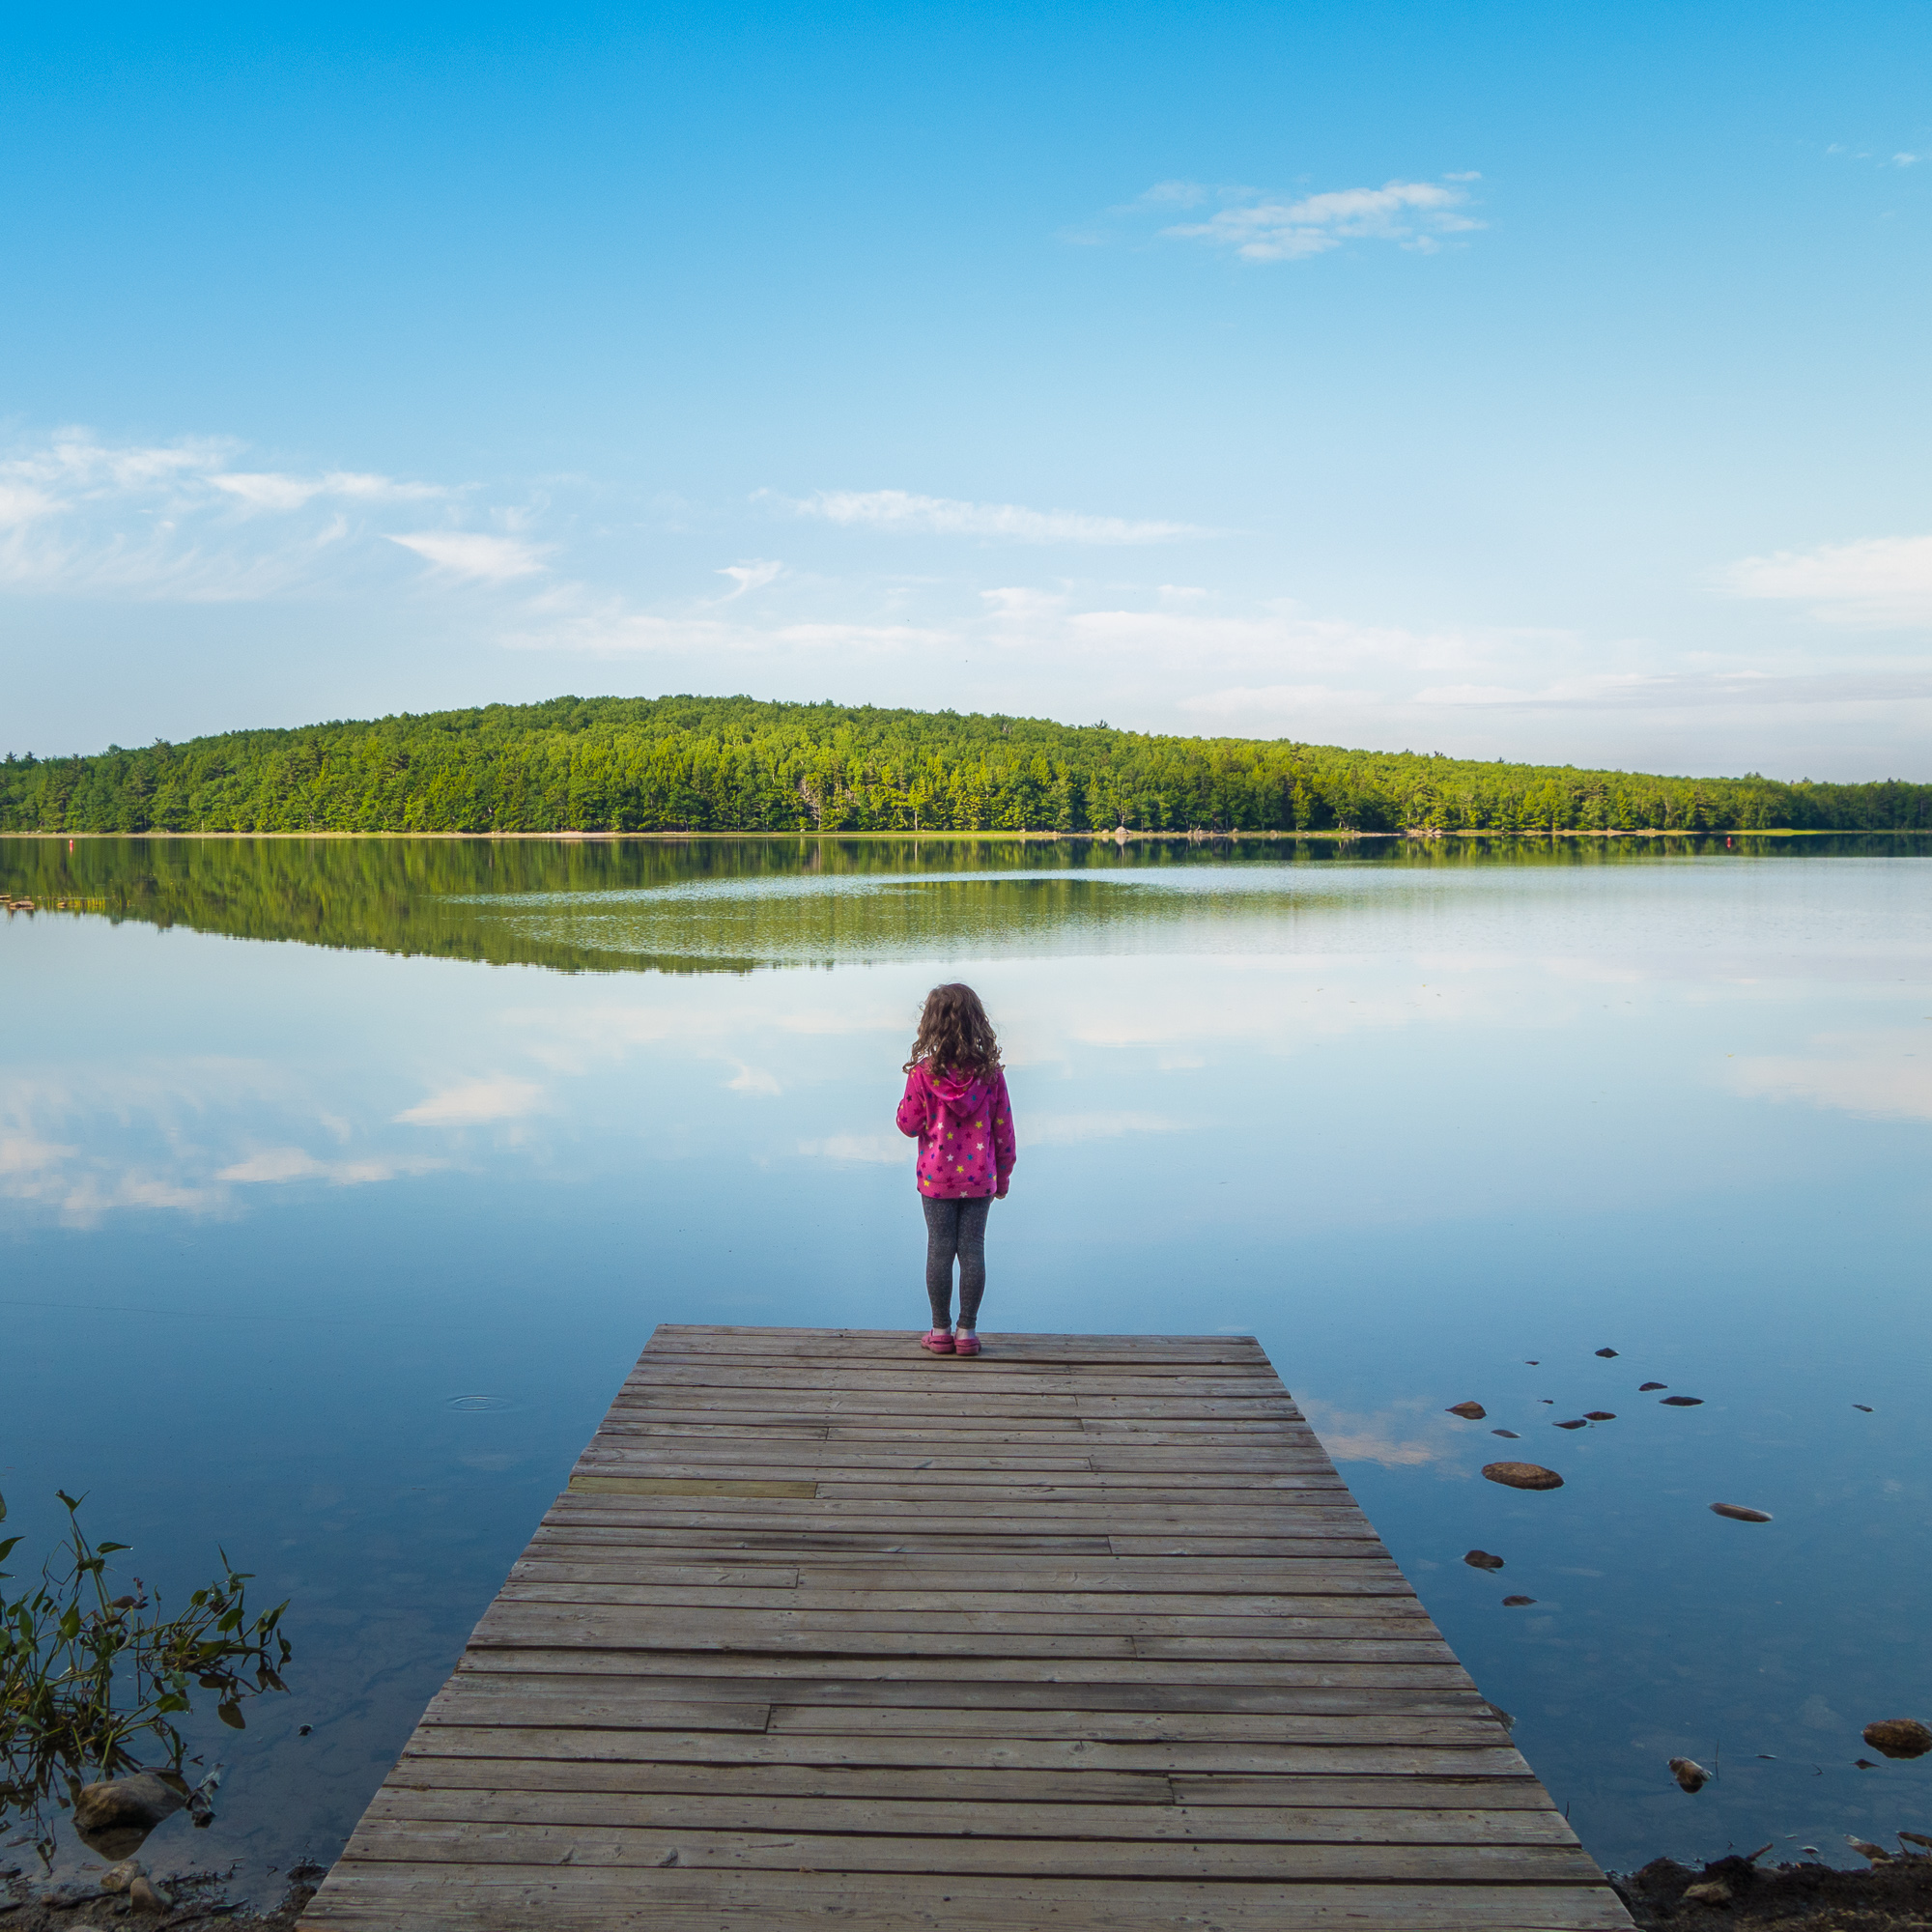
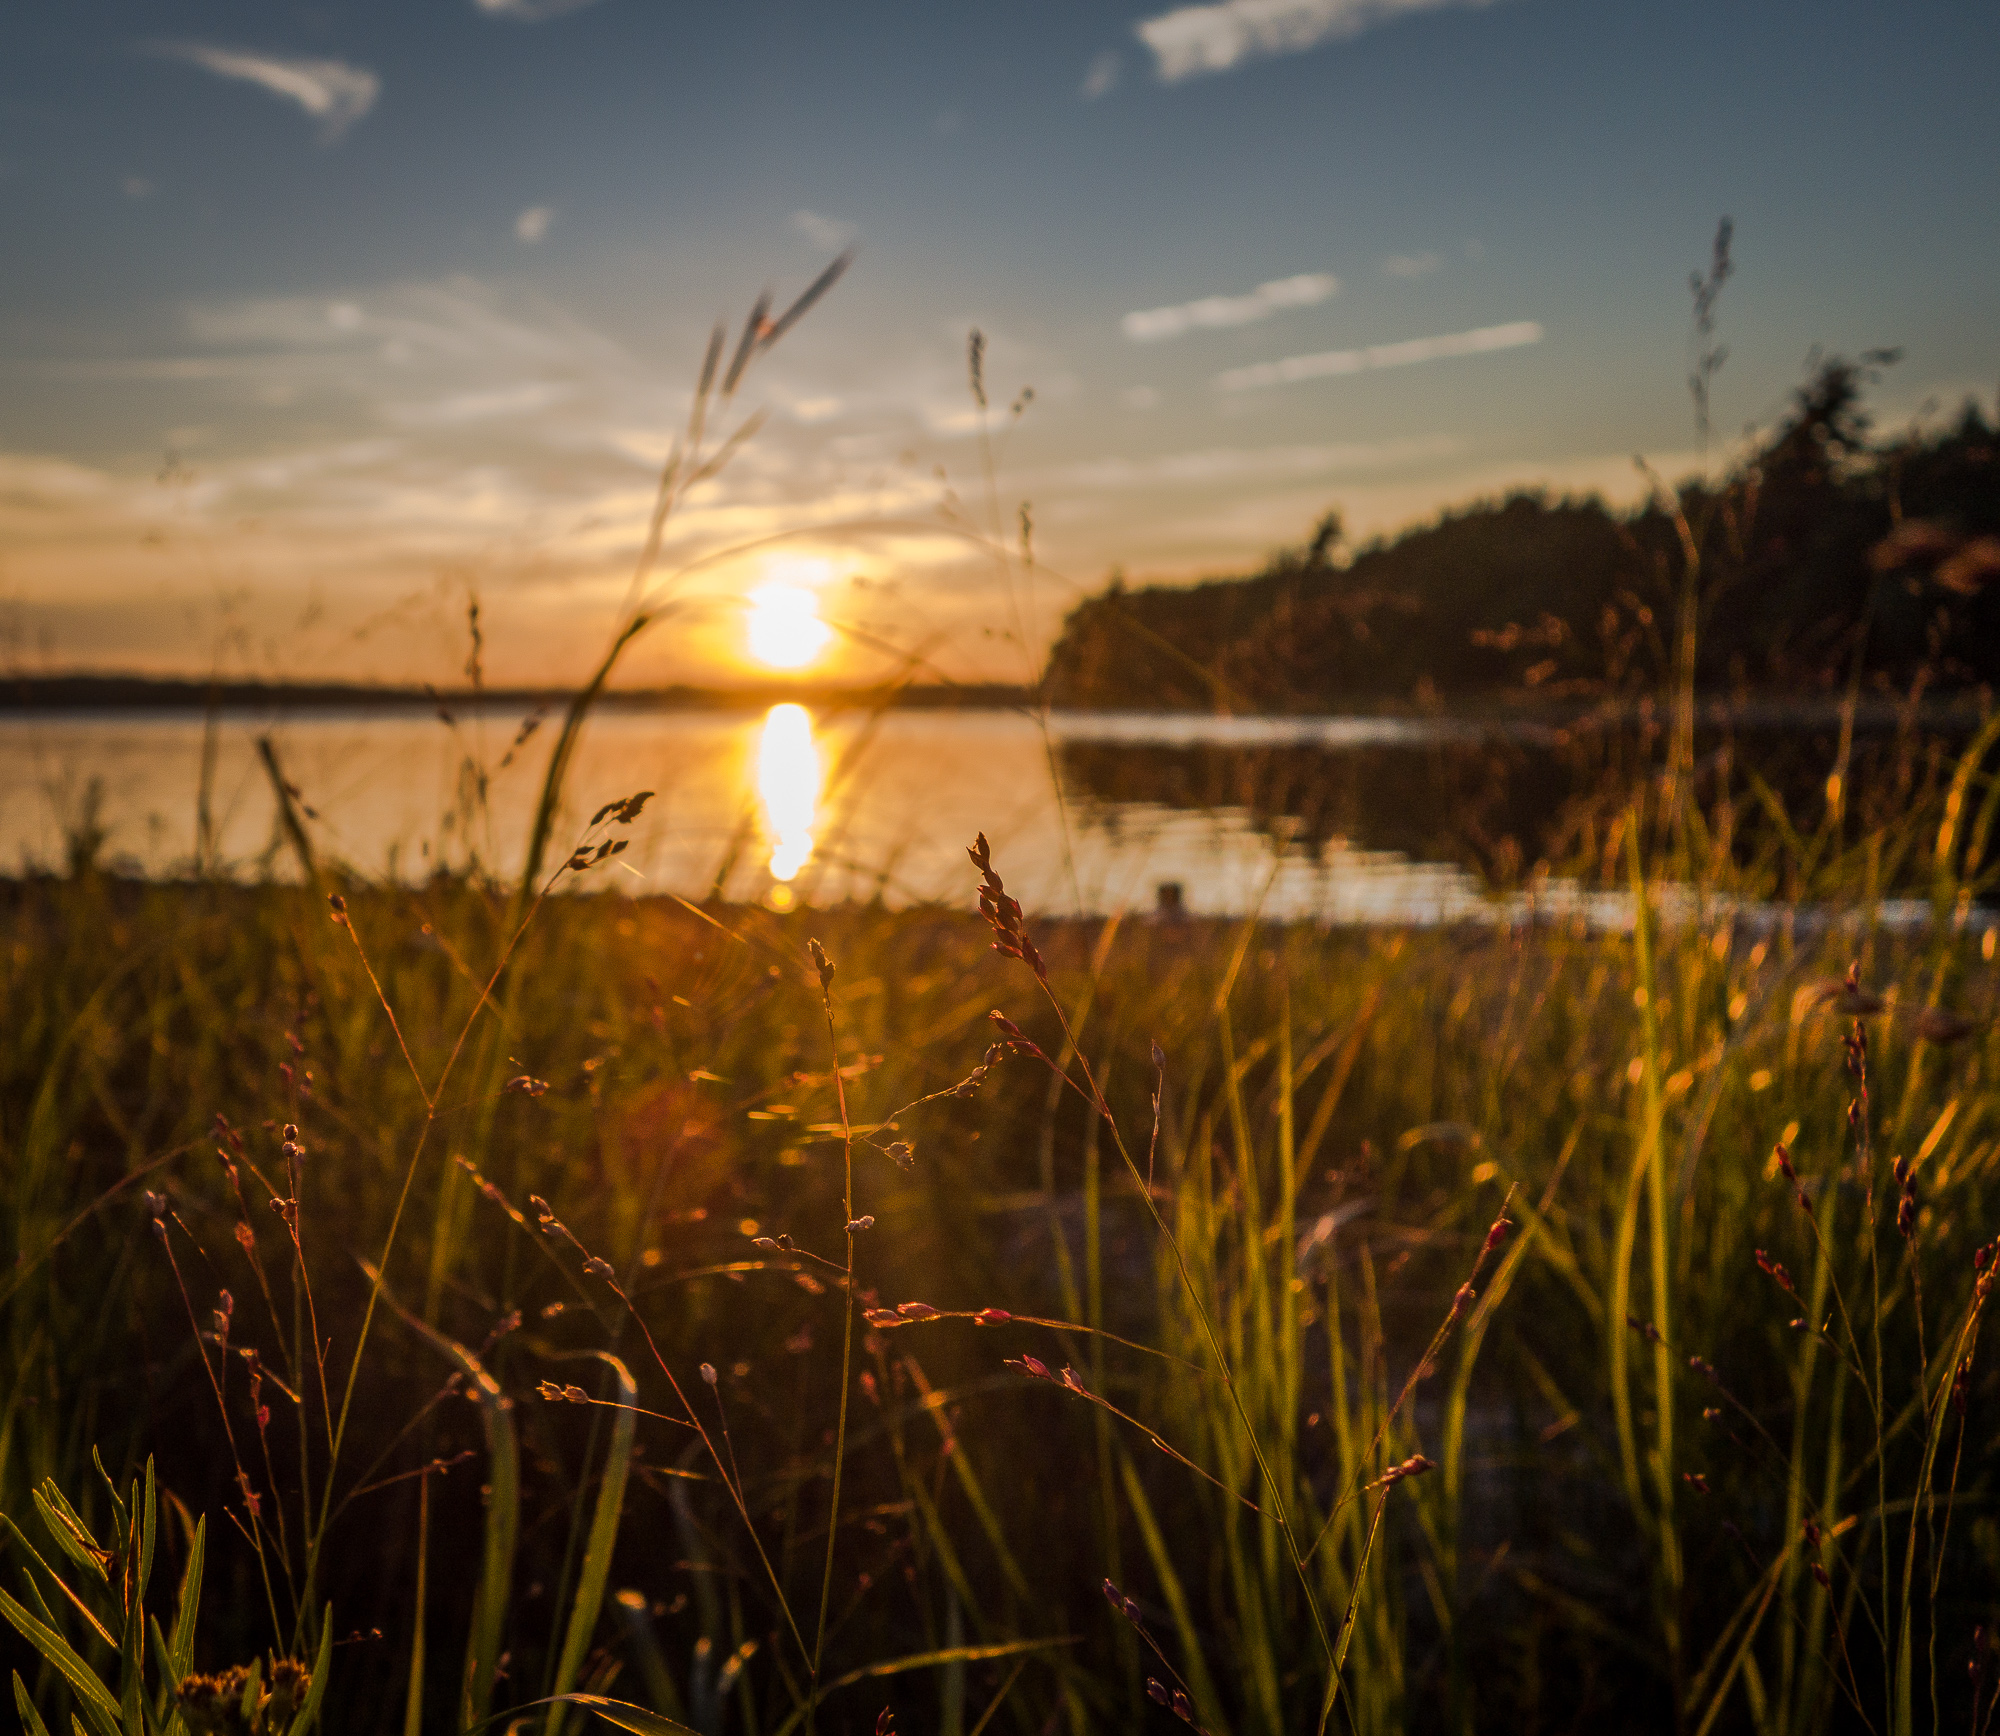
(2) Rule of Thirds (Move it from the middle)
When you look in the viewfinder, imagine there are lines dividing the frame in the section. Two horizontal and two vertical line placed a third of the way into the frame. For example, when you are photographing a landscape try and place the horizon on one of this horizontal lines. When you place the horizon on these lines you are creating visual interest in your photos.


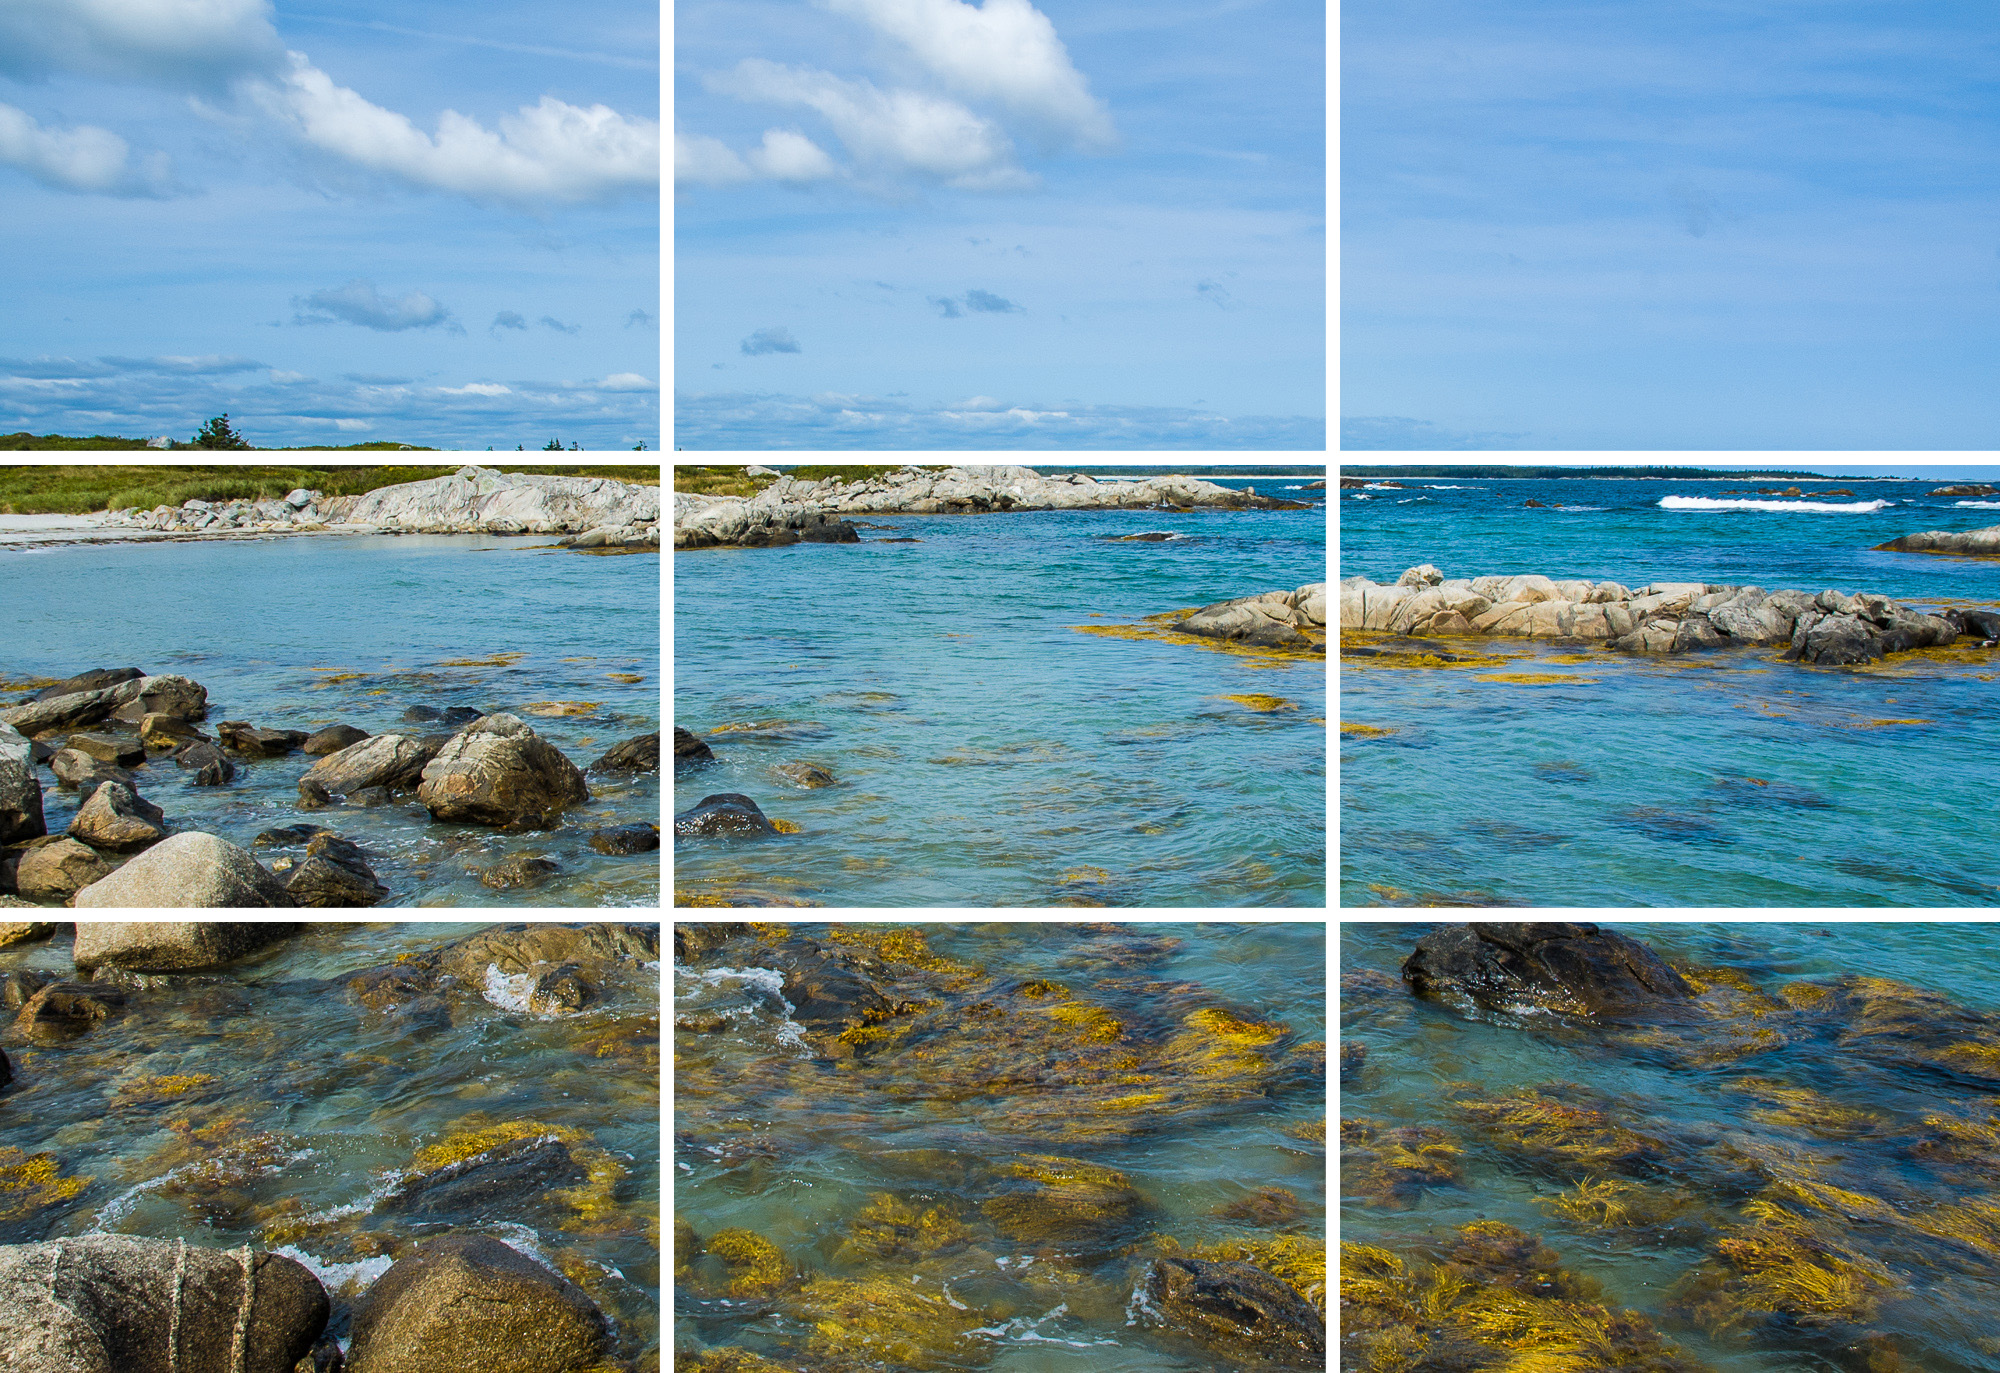
If your subject is in the middle try and place the subject slightly to the right or left under one of these lines. Placing the main subject, horizon etc, to the left or right you will create a stronger, more deliberate visual tension in the frame.
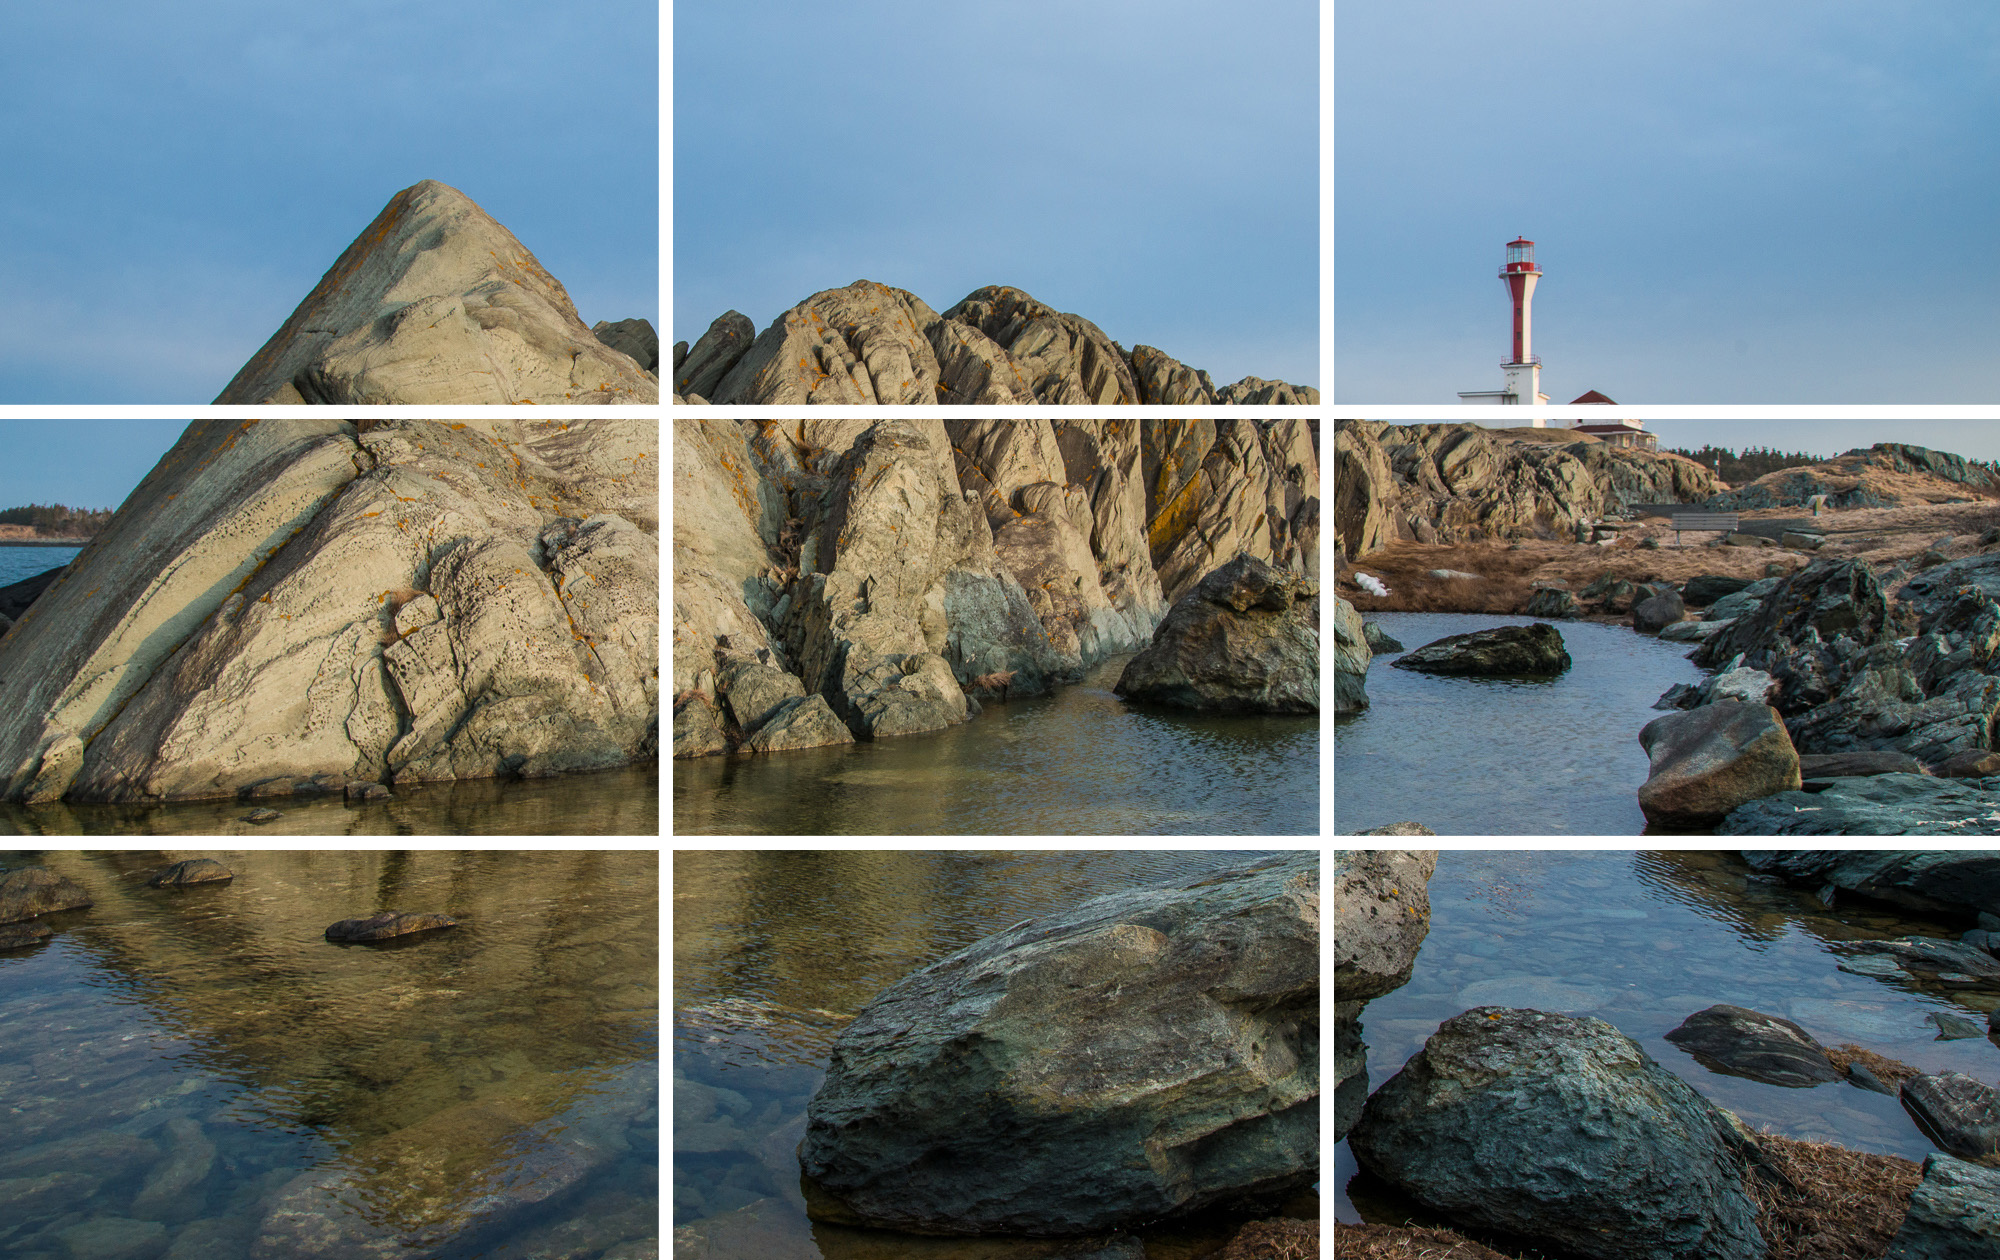
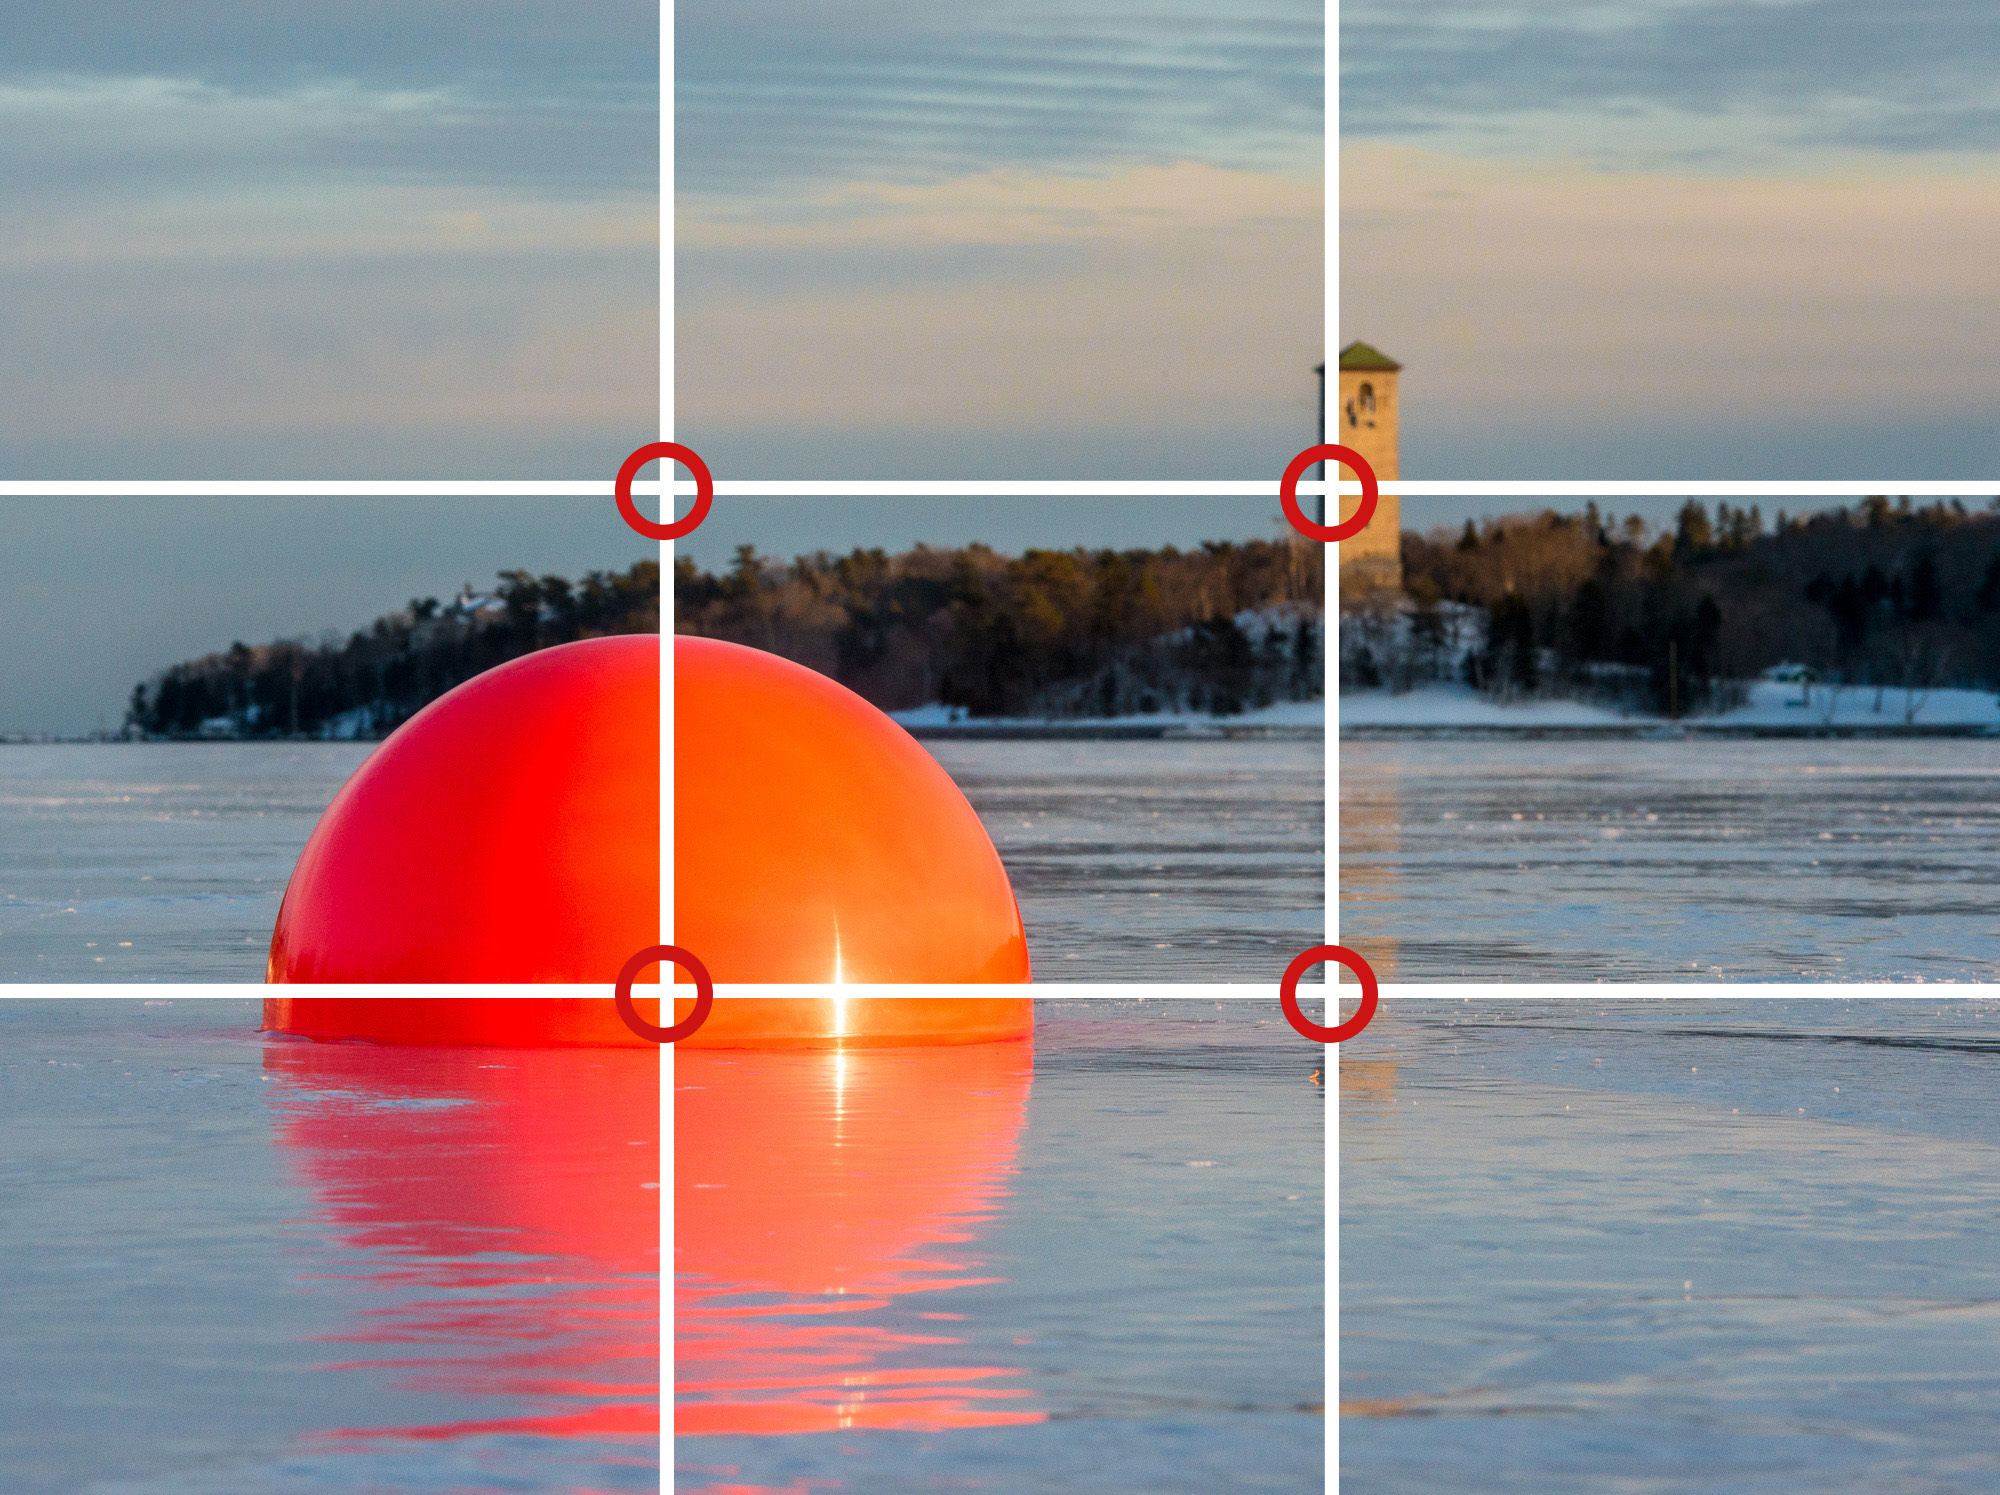
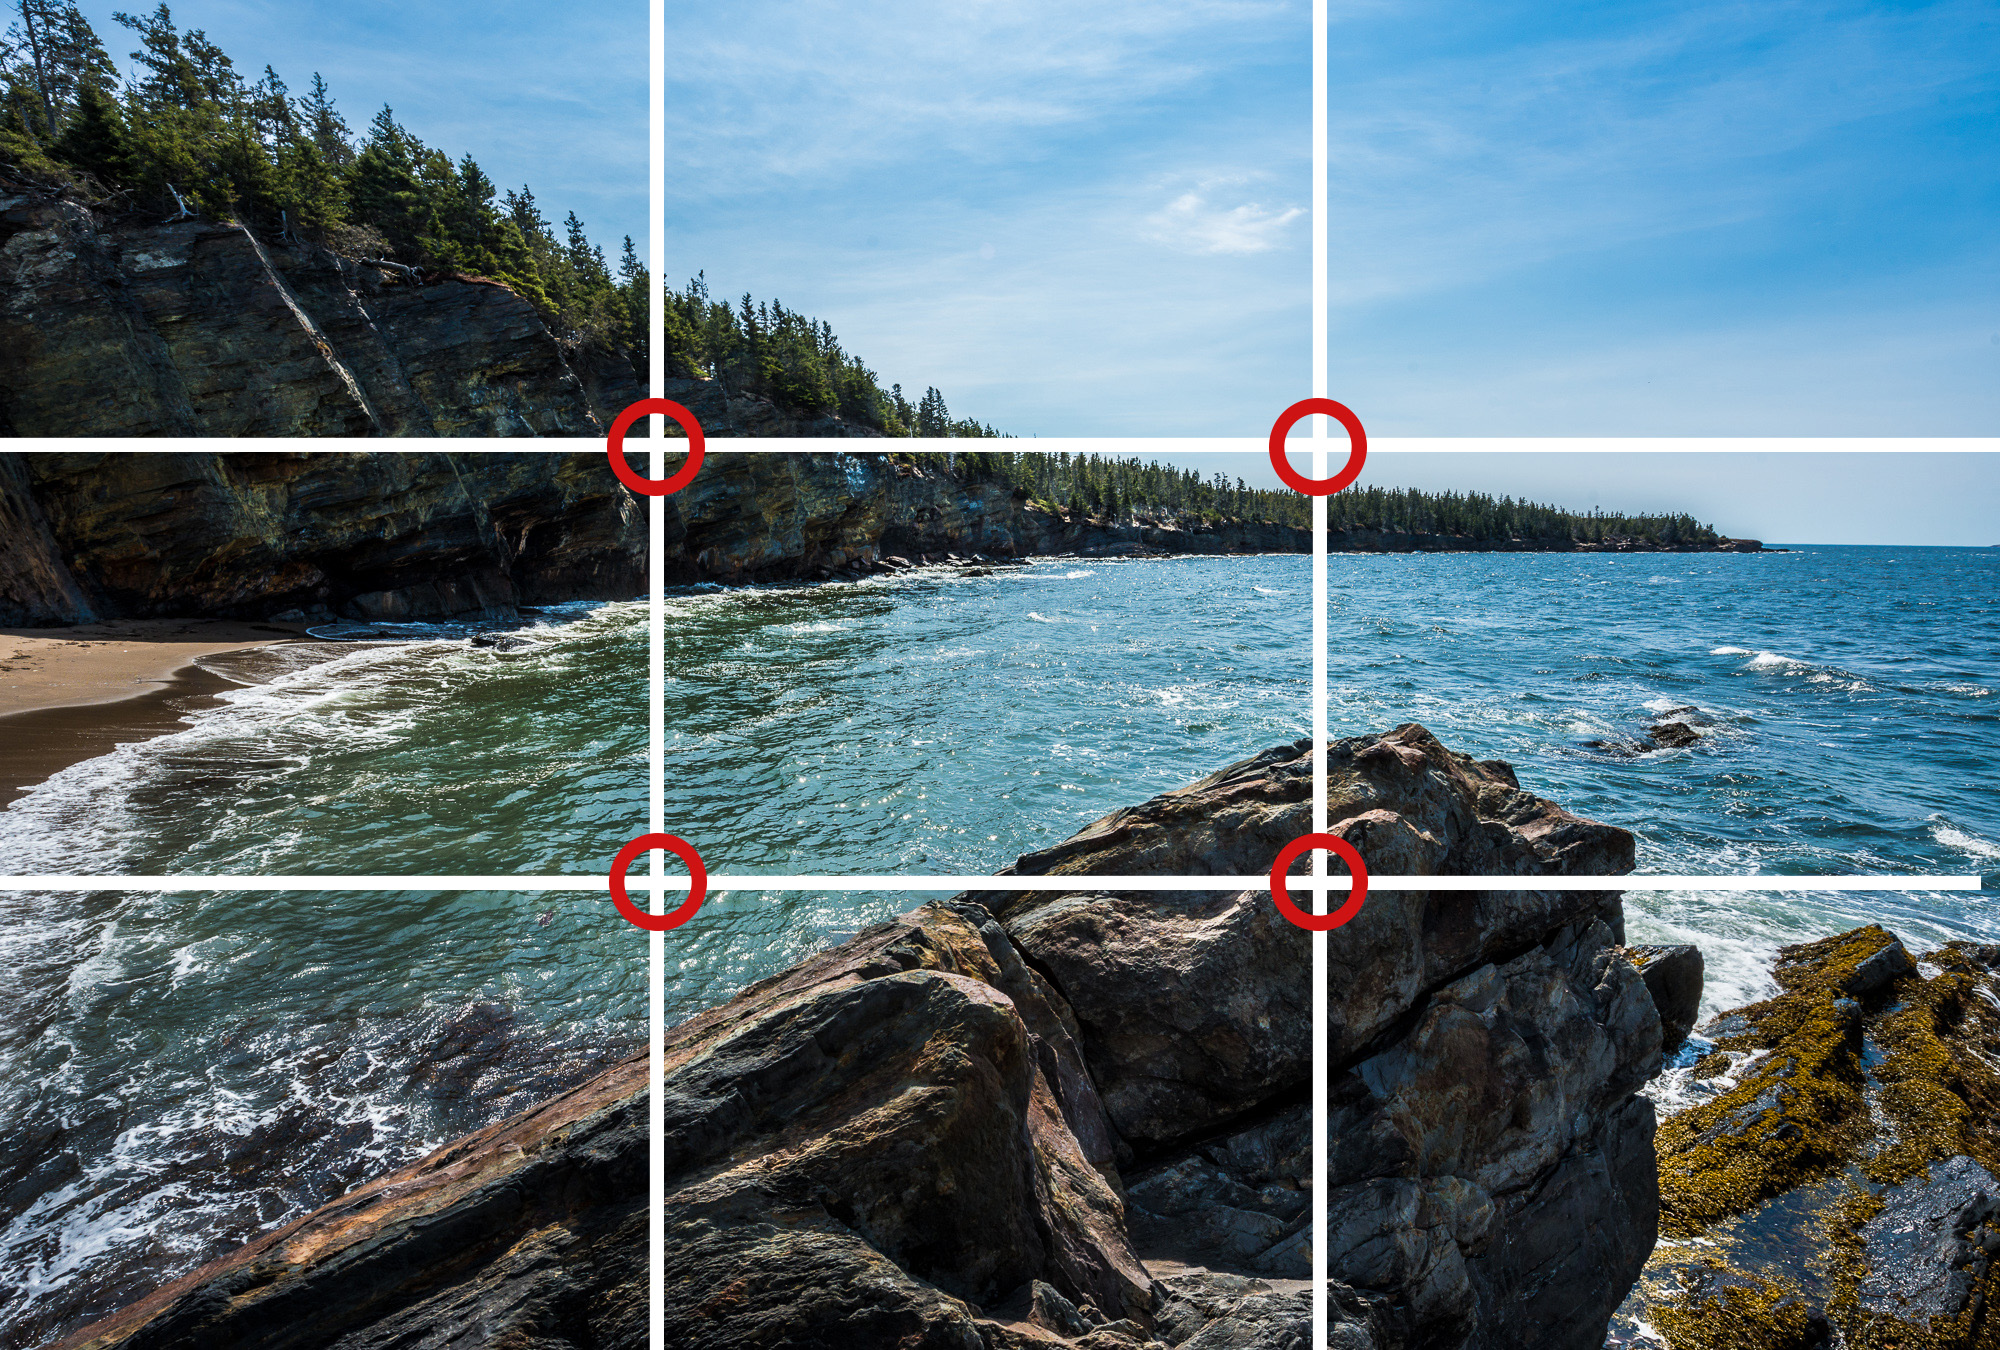
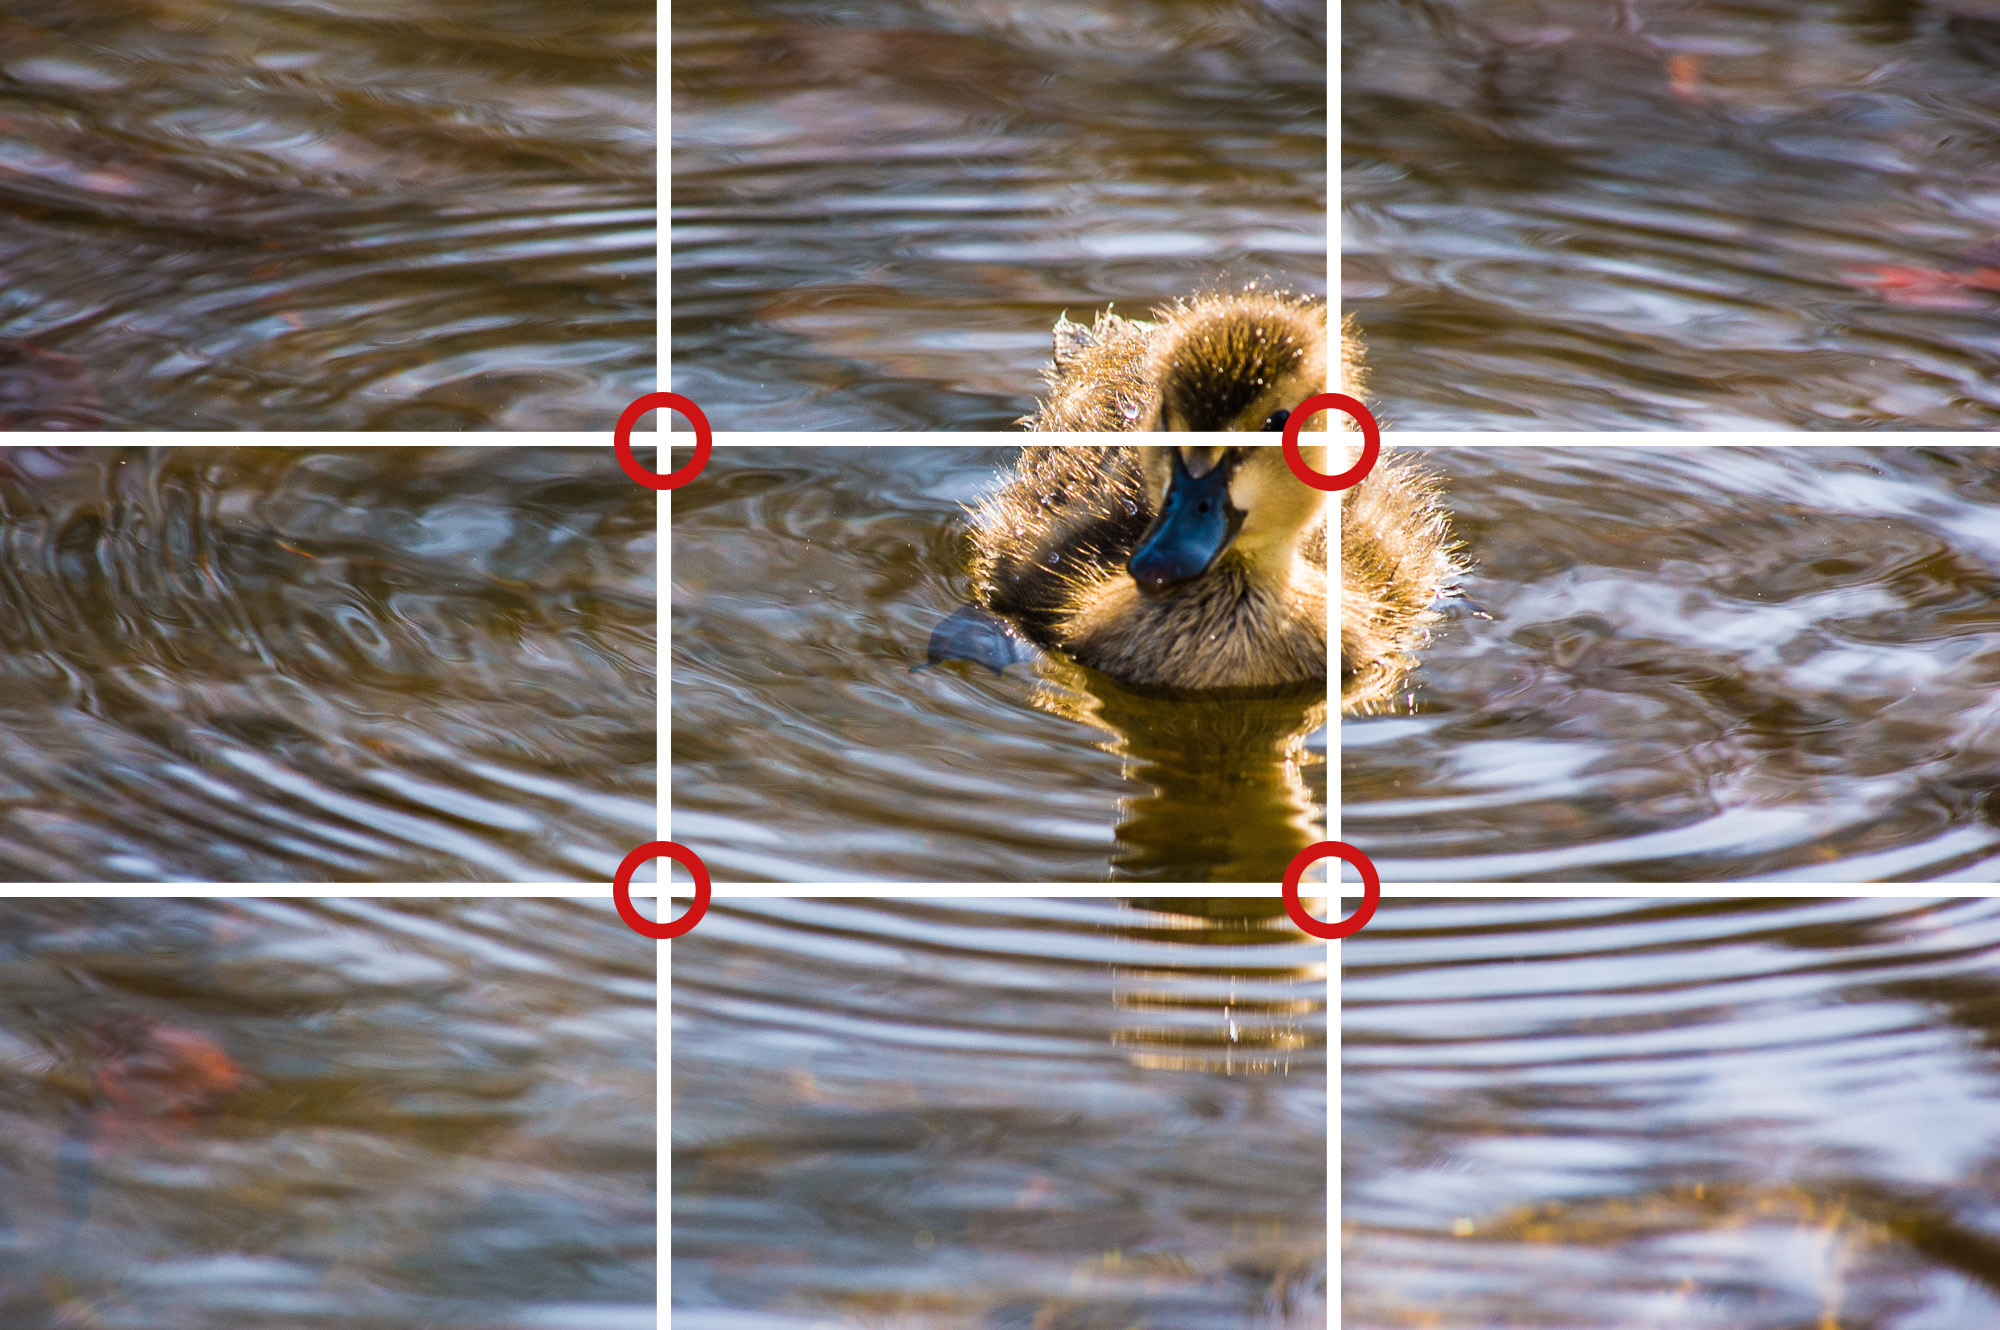
(3) Points of Interest
Adding to the technique of the “Rule of Thirds” comes the technique of where these lines intersect. Believe it or not we have a natural tendency to look to where these virtual lines intersect and if you place your main subject under one of these intersecting points you will create a stronger composition and interest in your image.


(4) Fill the frame
You can never get too close. When I am teaching my photo workshop, one of the most common challenges I see is that the student’s main subject is never large enough in the frame. When you fill the frame with your intended subject you keep the viewer's eye within your image. This technique creates an instant connection between the viewer and the subject in your photo.


So the next time you are taking that photo, take the time and really ask yourself if you can get closer to the subject.
(5) Leading lines
This is still one of favorite composition techniques. Having a line or path in your photo leads the viewer through the photograph.


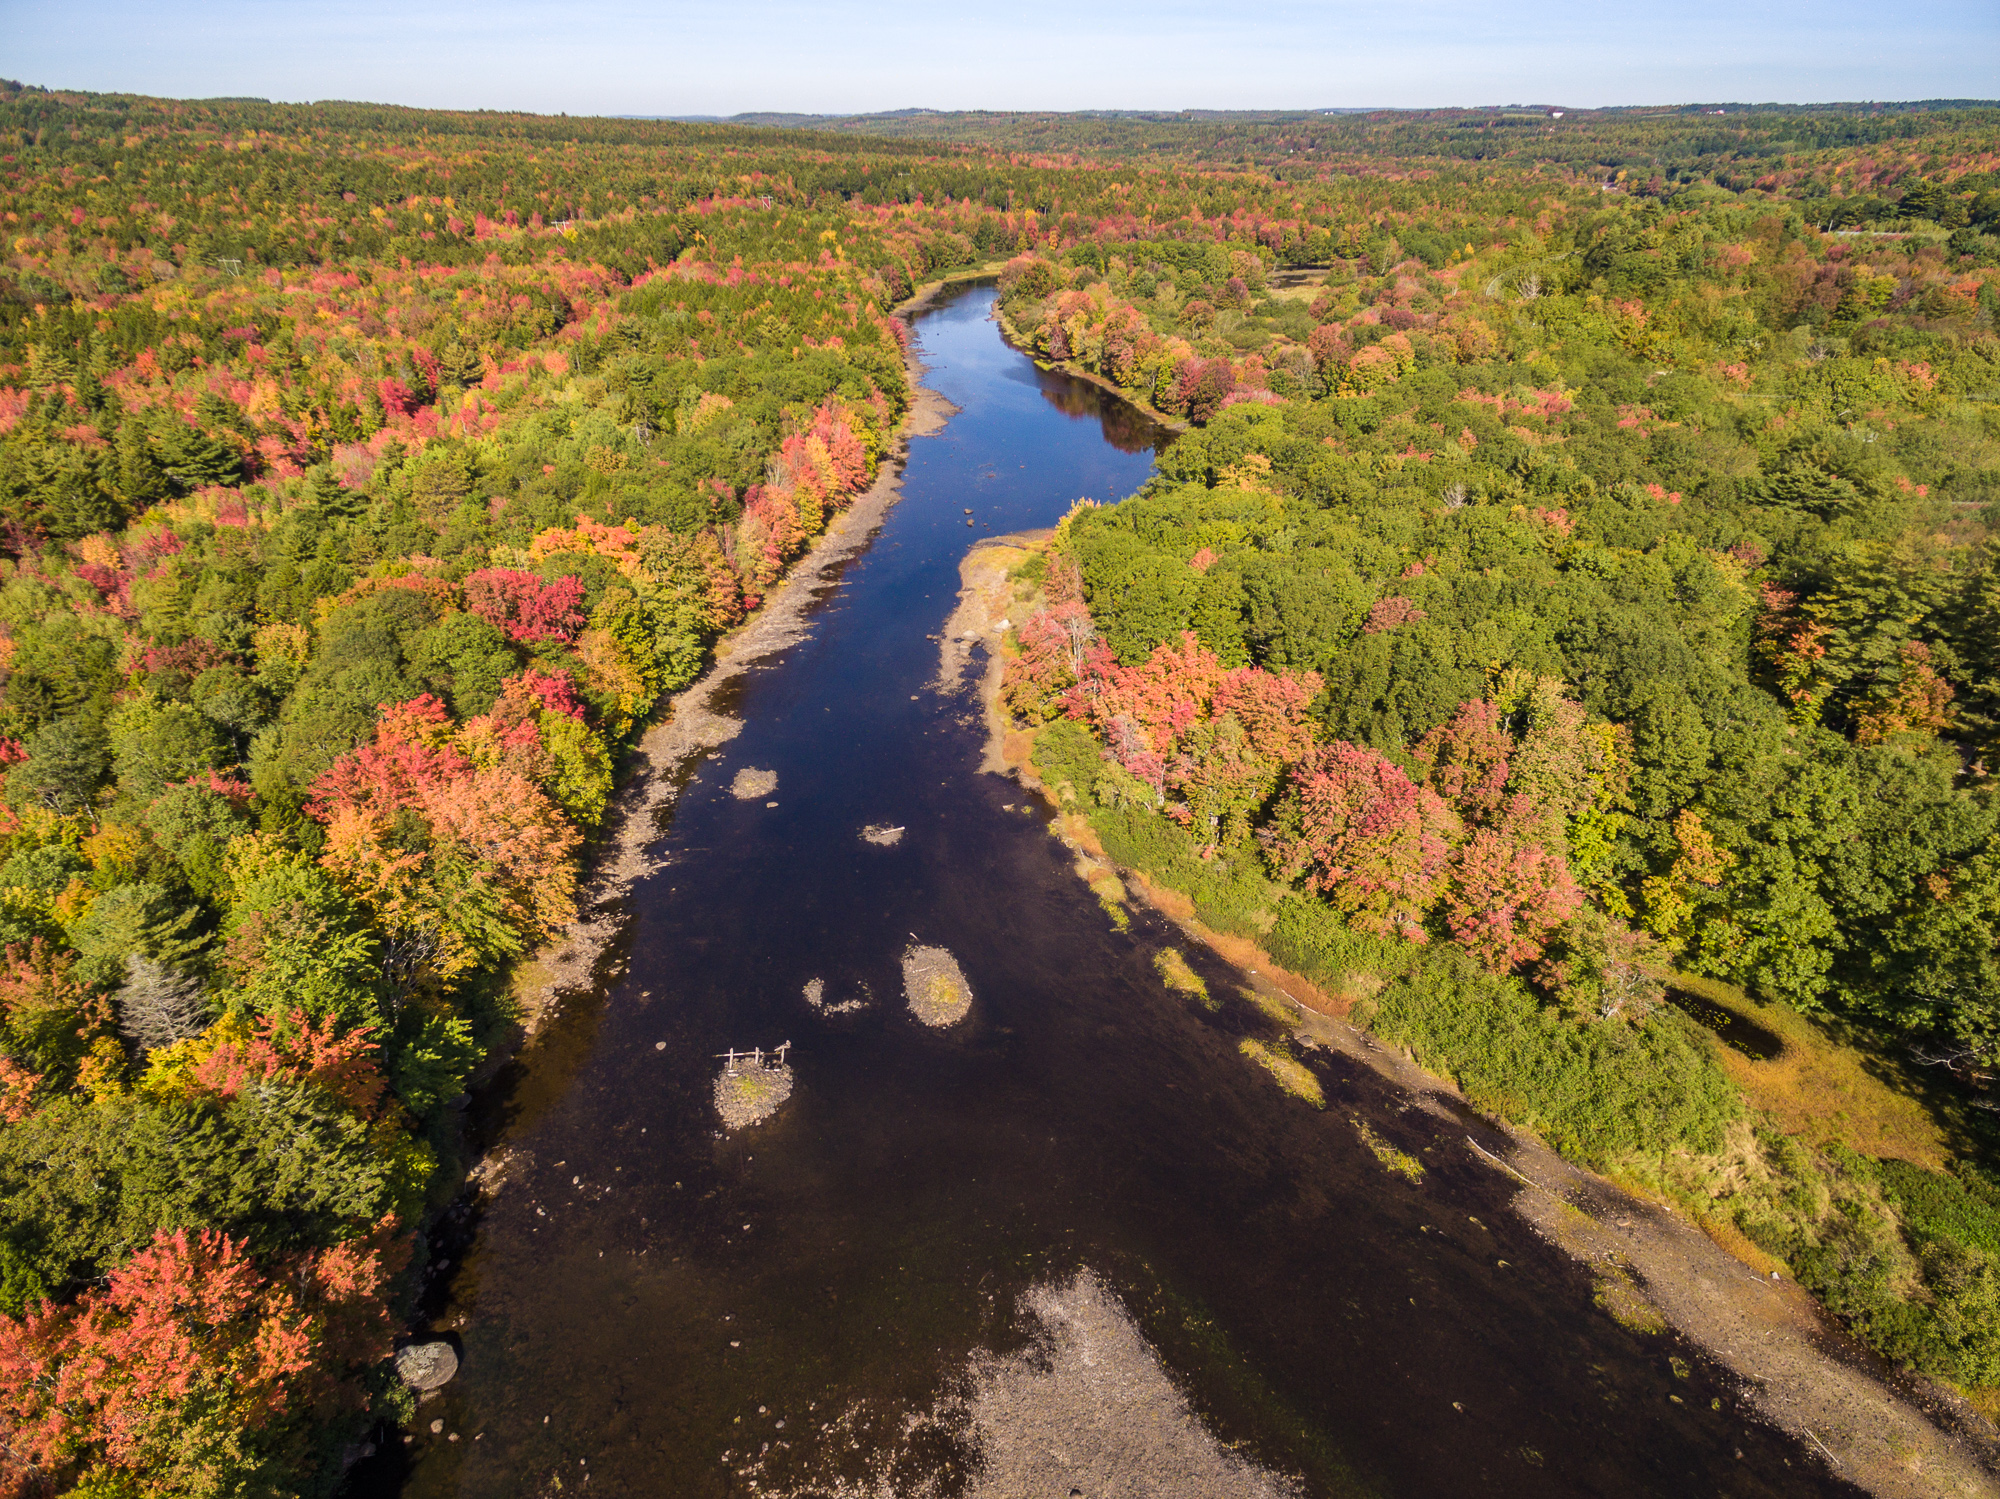
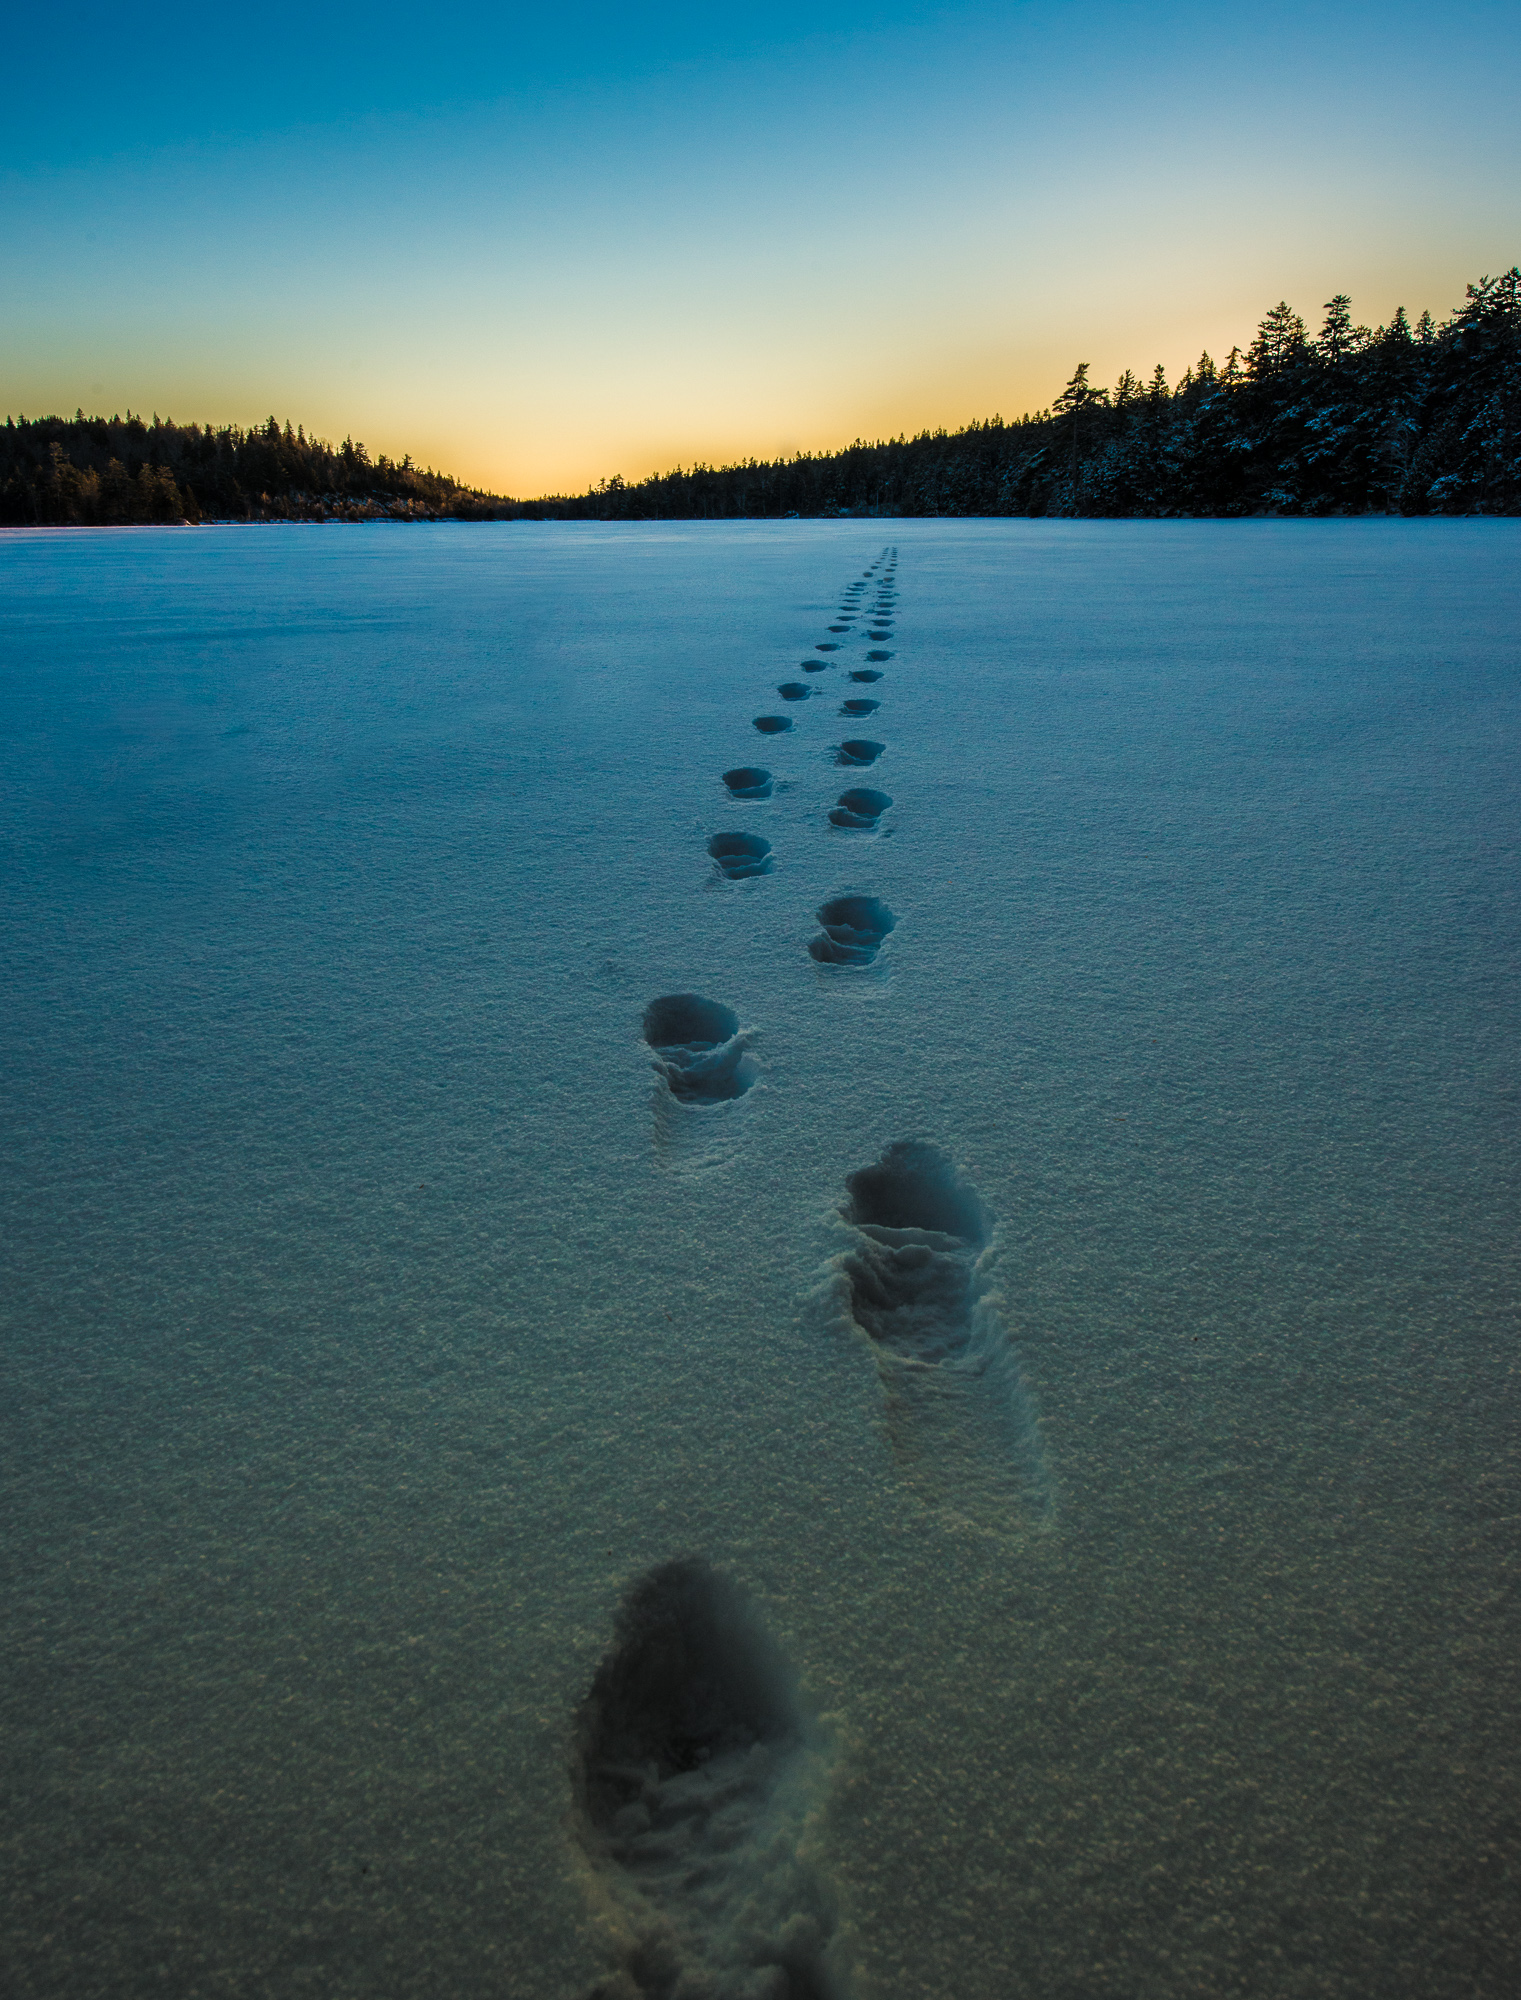

This creates motion and structure with your photo and create more interest within your image.
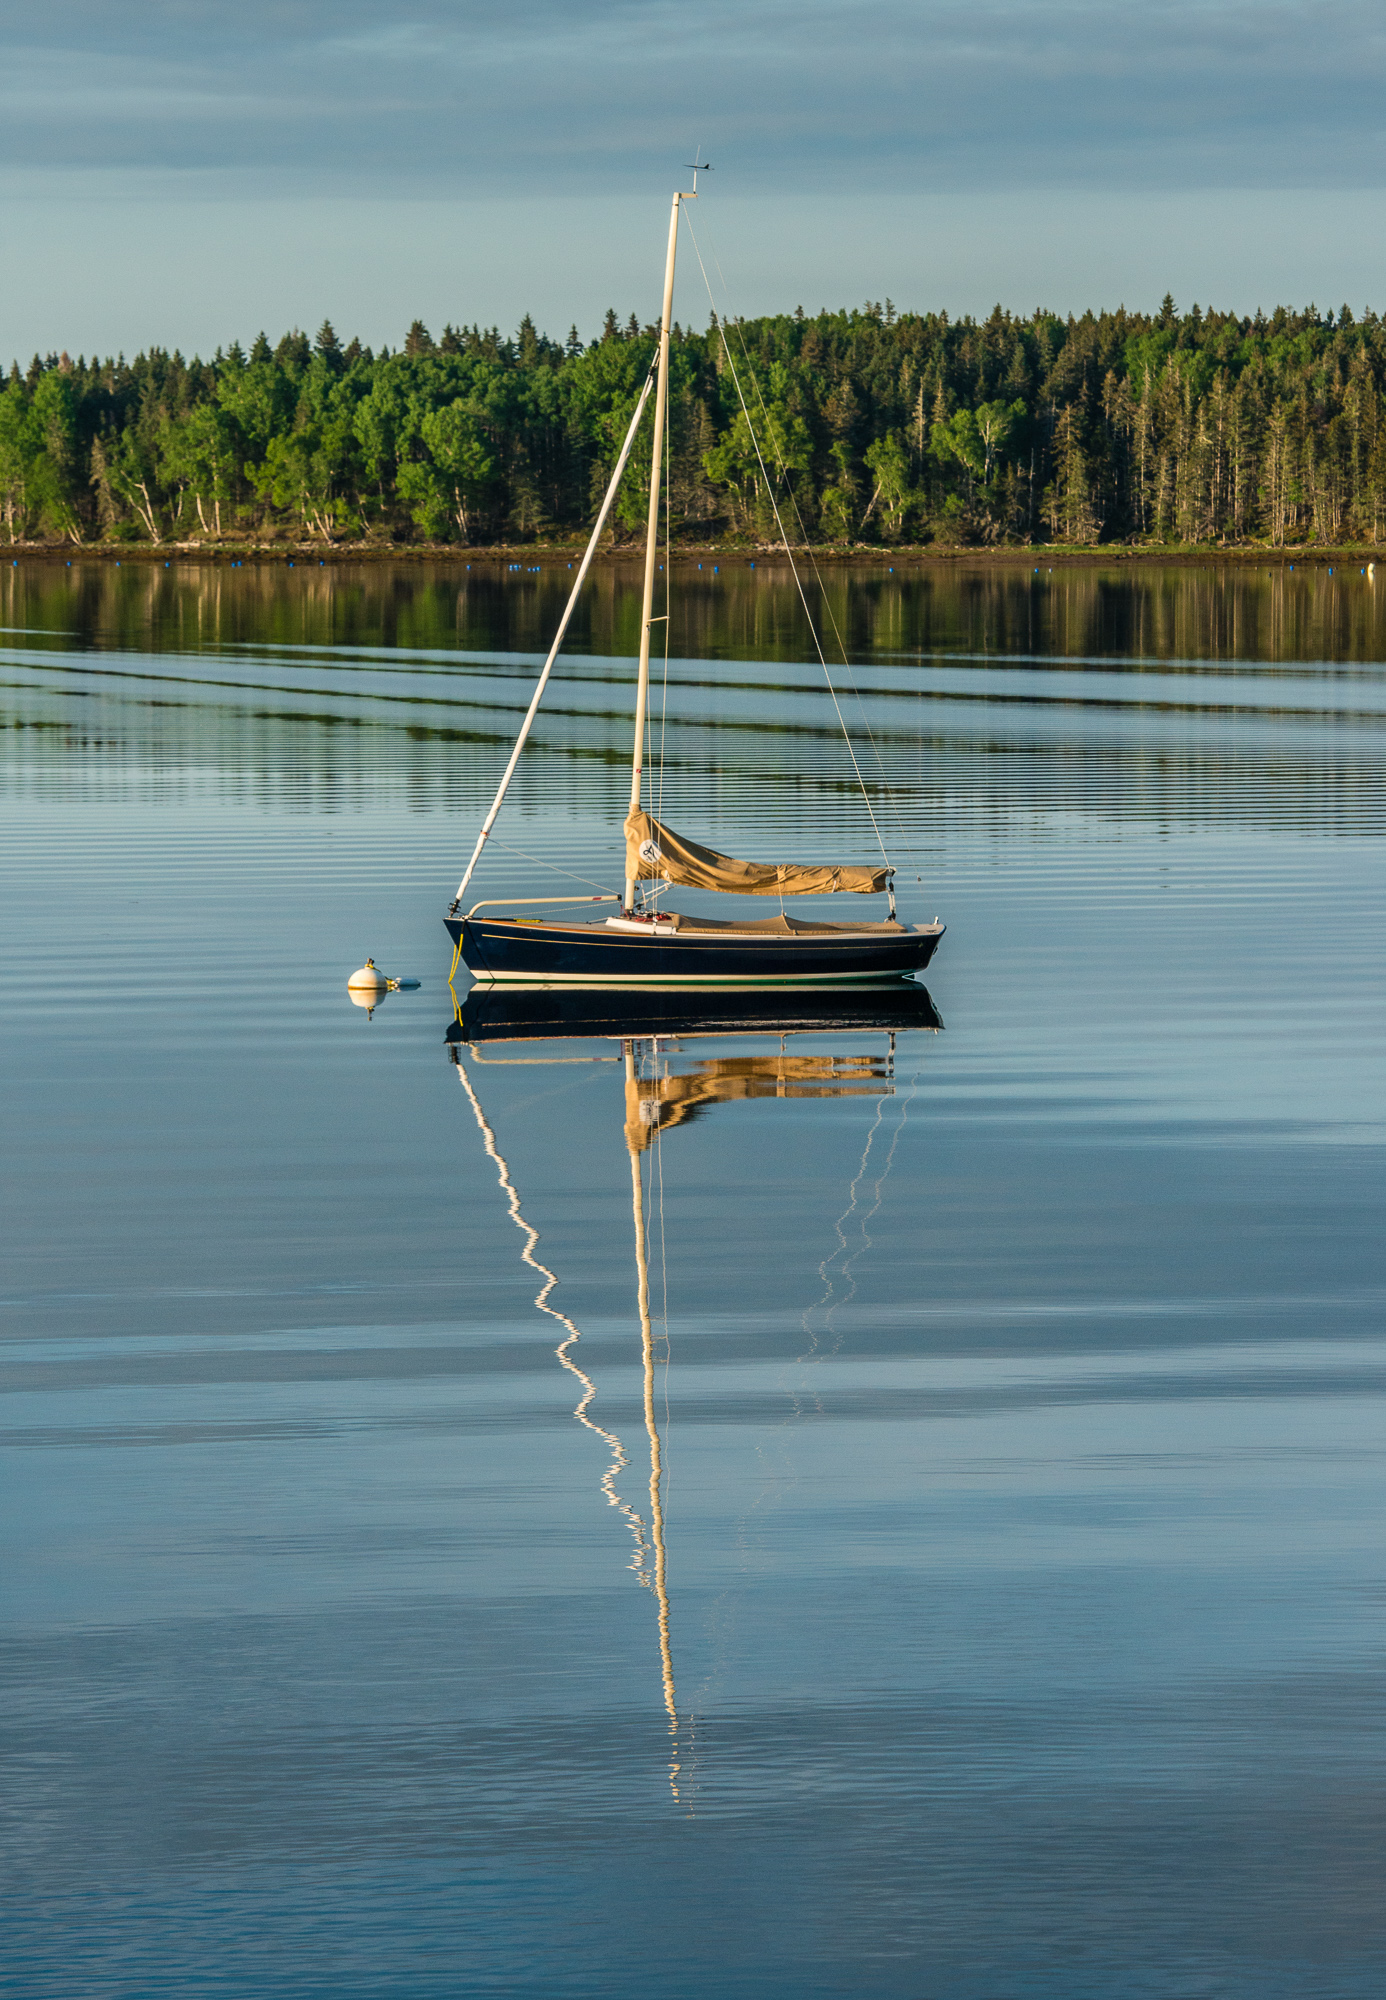
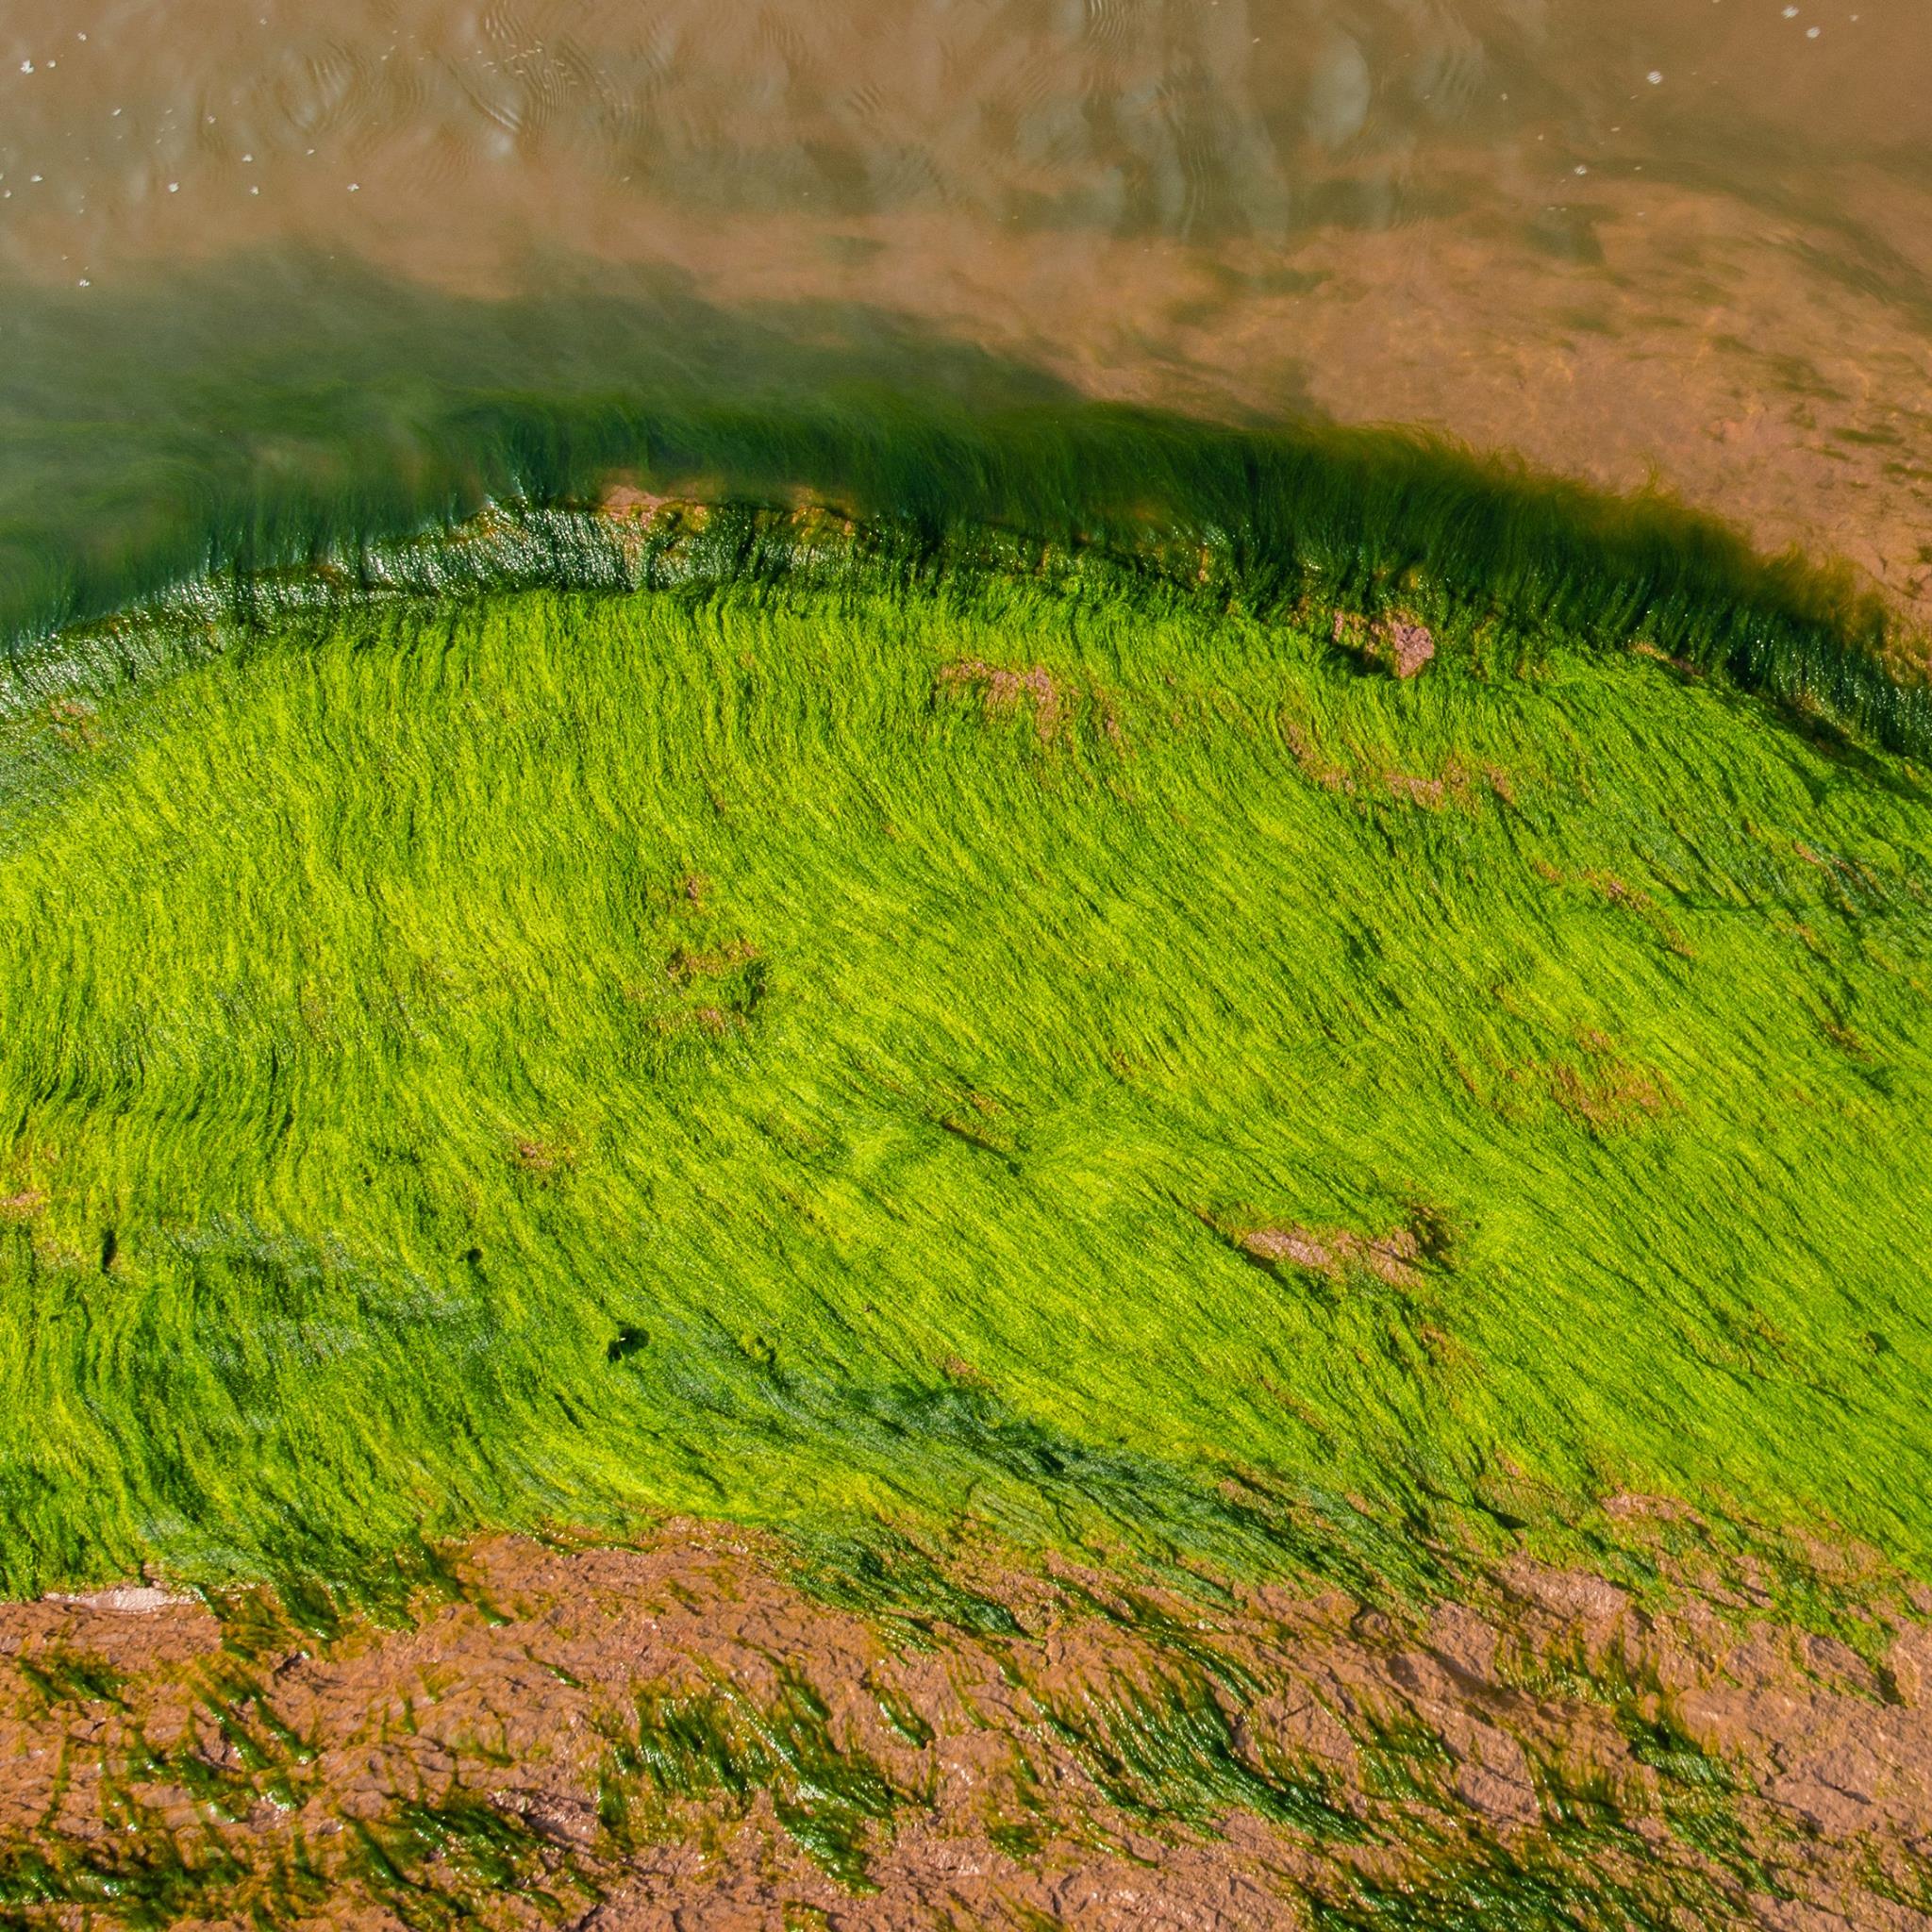
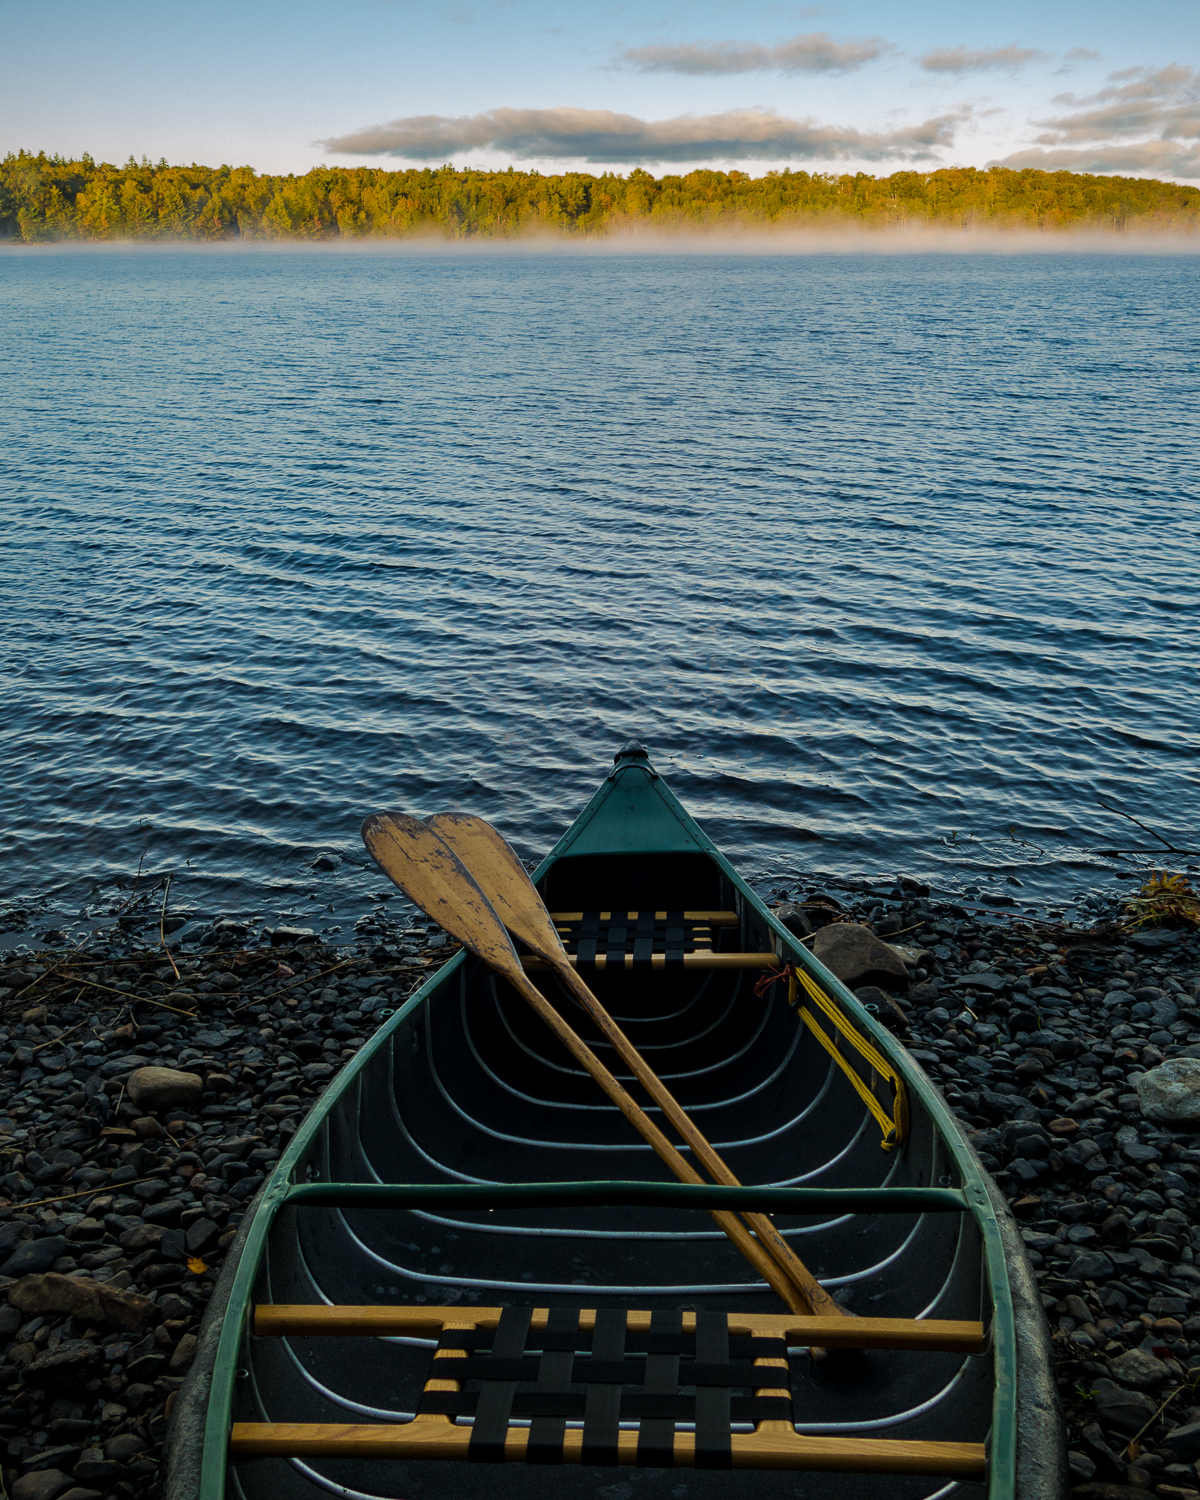
(6) Shapes & Patterns
I am always looking for recognizable shapes and repeating patterns within the frame of my camera.
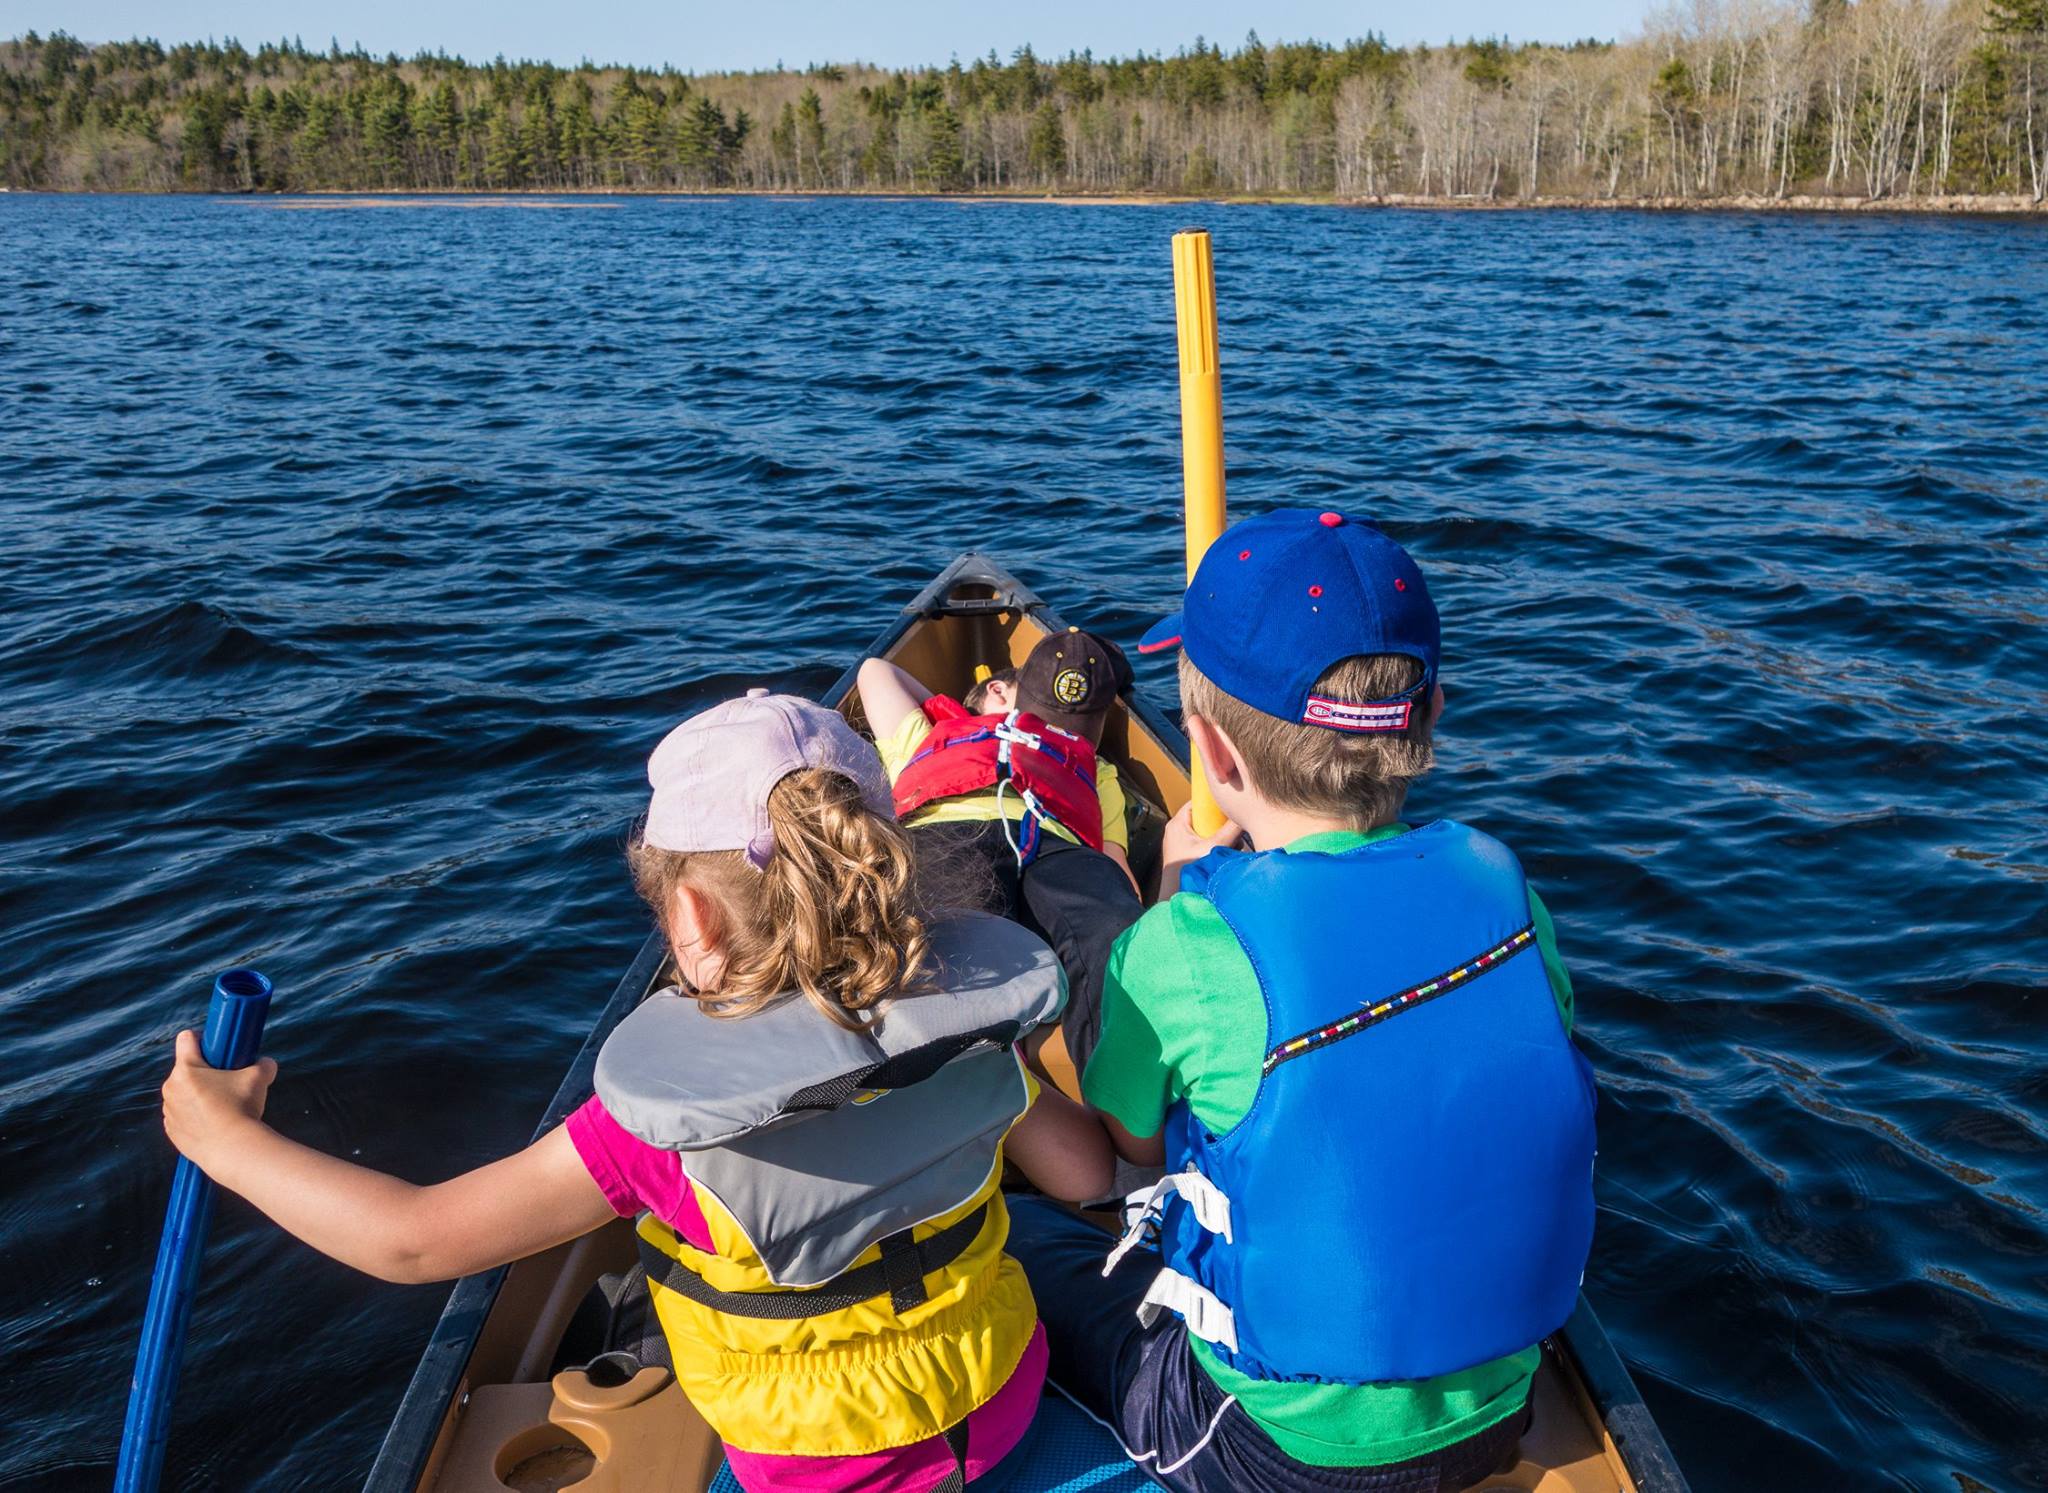
McCabe Lake, Nova Scotia
These shapes and patterns become something a viewer can subconsciously relate to when they are viewing your images.


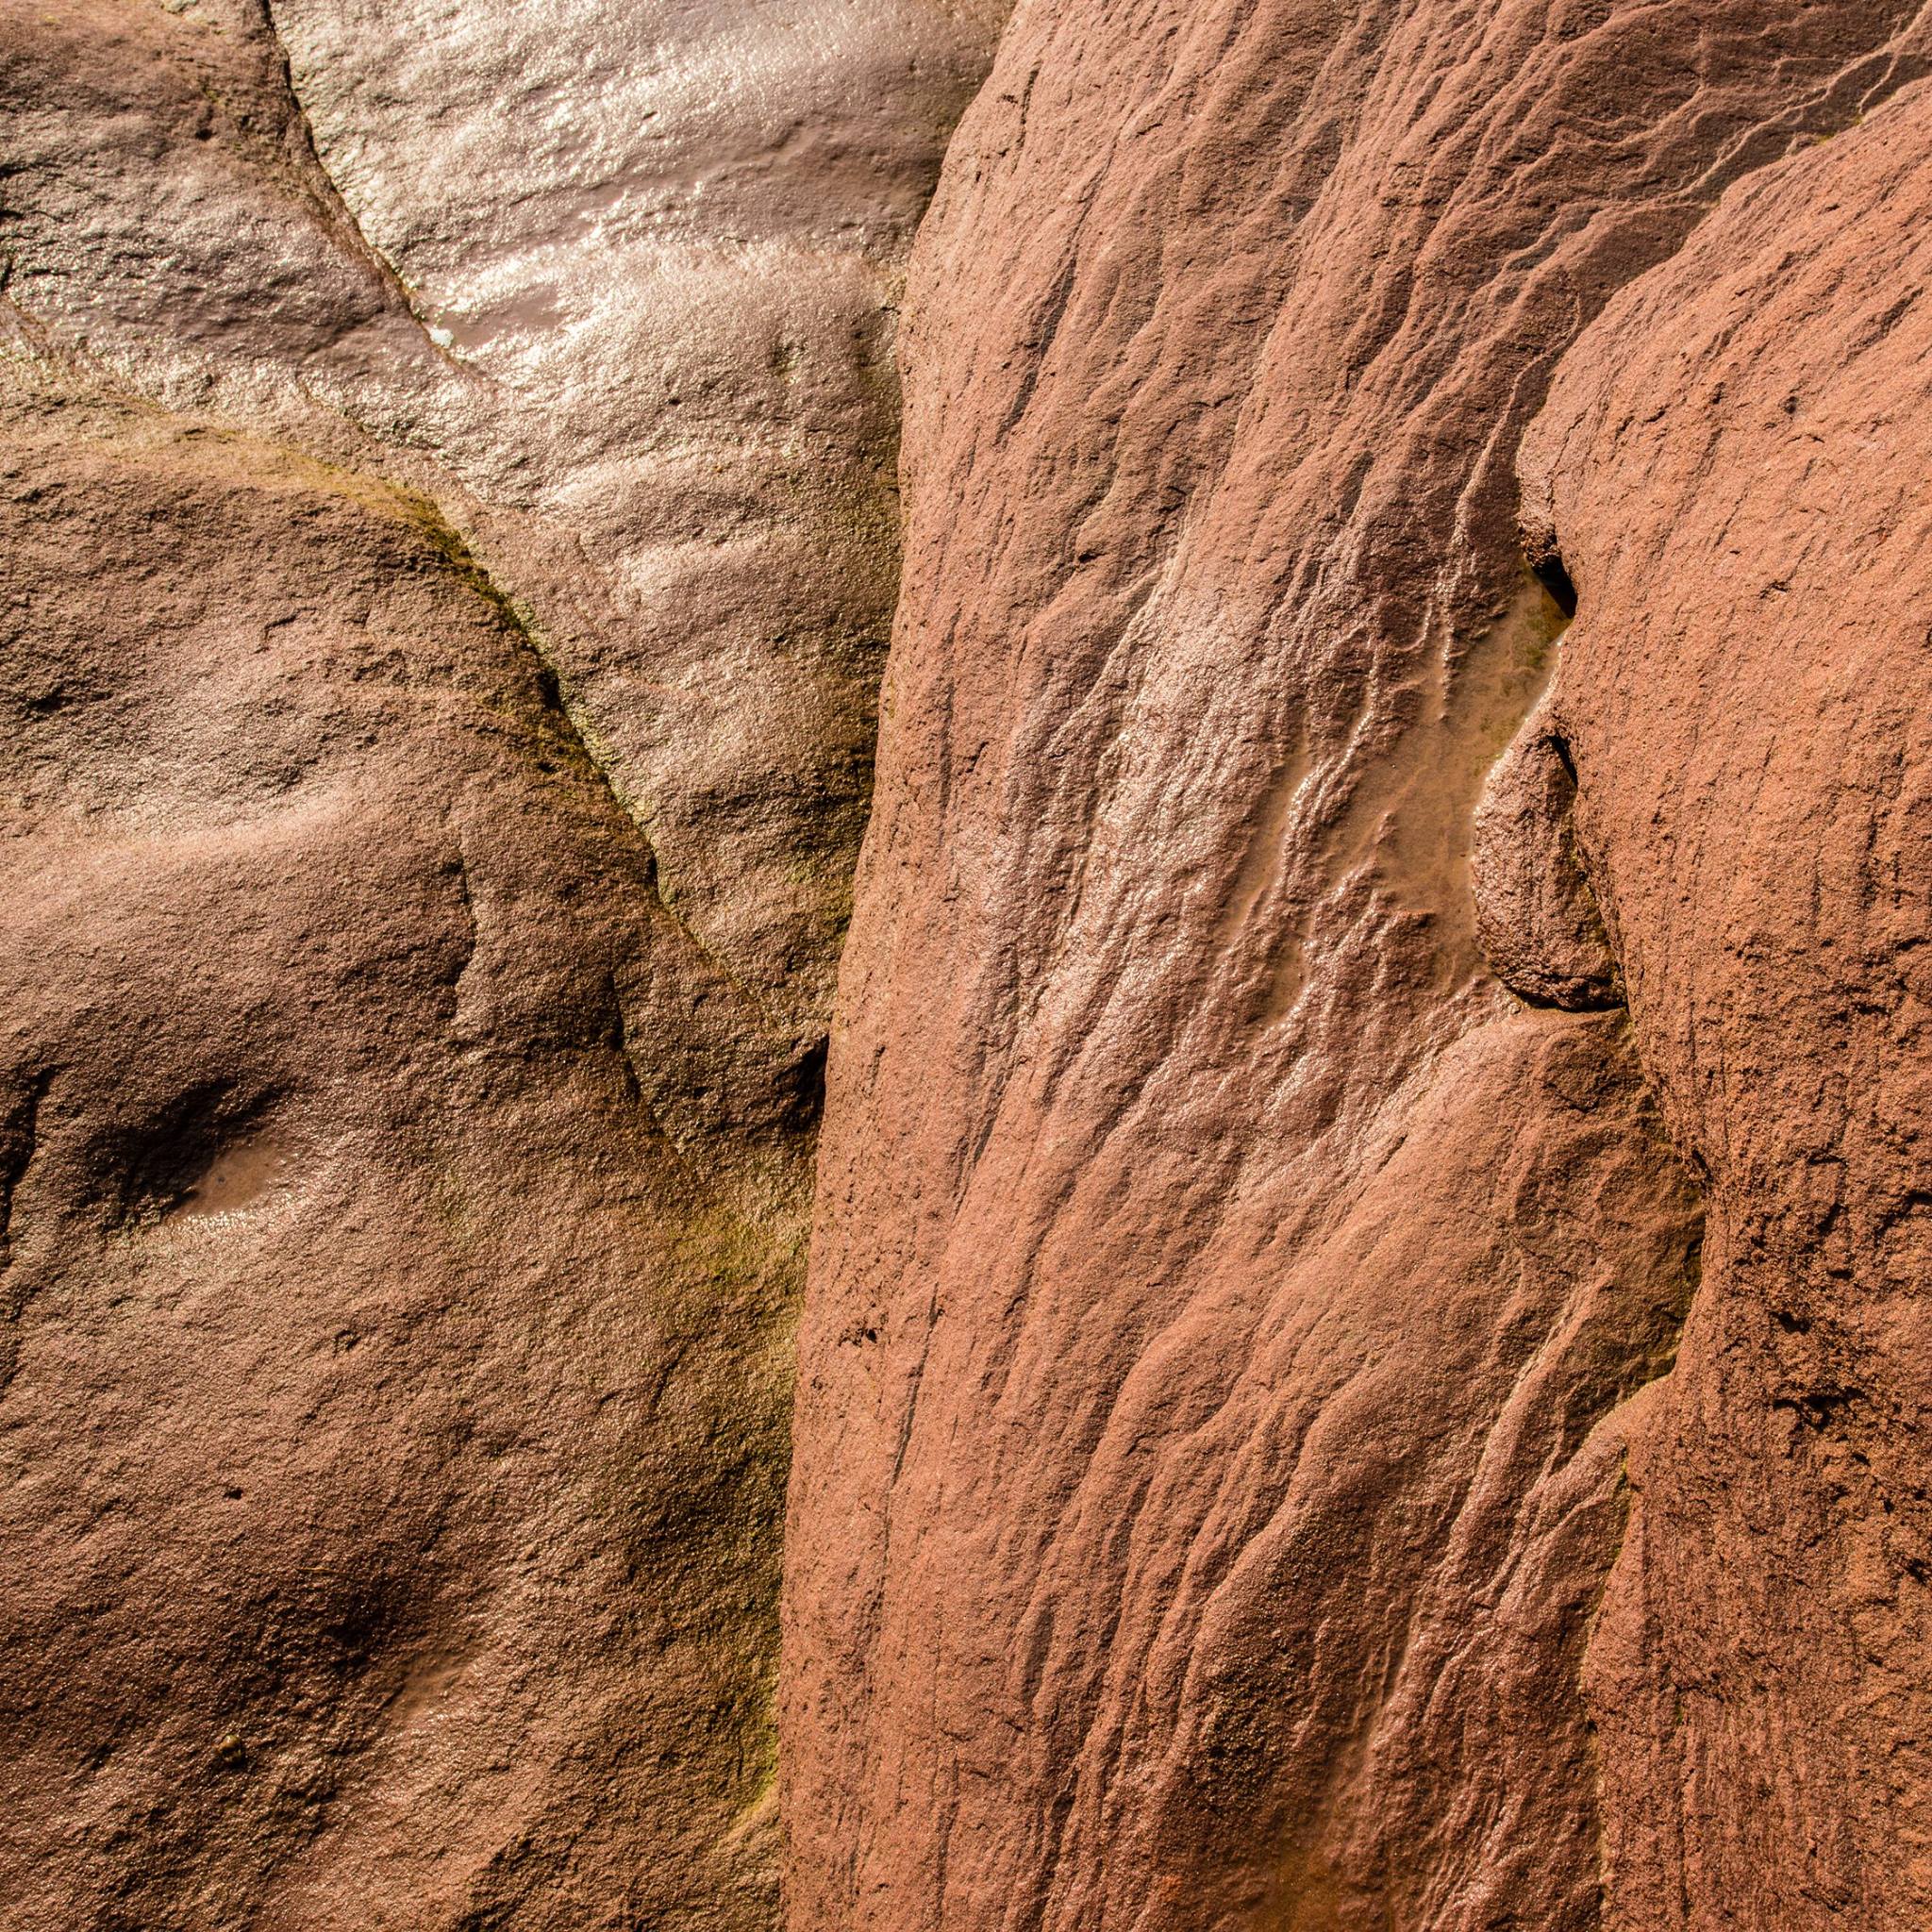
(7) Look for Unique Angles
When I am teaching my photography workshops, I am always saying “ If you are not crawling on the ground or trying to climb that tree you are not pushing yourself to find the unique perspectives with your photos.” Remember if we only photograph from eye level we only end up with photography that everyone can see with their own eyes.


You do not need to have all of these techniques within every photo you create. You may one apply one or two techniques and of course you do not have to follow these rules all the time. That's the beauty of photography, you can break them anytime you want. However, as I said in my last post, you want to break the rules with intention instead of by accident. When you break the rules by accident you won't clearly know why your image is successful. But when you plan and make the effort to create your photograph, you will naturally start to look for composition in your own photography.
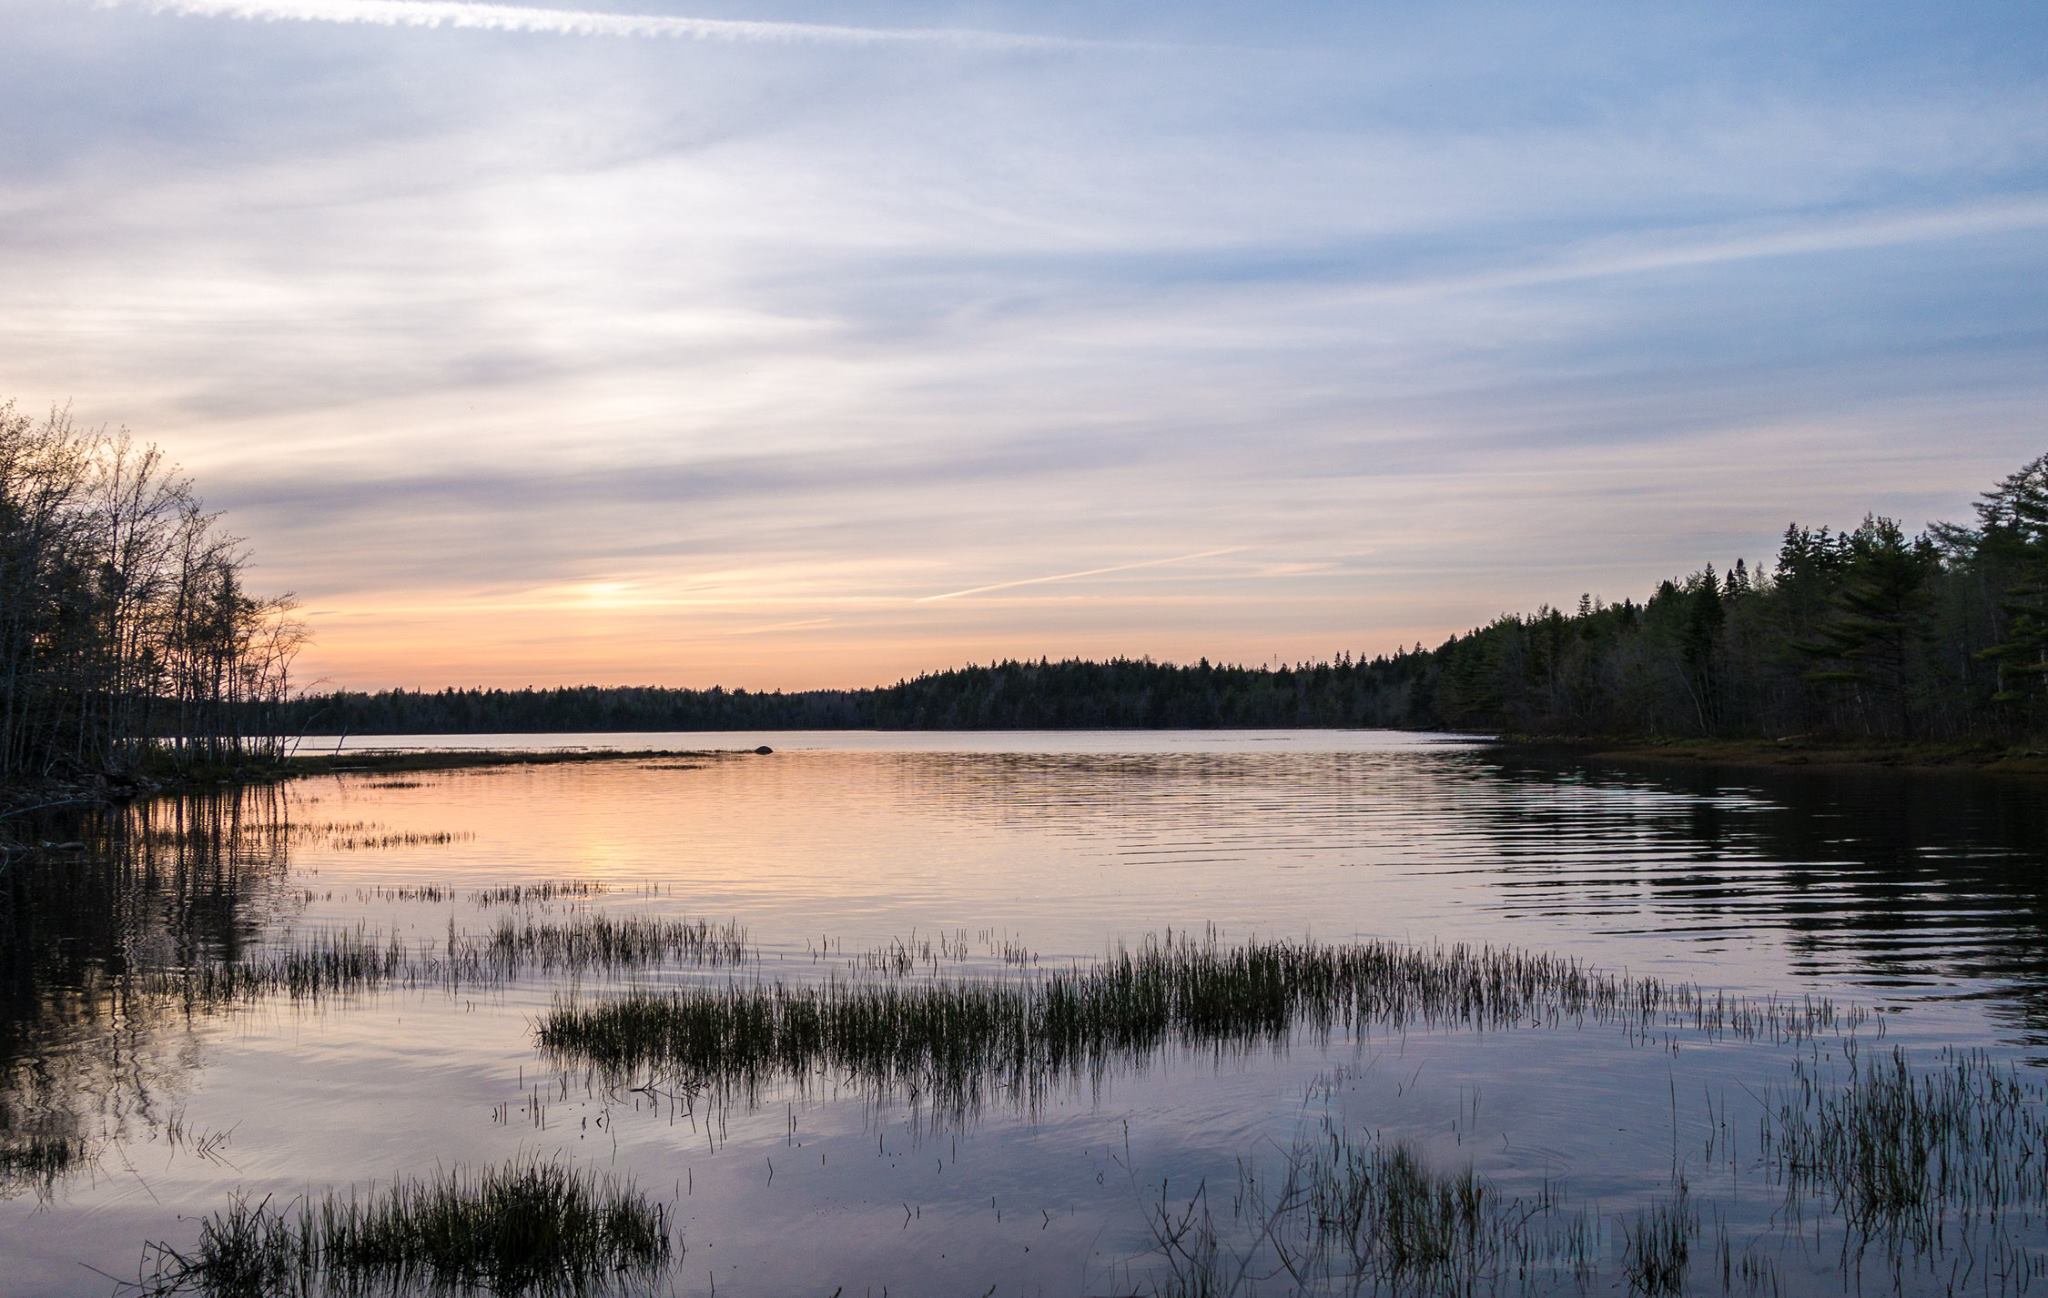
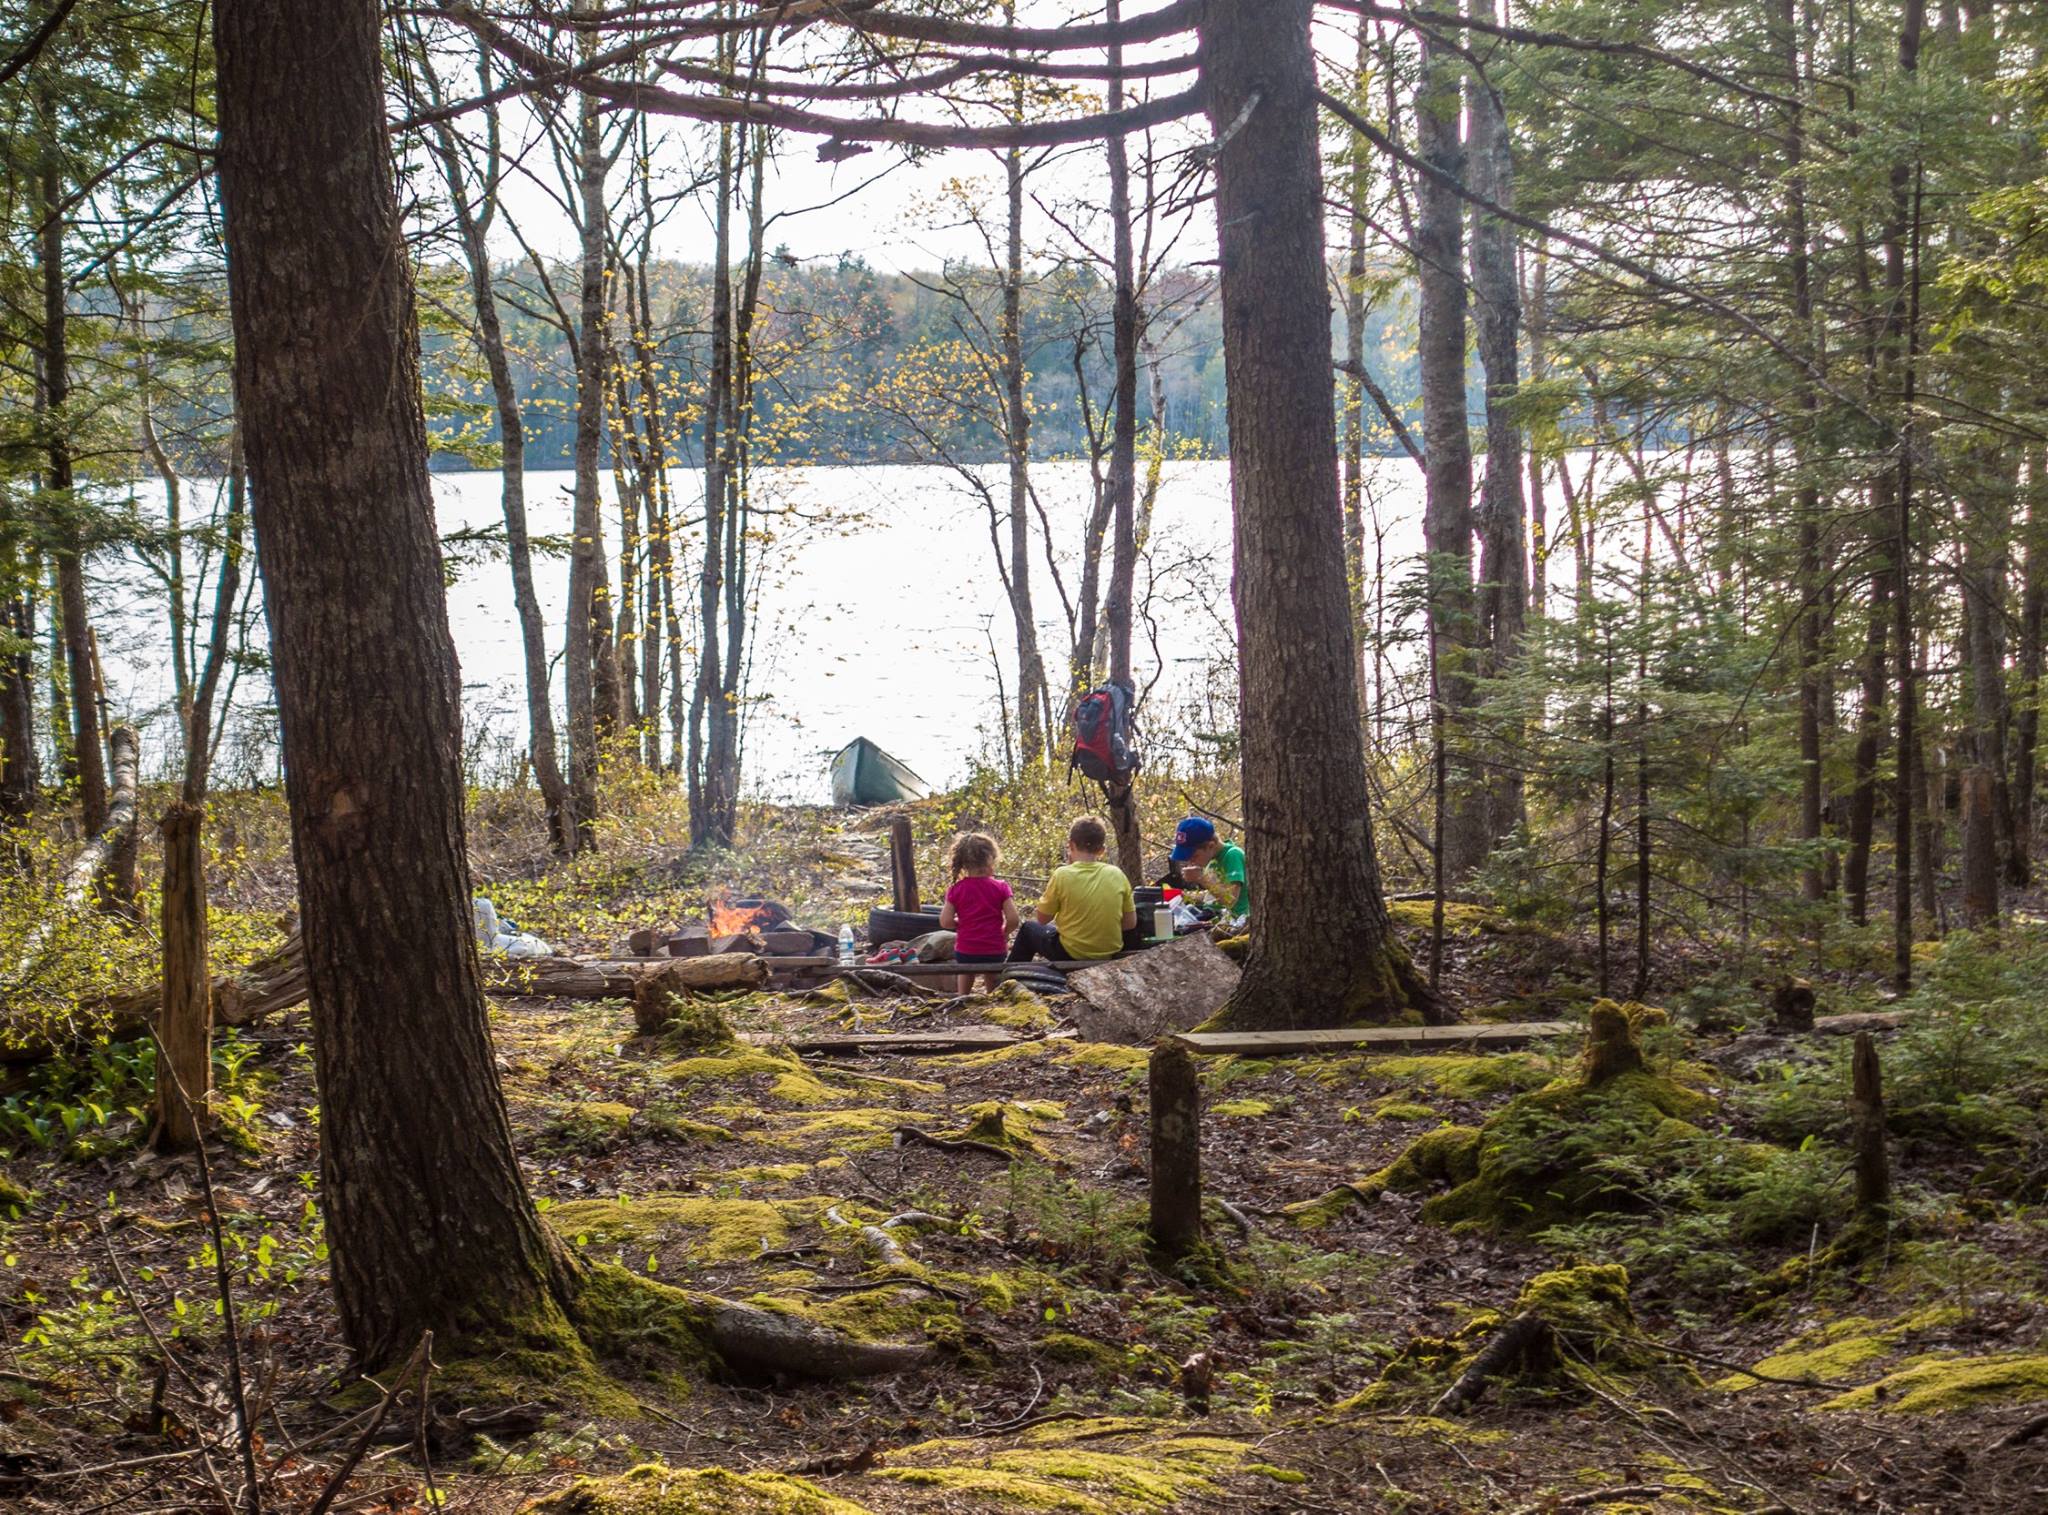
Bluff Wilderness Trail, Halifax Nova Scotia
So let me state this again; anyone can learn to take beautiful photographs. You do not need to be born with this skill. However, it does take a commitment of time, effort and a lot of practice to make this a natural instinctive reaction when you are using your camera. So with the holidays near there are so many opportunities to practice these techniques. Think about how you can try to apply just a one of these techniques the next time you are using your camera.
Remember to push yourself to think about what you are seeing in the frame before you take the snapshot and try and make it a photograph.
Cheers & keep making photos. :)
Mike