What to see and photograph in Kejimkujik National Park

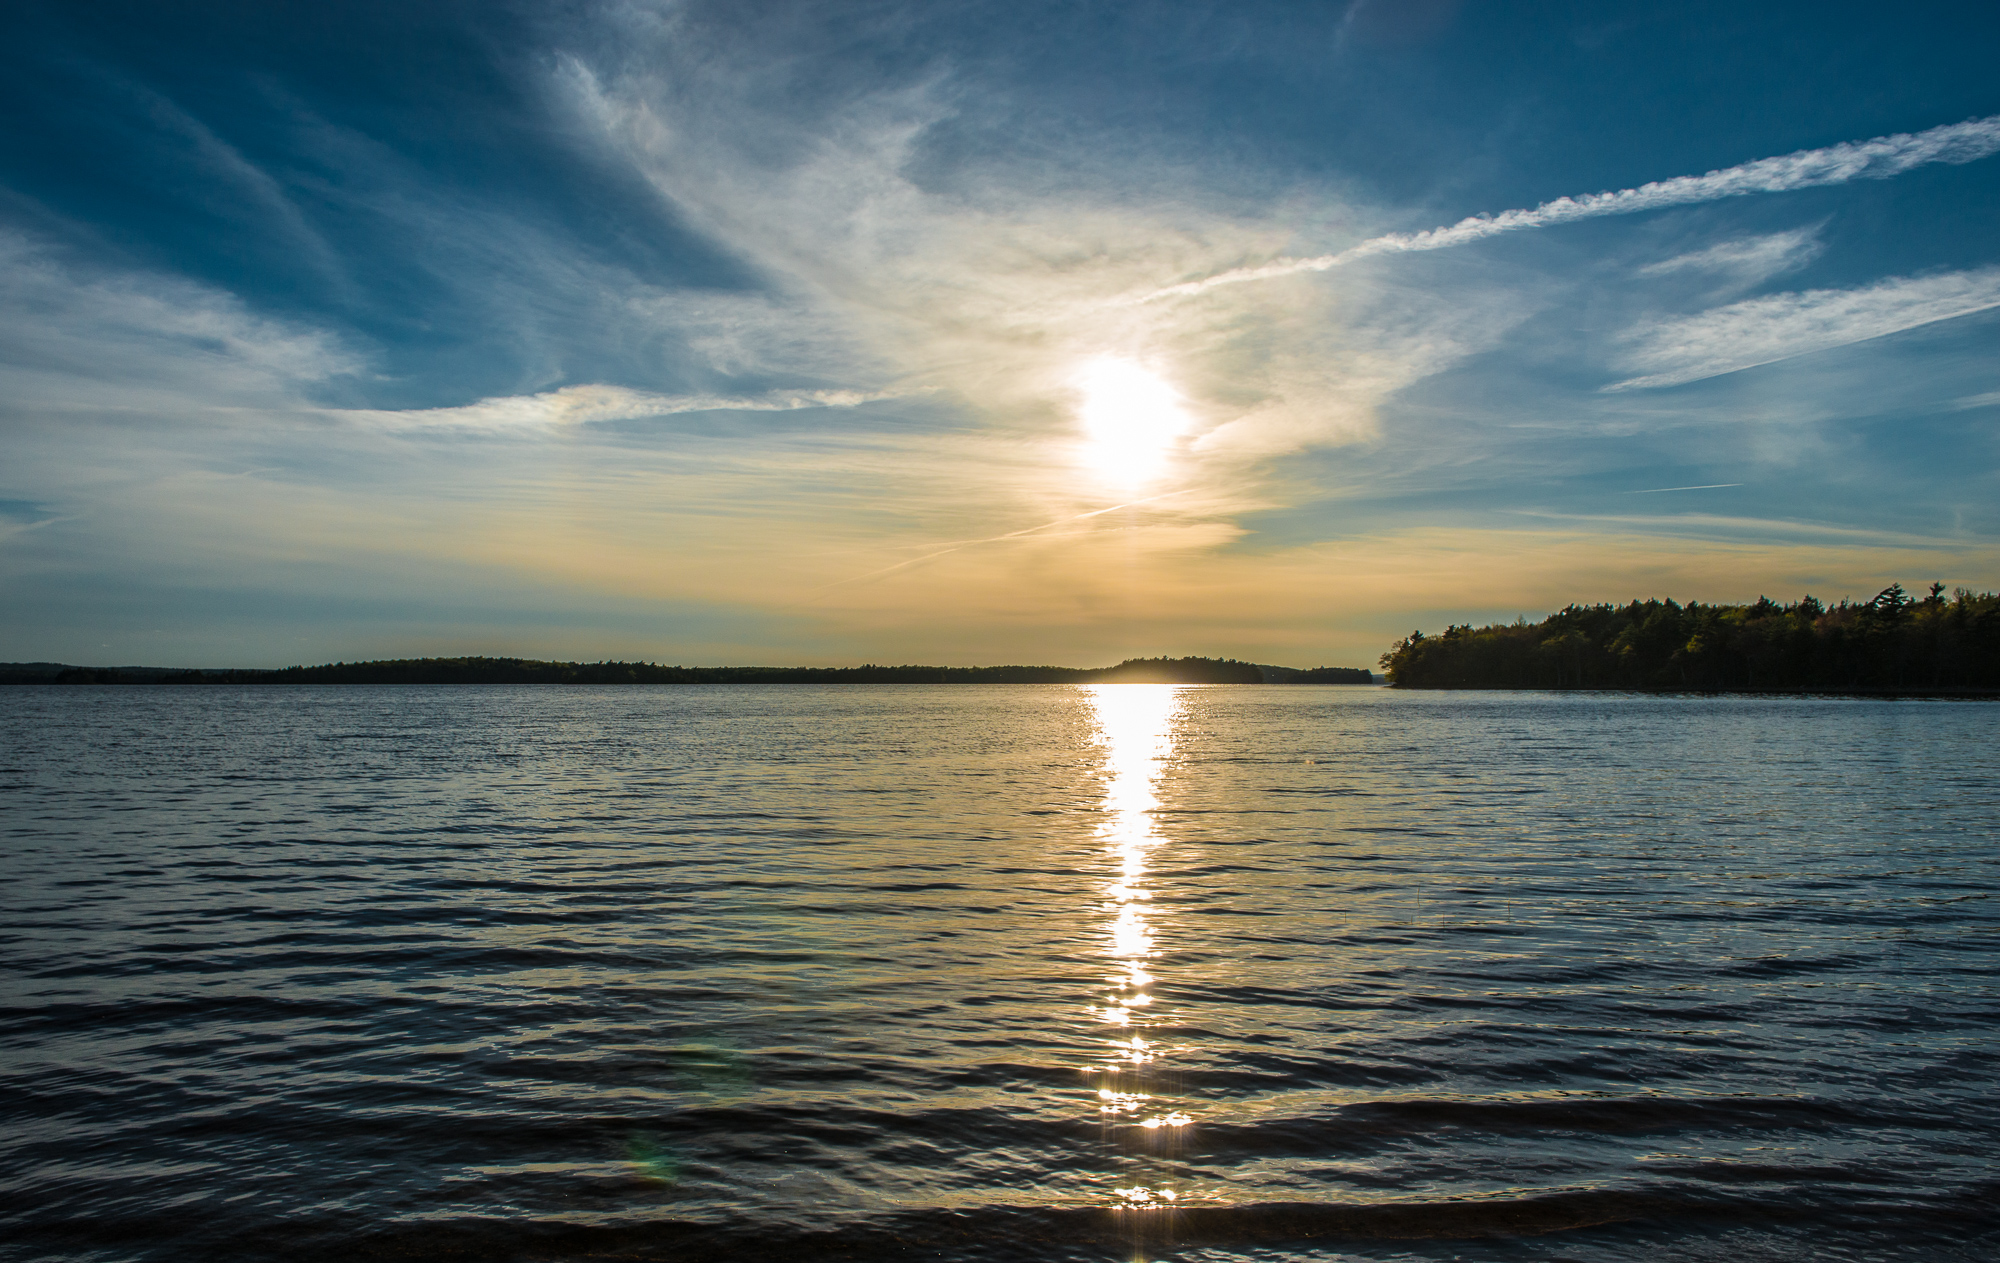
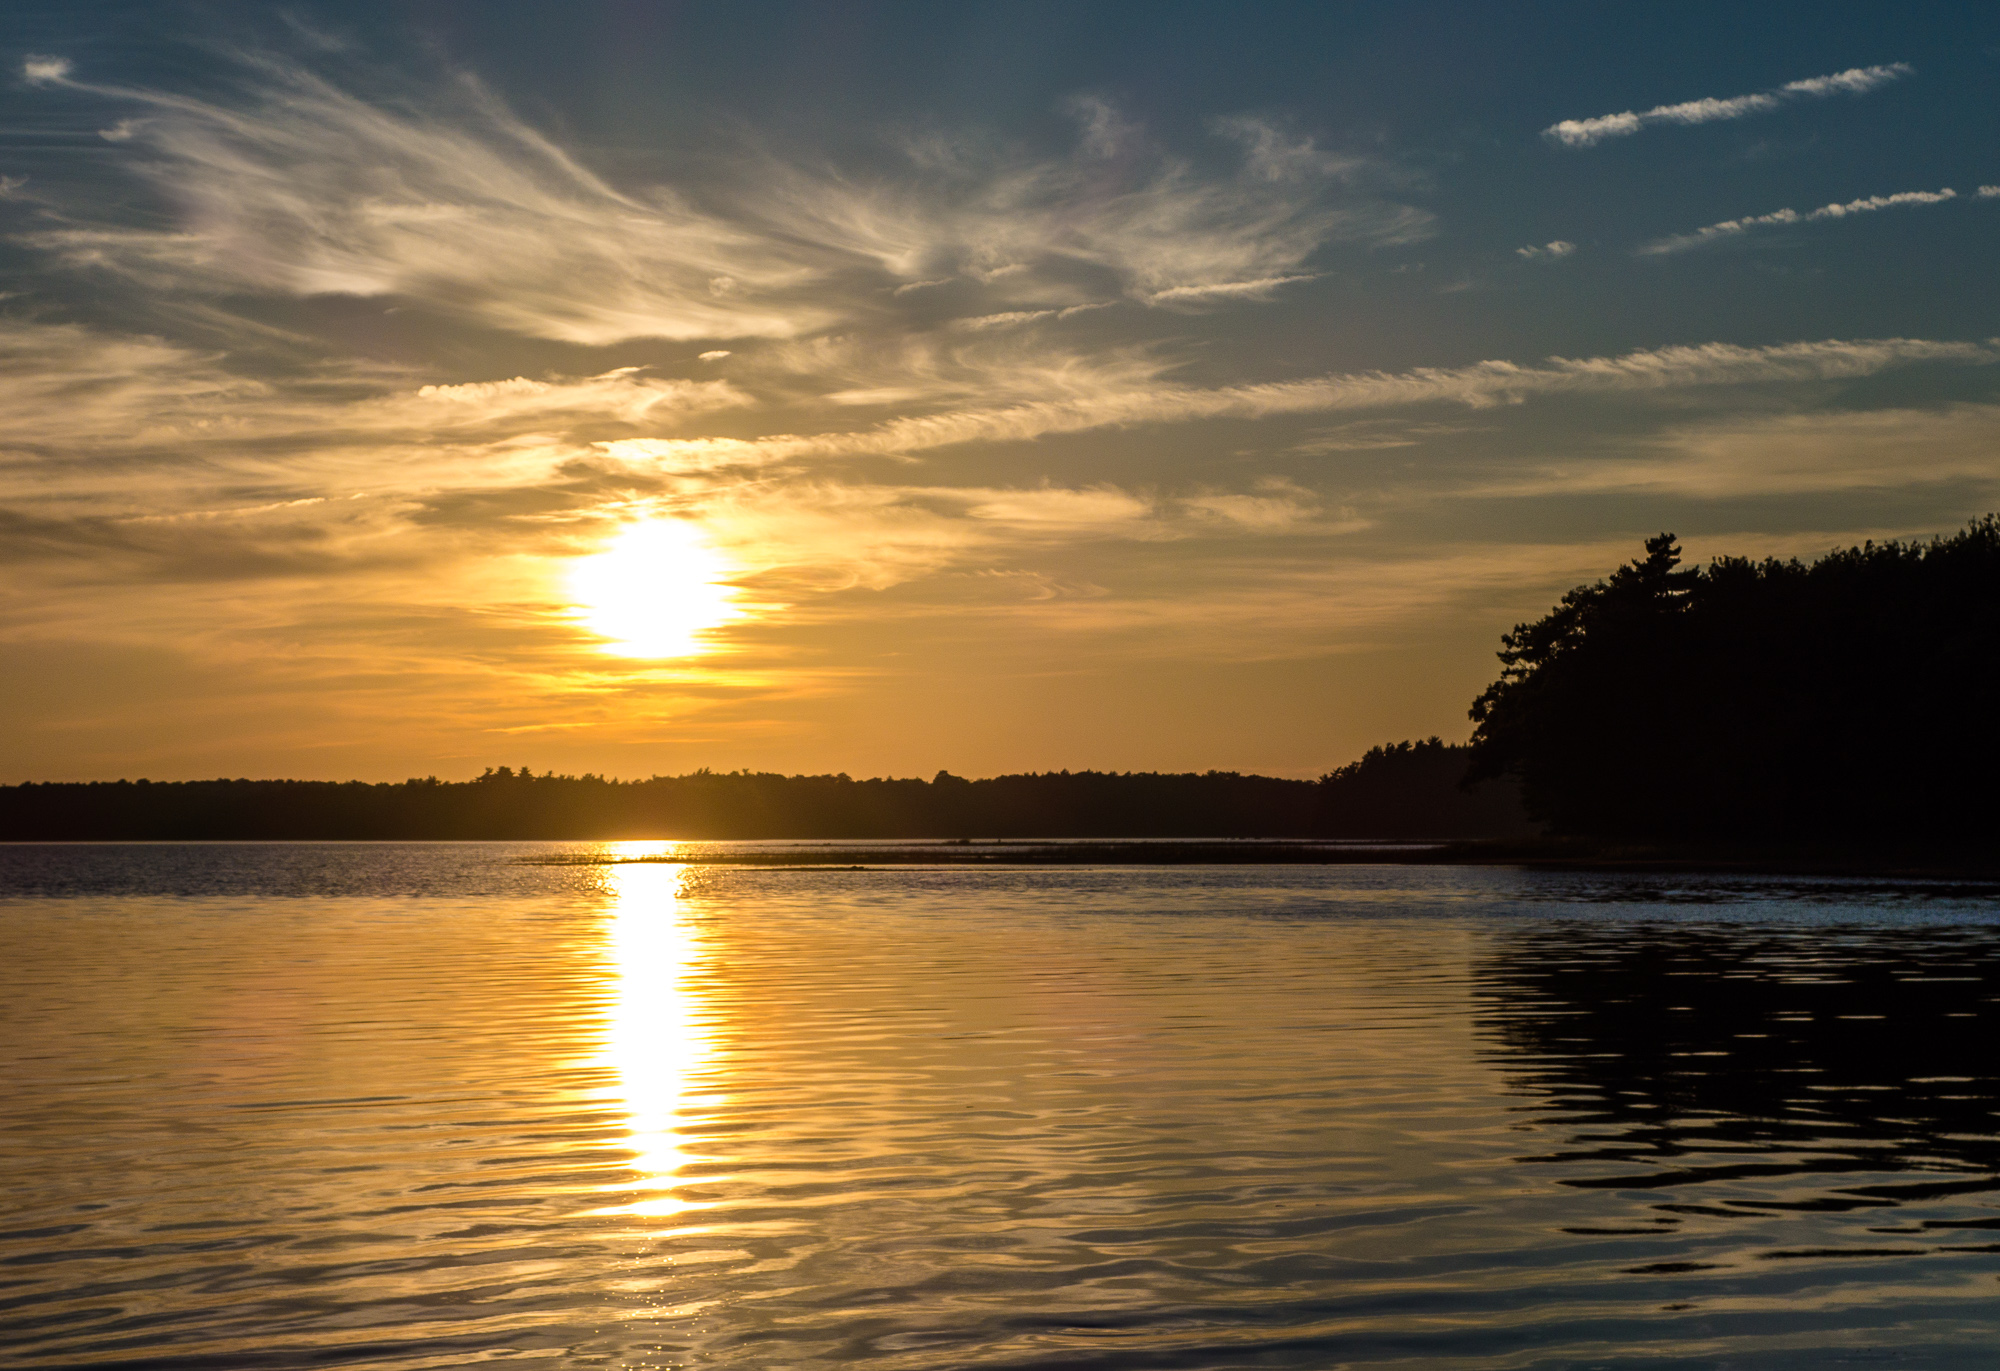
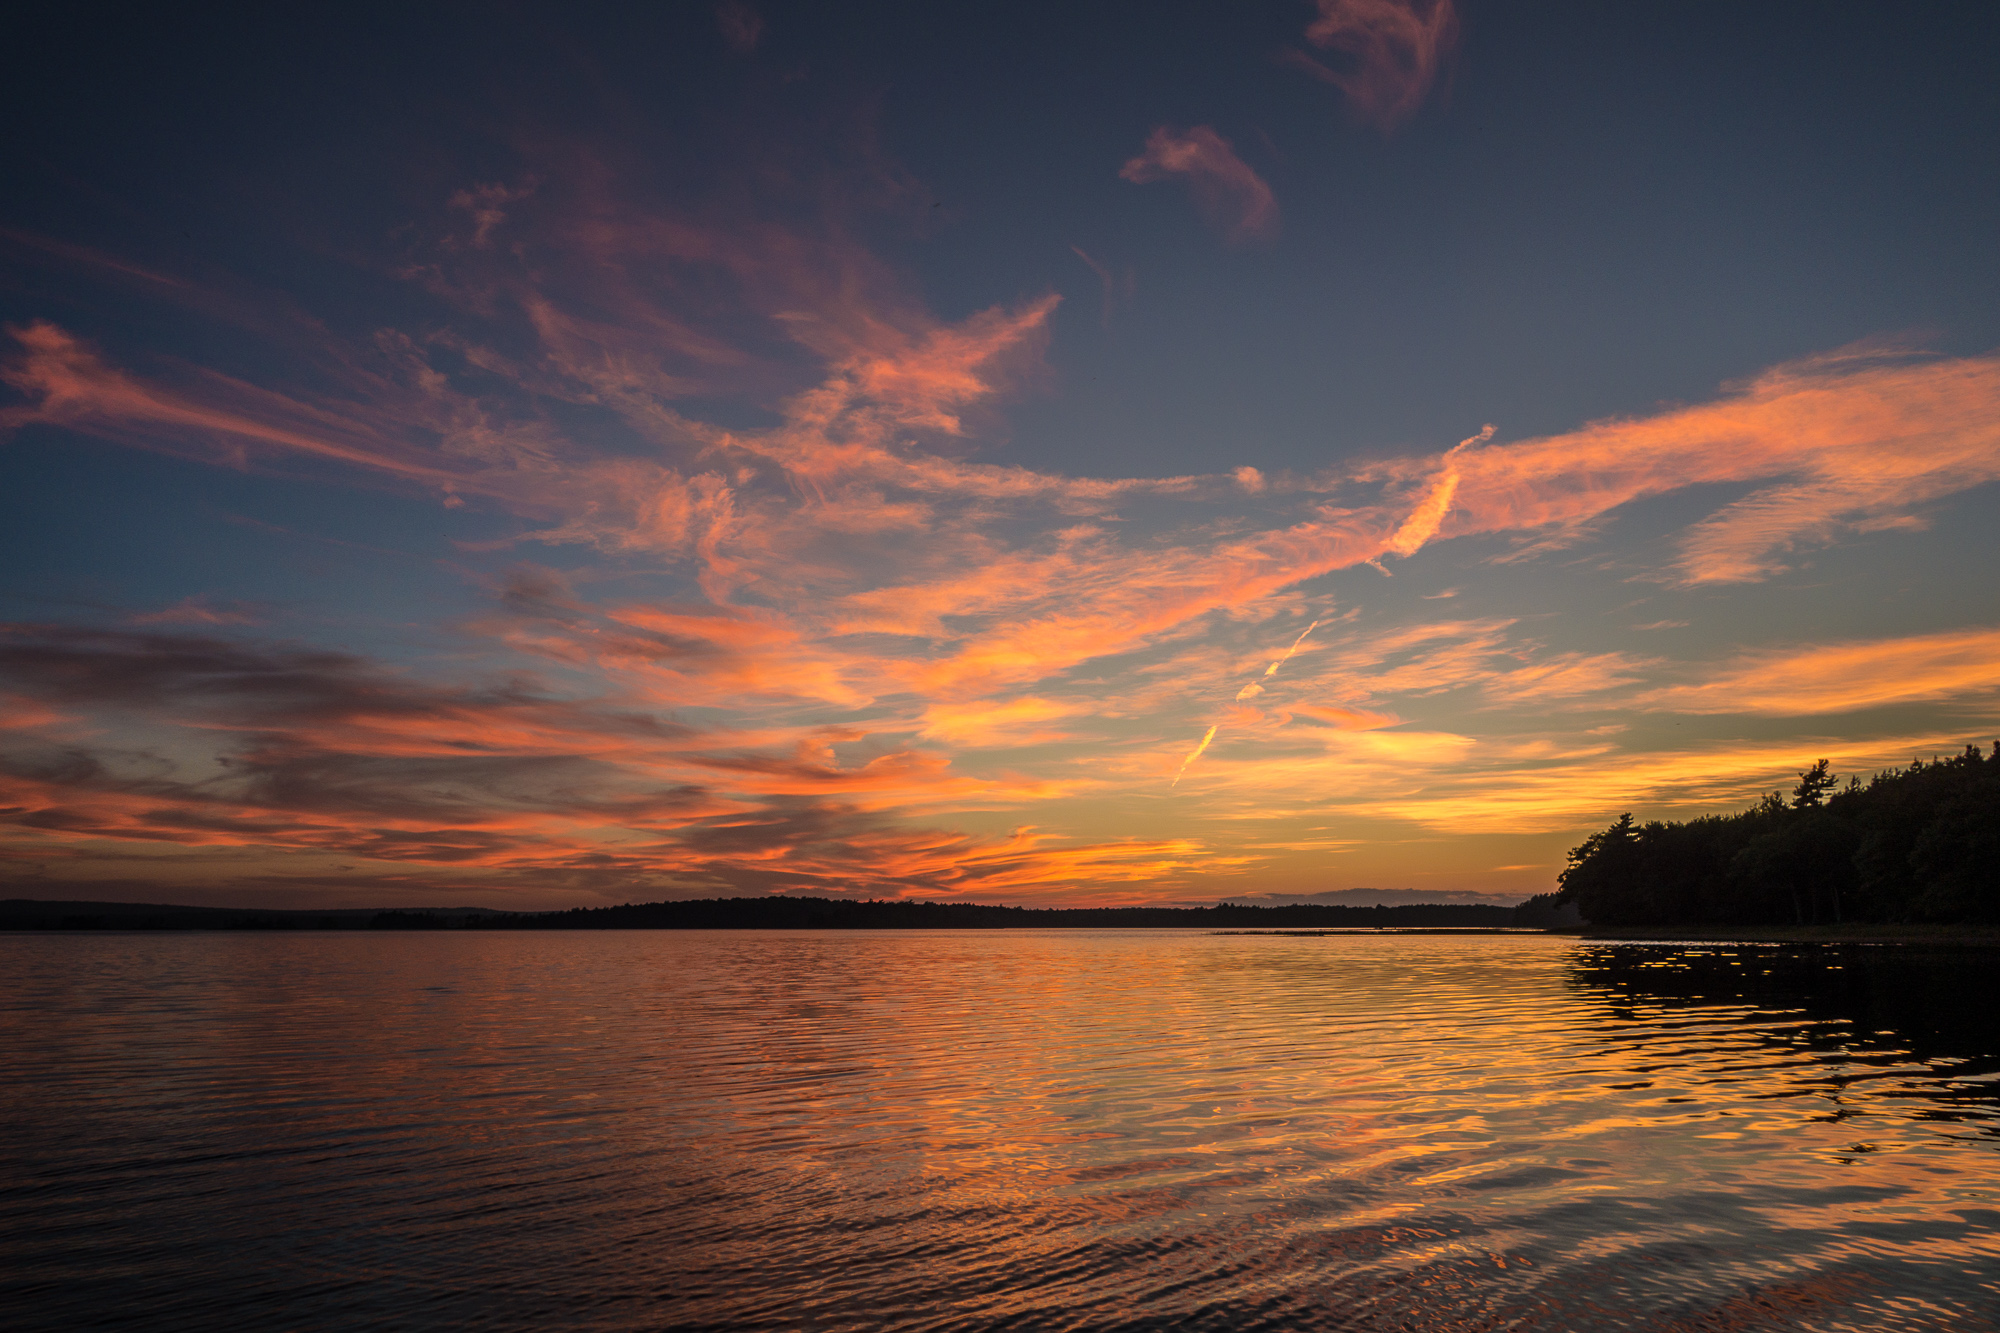
I have been exploring Kejimkujik National Park since I was a kid.  It is a place that has calm meandering streams, fast flowing waterfalls, snapping turtles, whitetail dear and a lakeside sunset view over Kejimkujik Lake that is simply amazing to see and photograph.

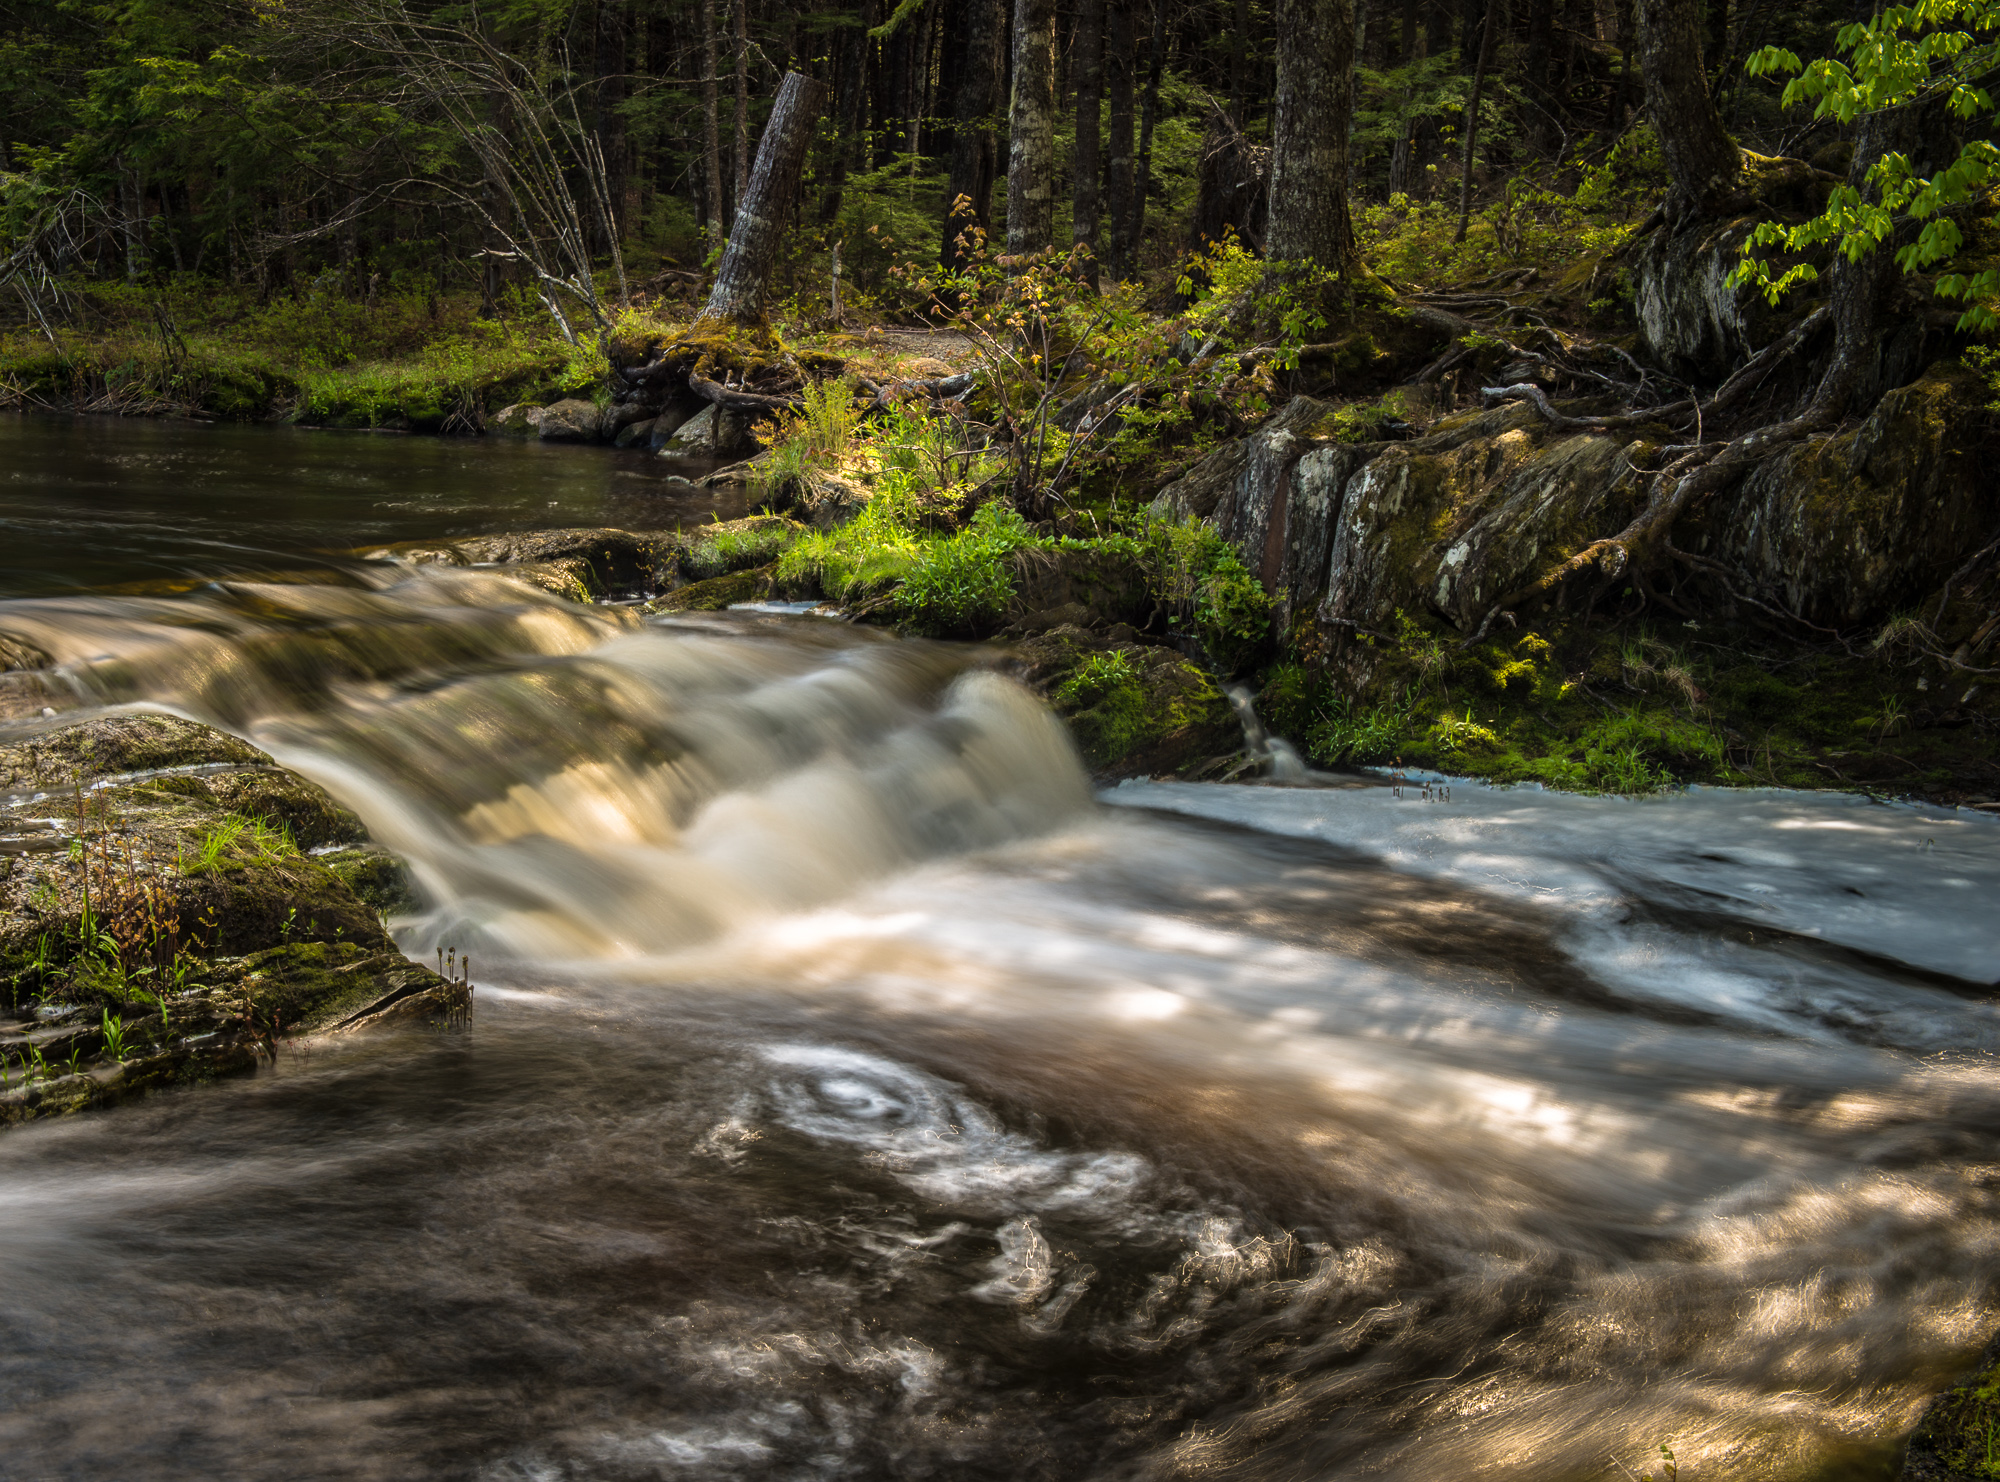
Mill Falls, Kejimkujik National Park

Recently, I was organizing my Kejimkujik National Park photos for an upcoming project and I thought I would share some of my favourite photos from my collection.

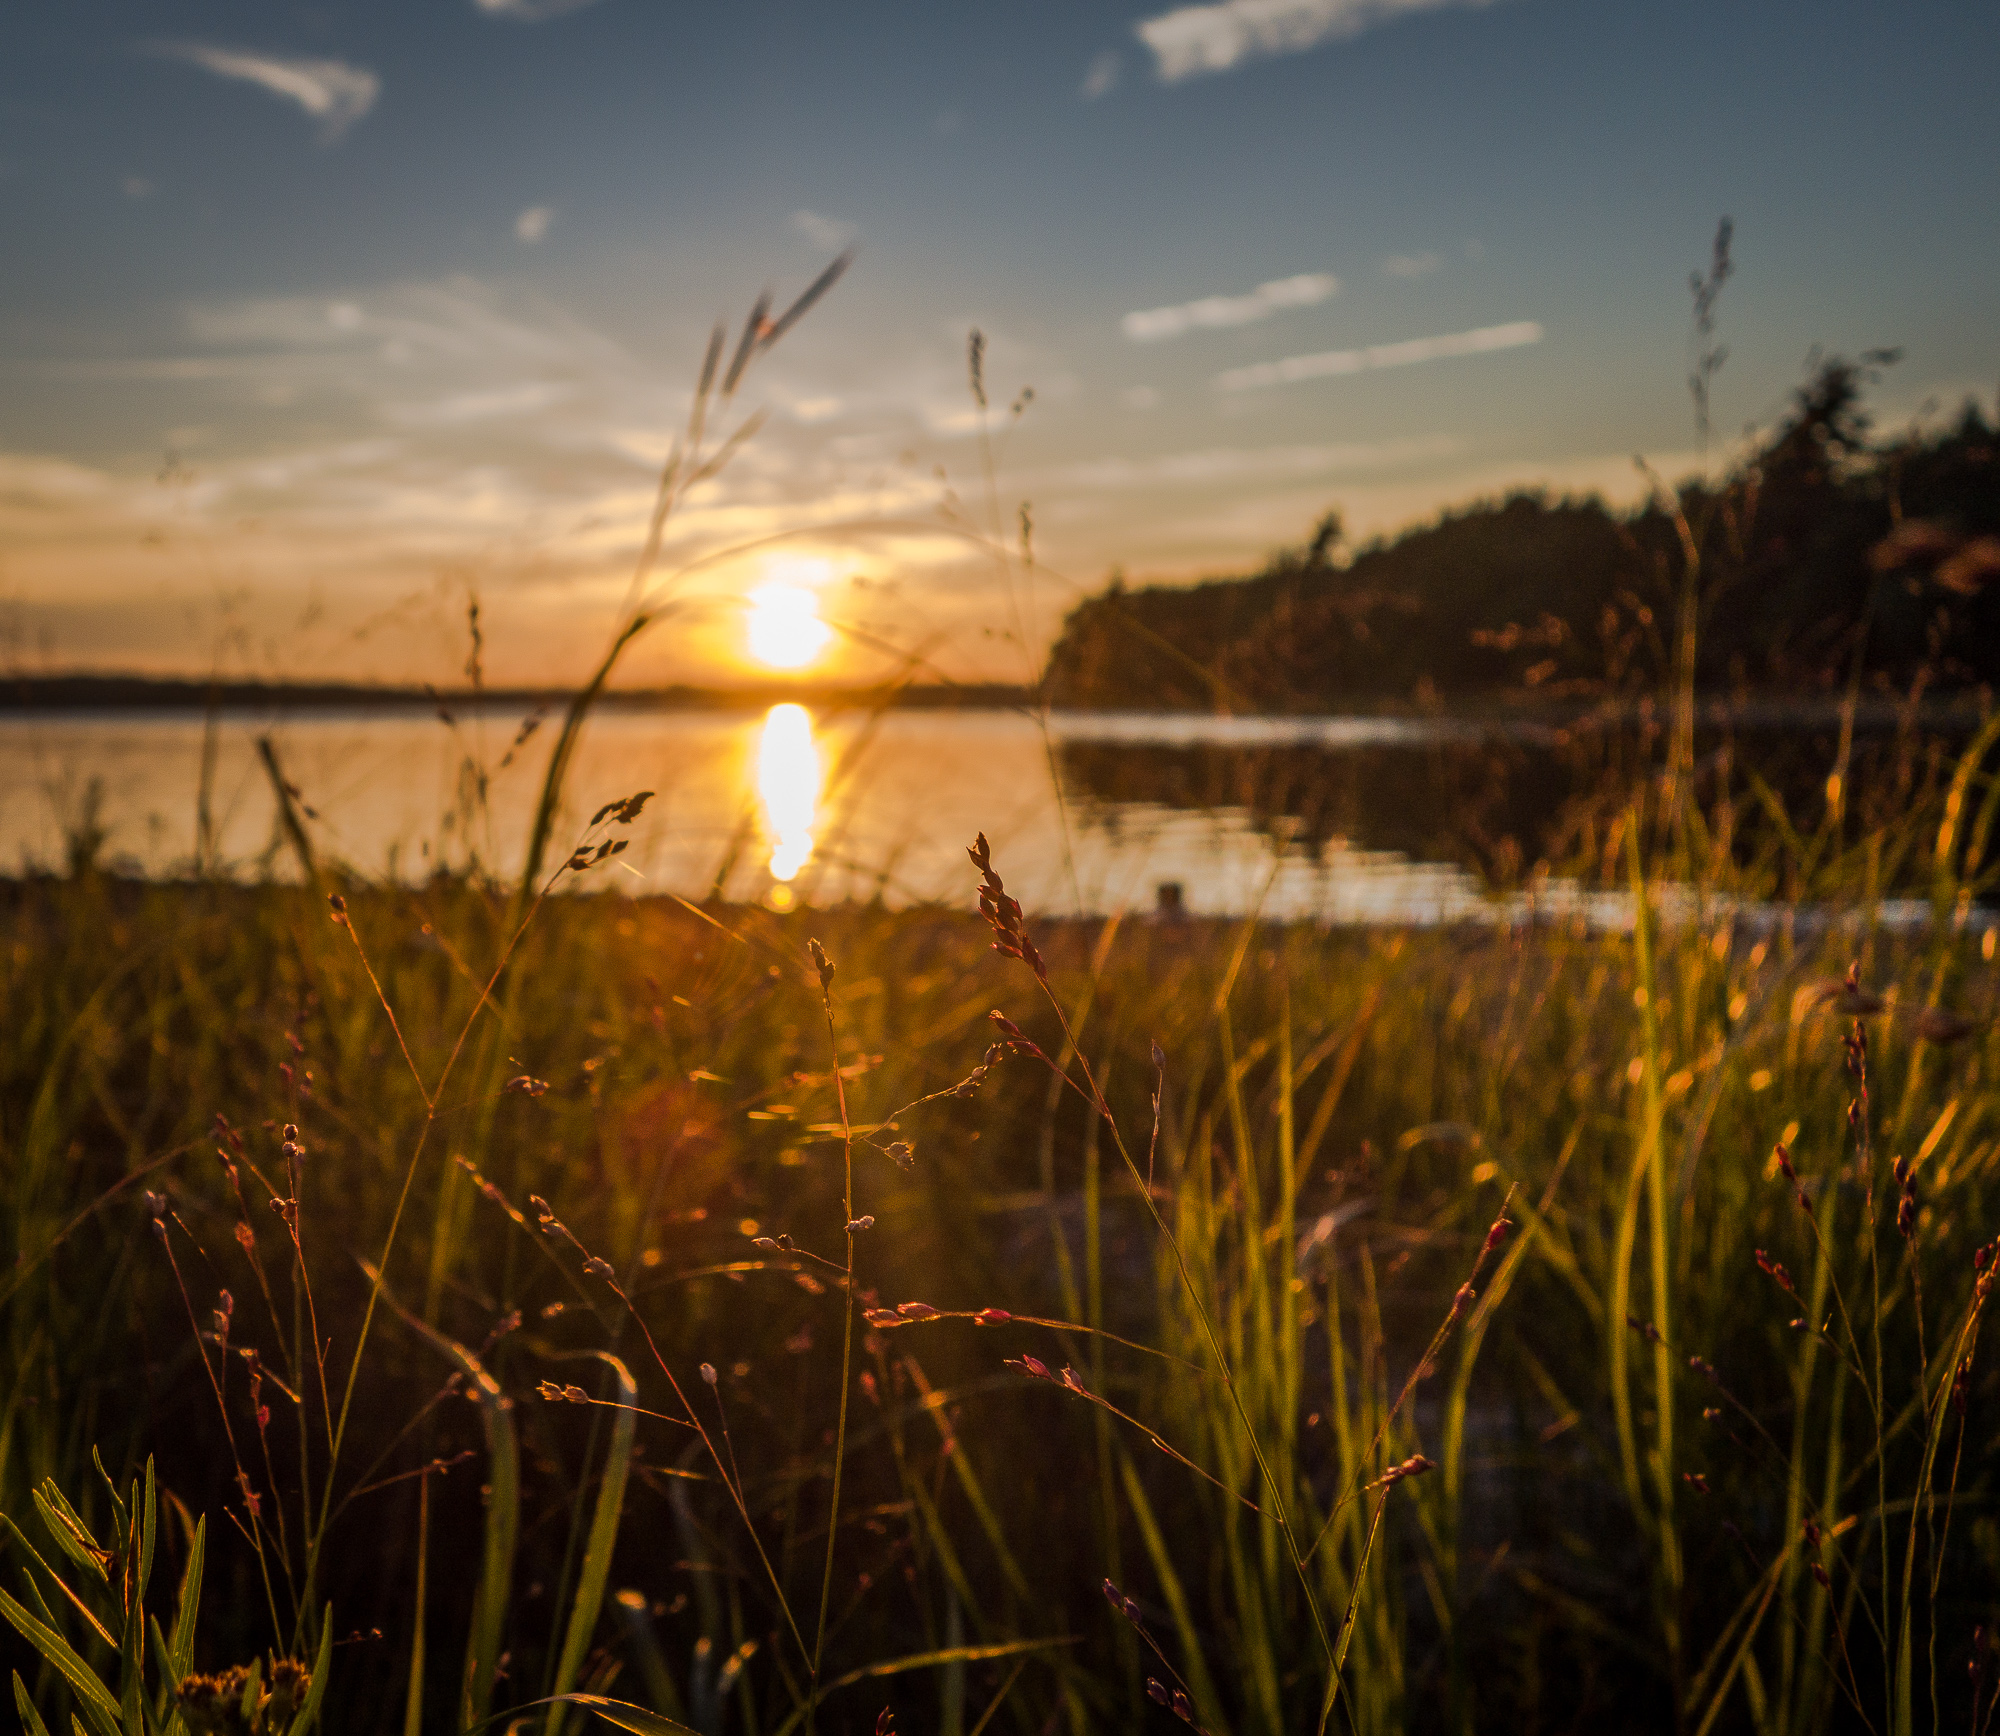
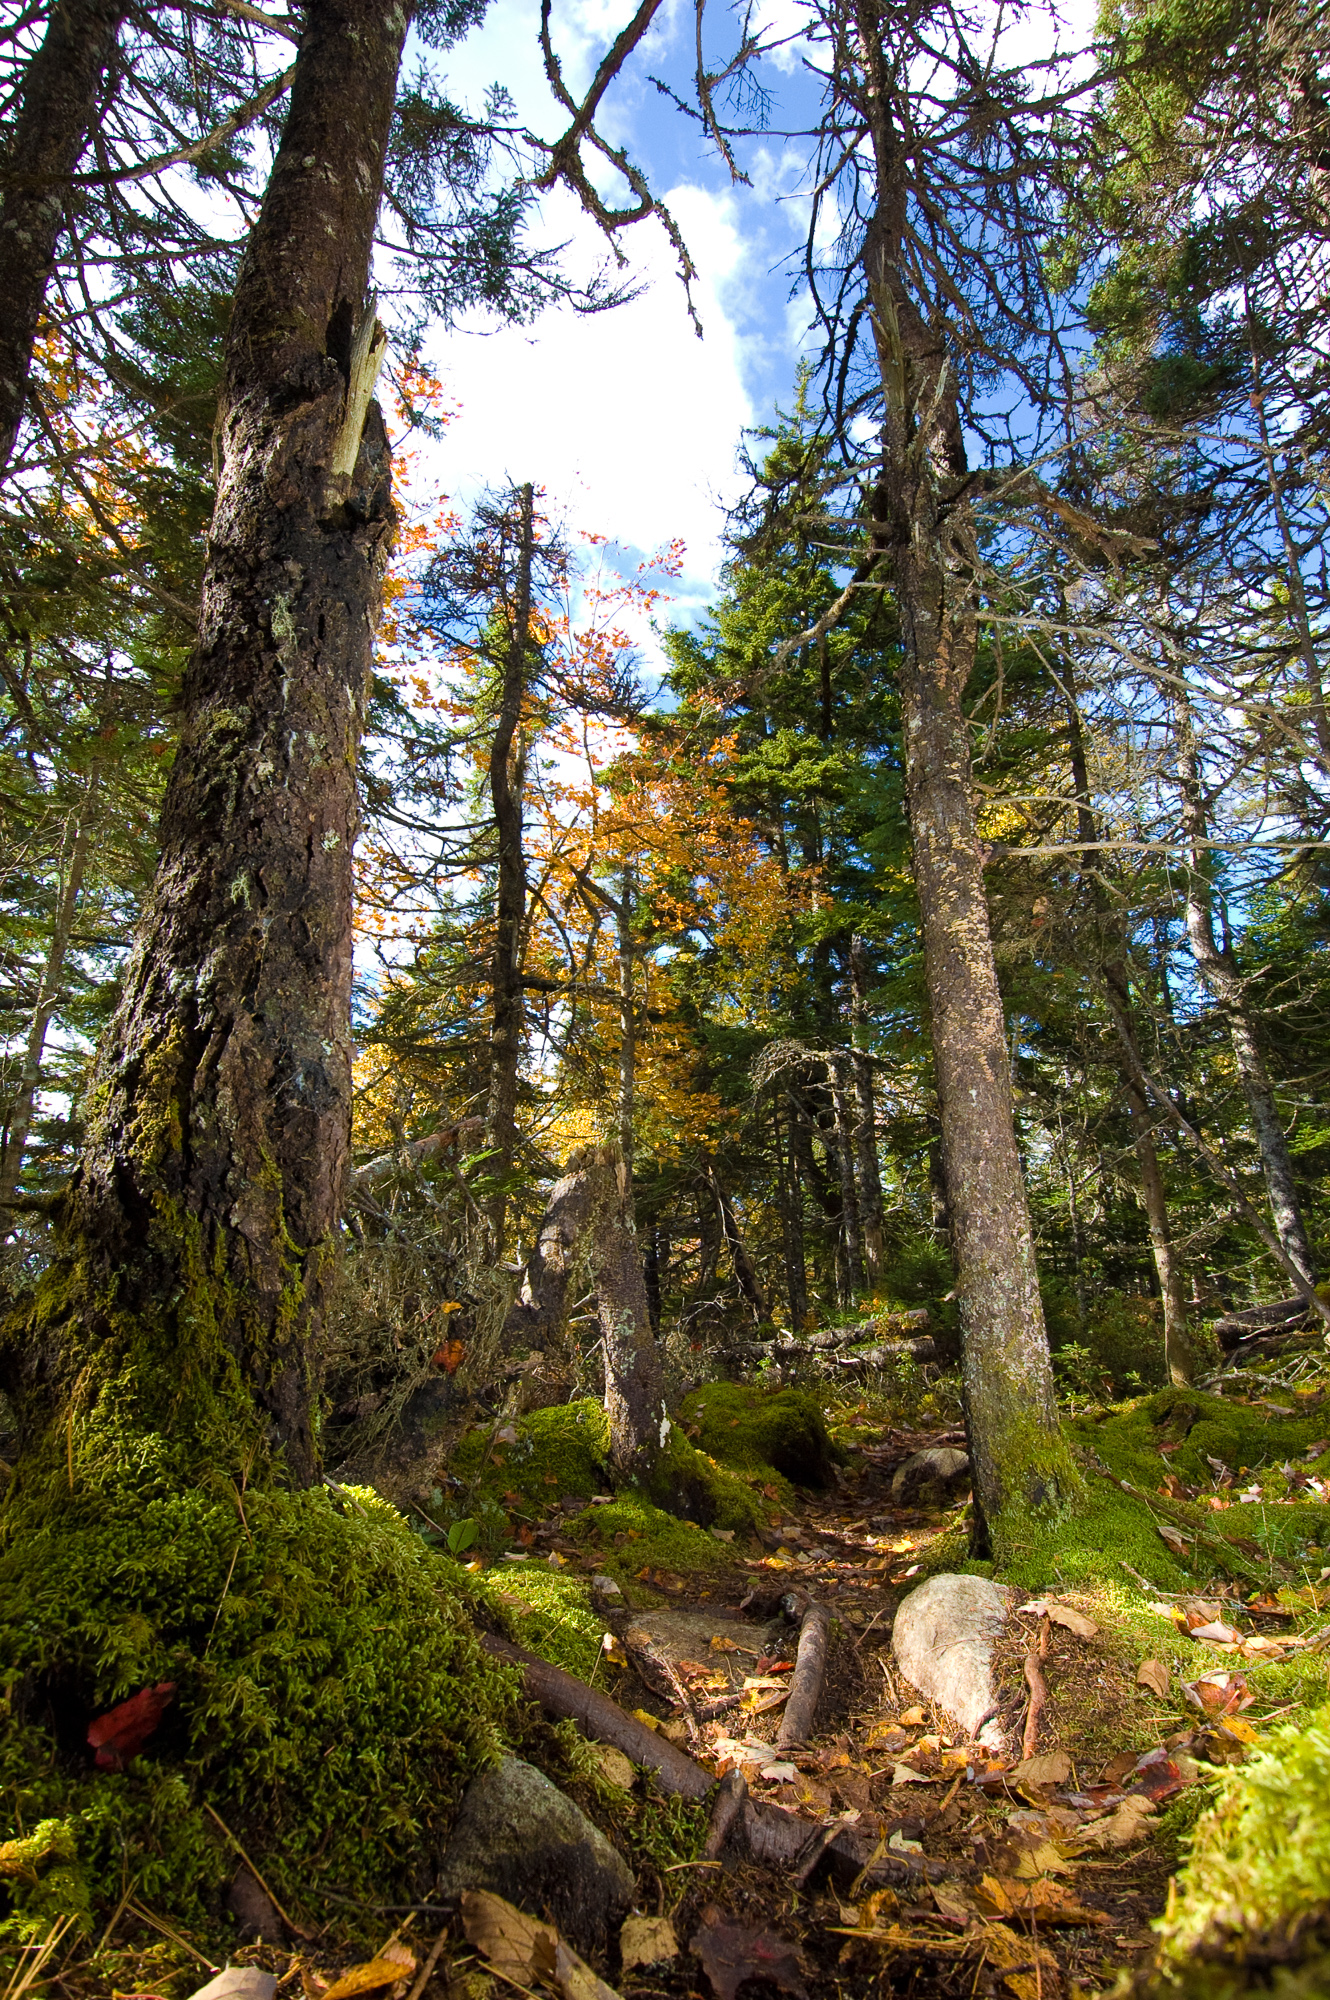
Every time I photographing in this area, I am always struck by the sheer beauty of the light and how it seems to cascade through the trees and over the water.  If you don't believe me about the light, I suggest hiking the Mersry River trail in the morning and you will see the effect of the light in the trees. http://www.pc.gc.ca/eng/pn-np/ns/kejimkujik/activ/activ5.aspx

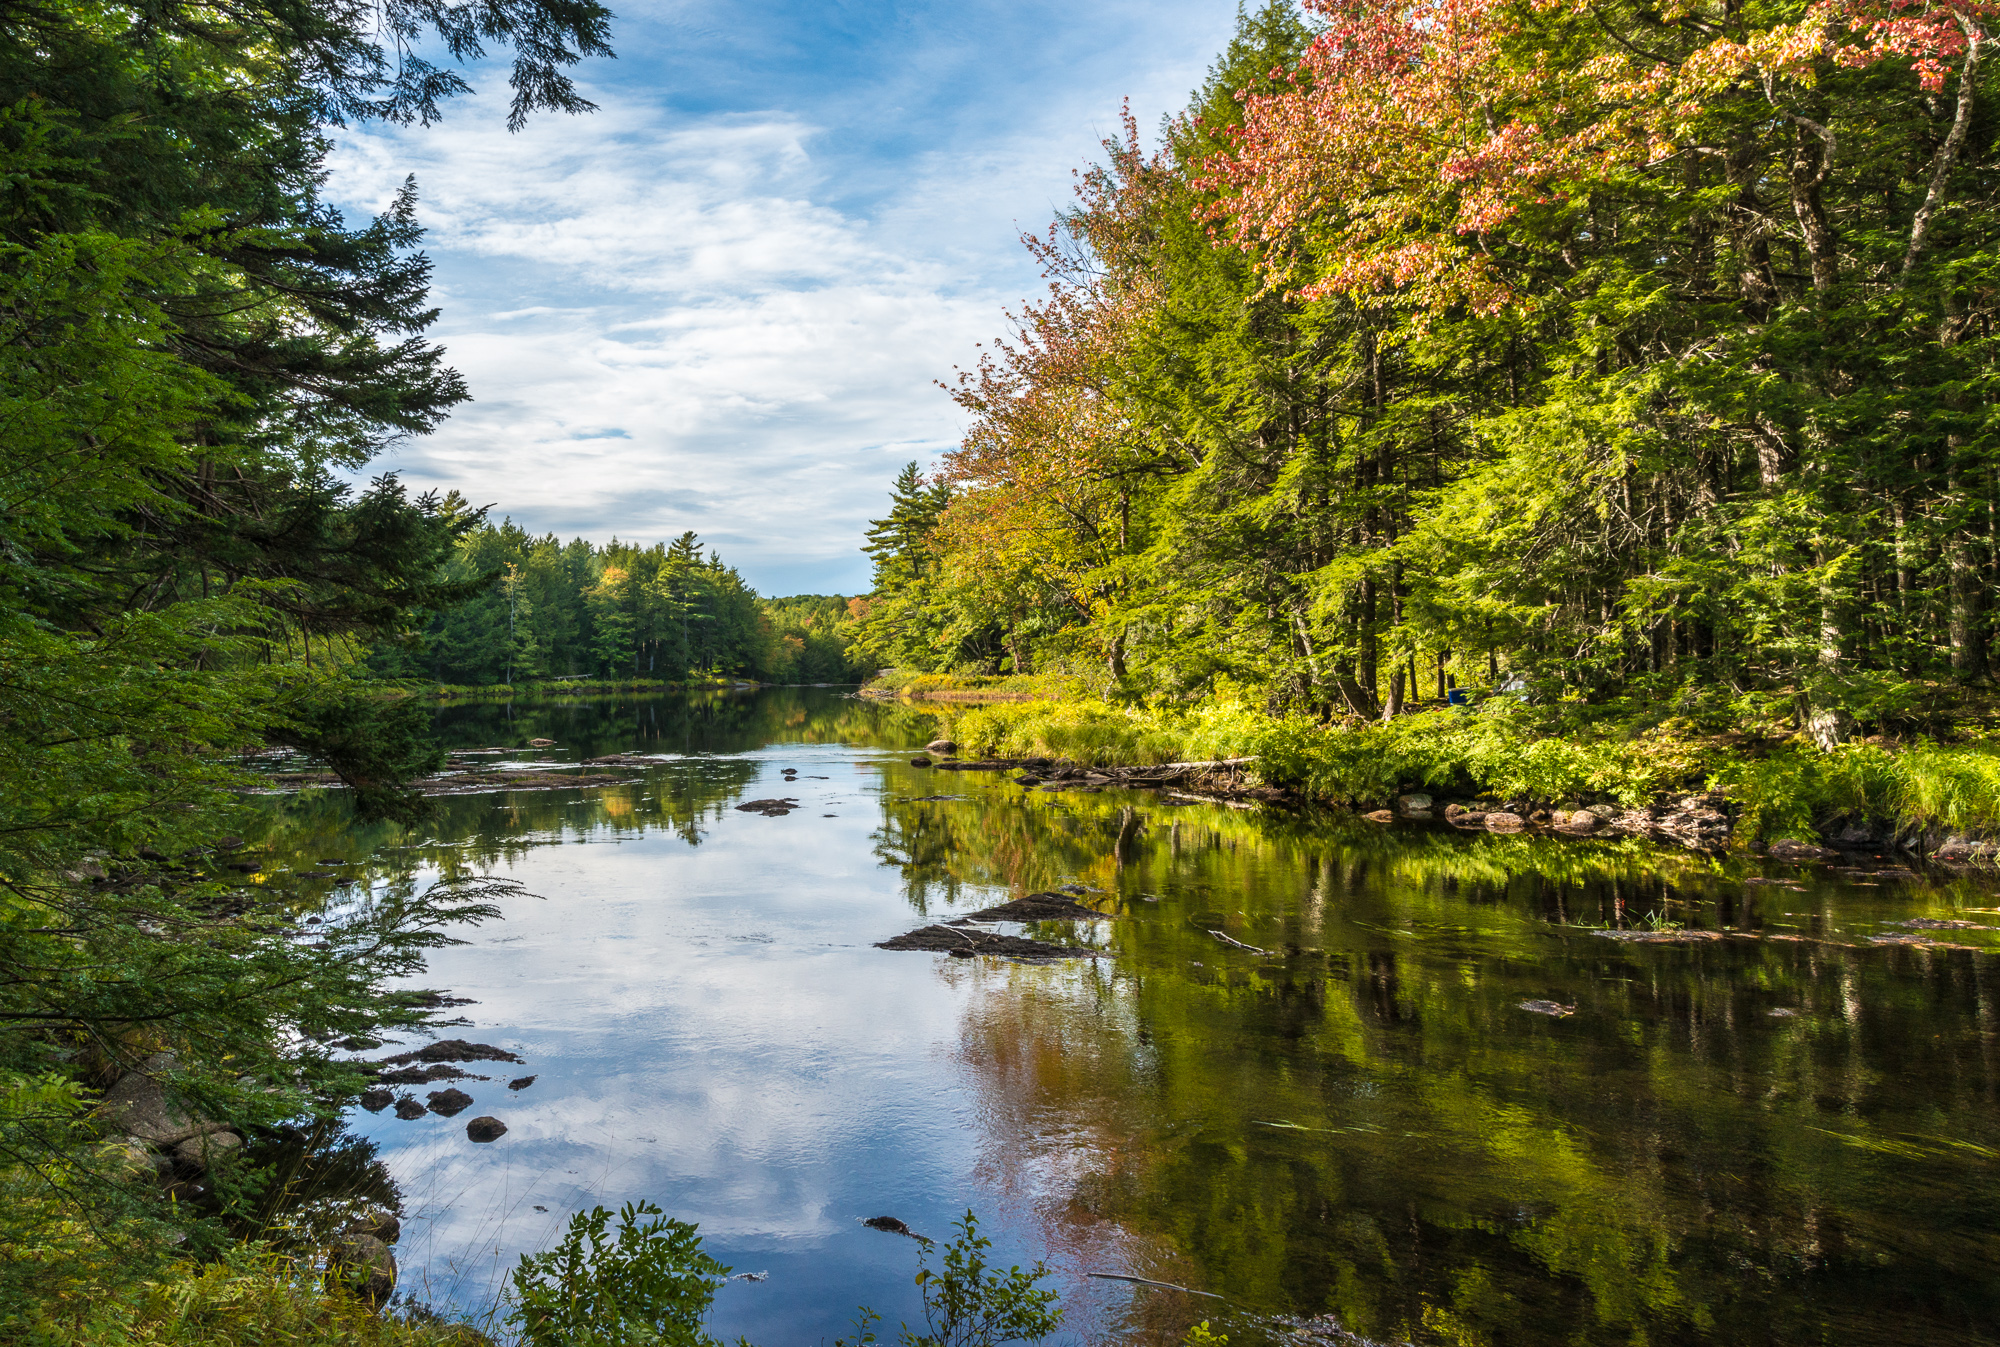
Mersey River hiking trail,  morning sunrise

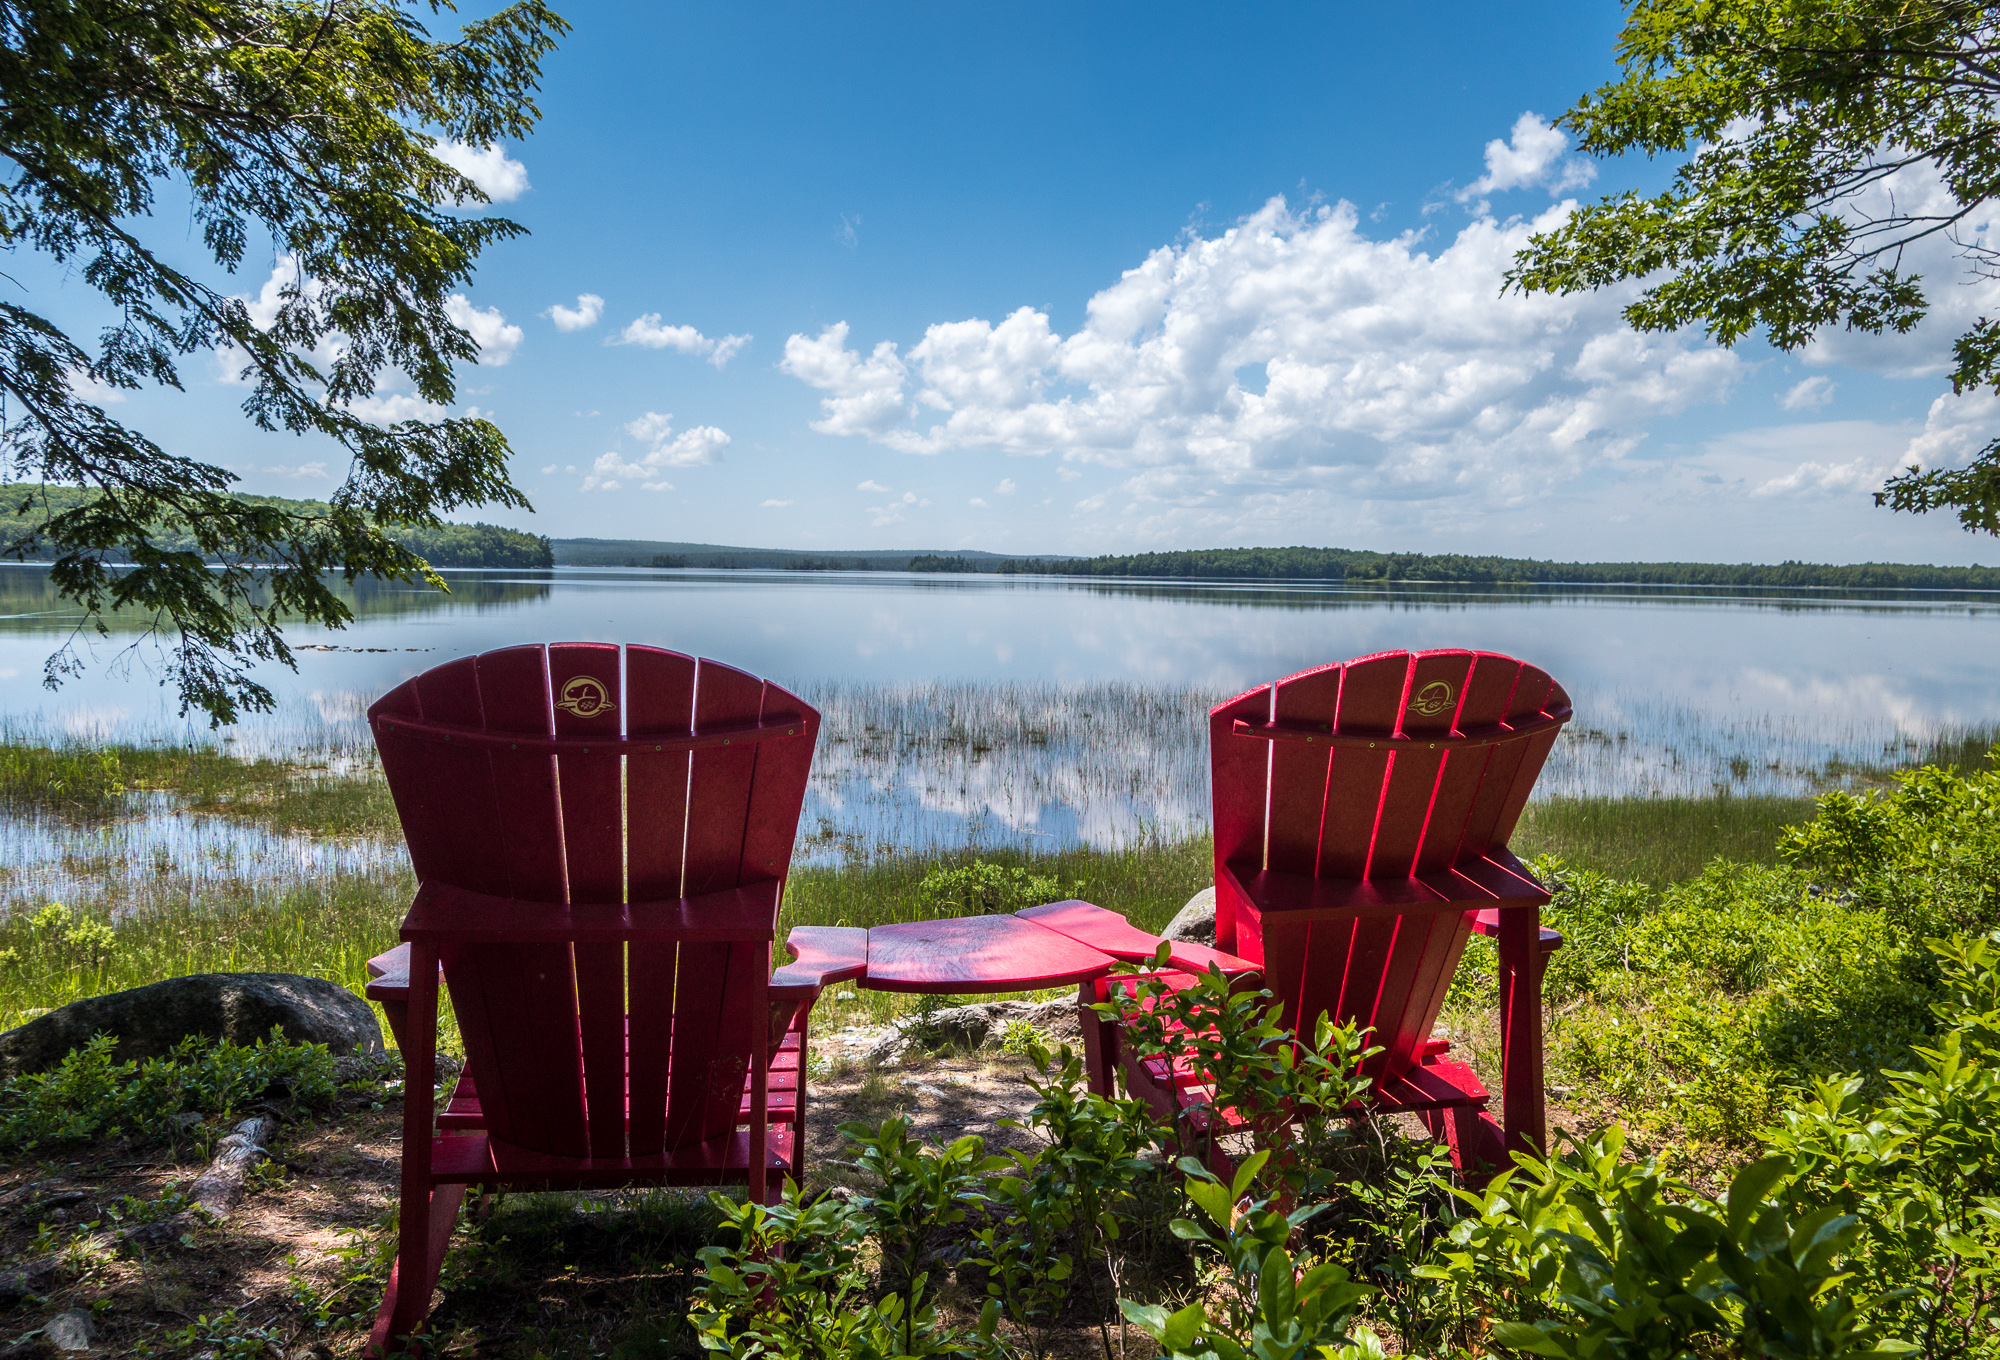
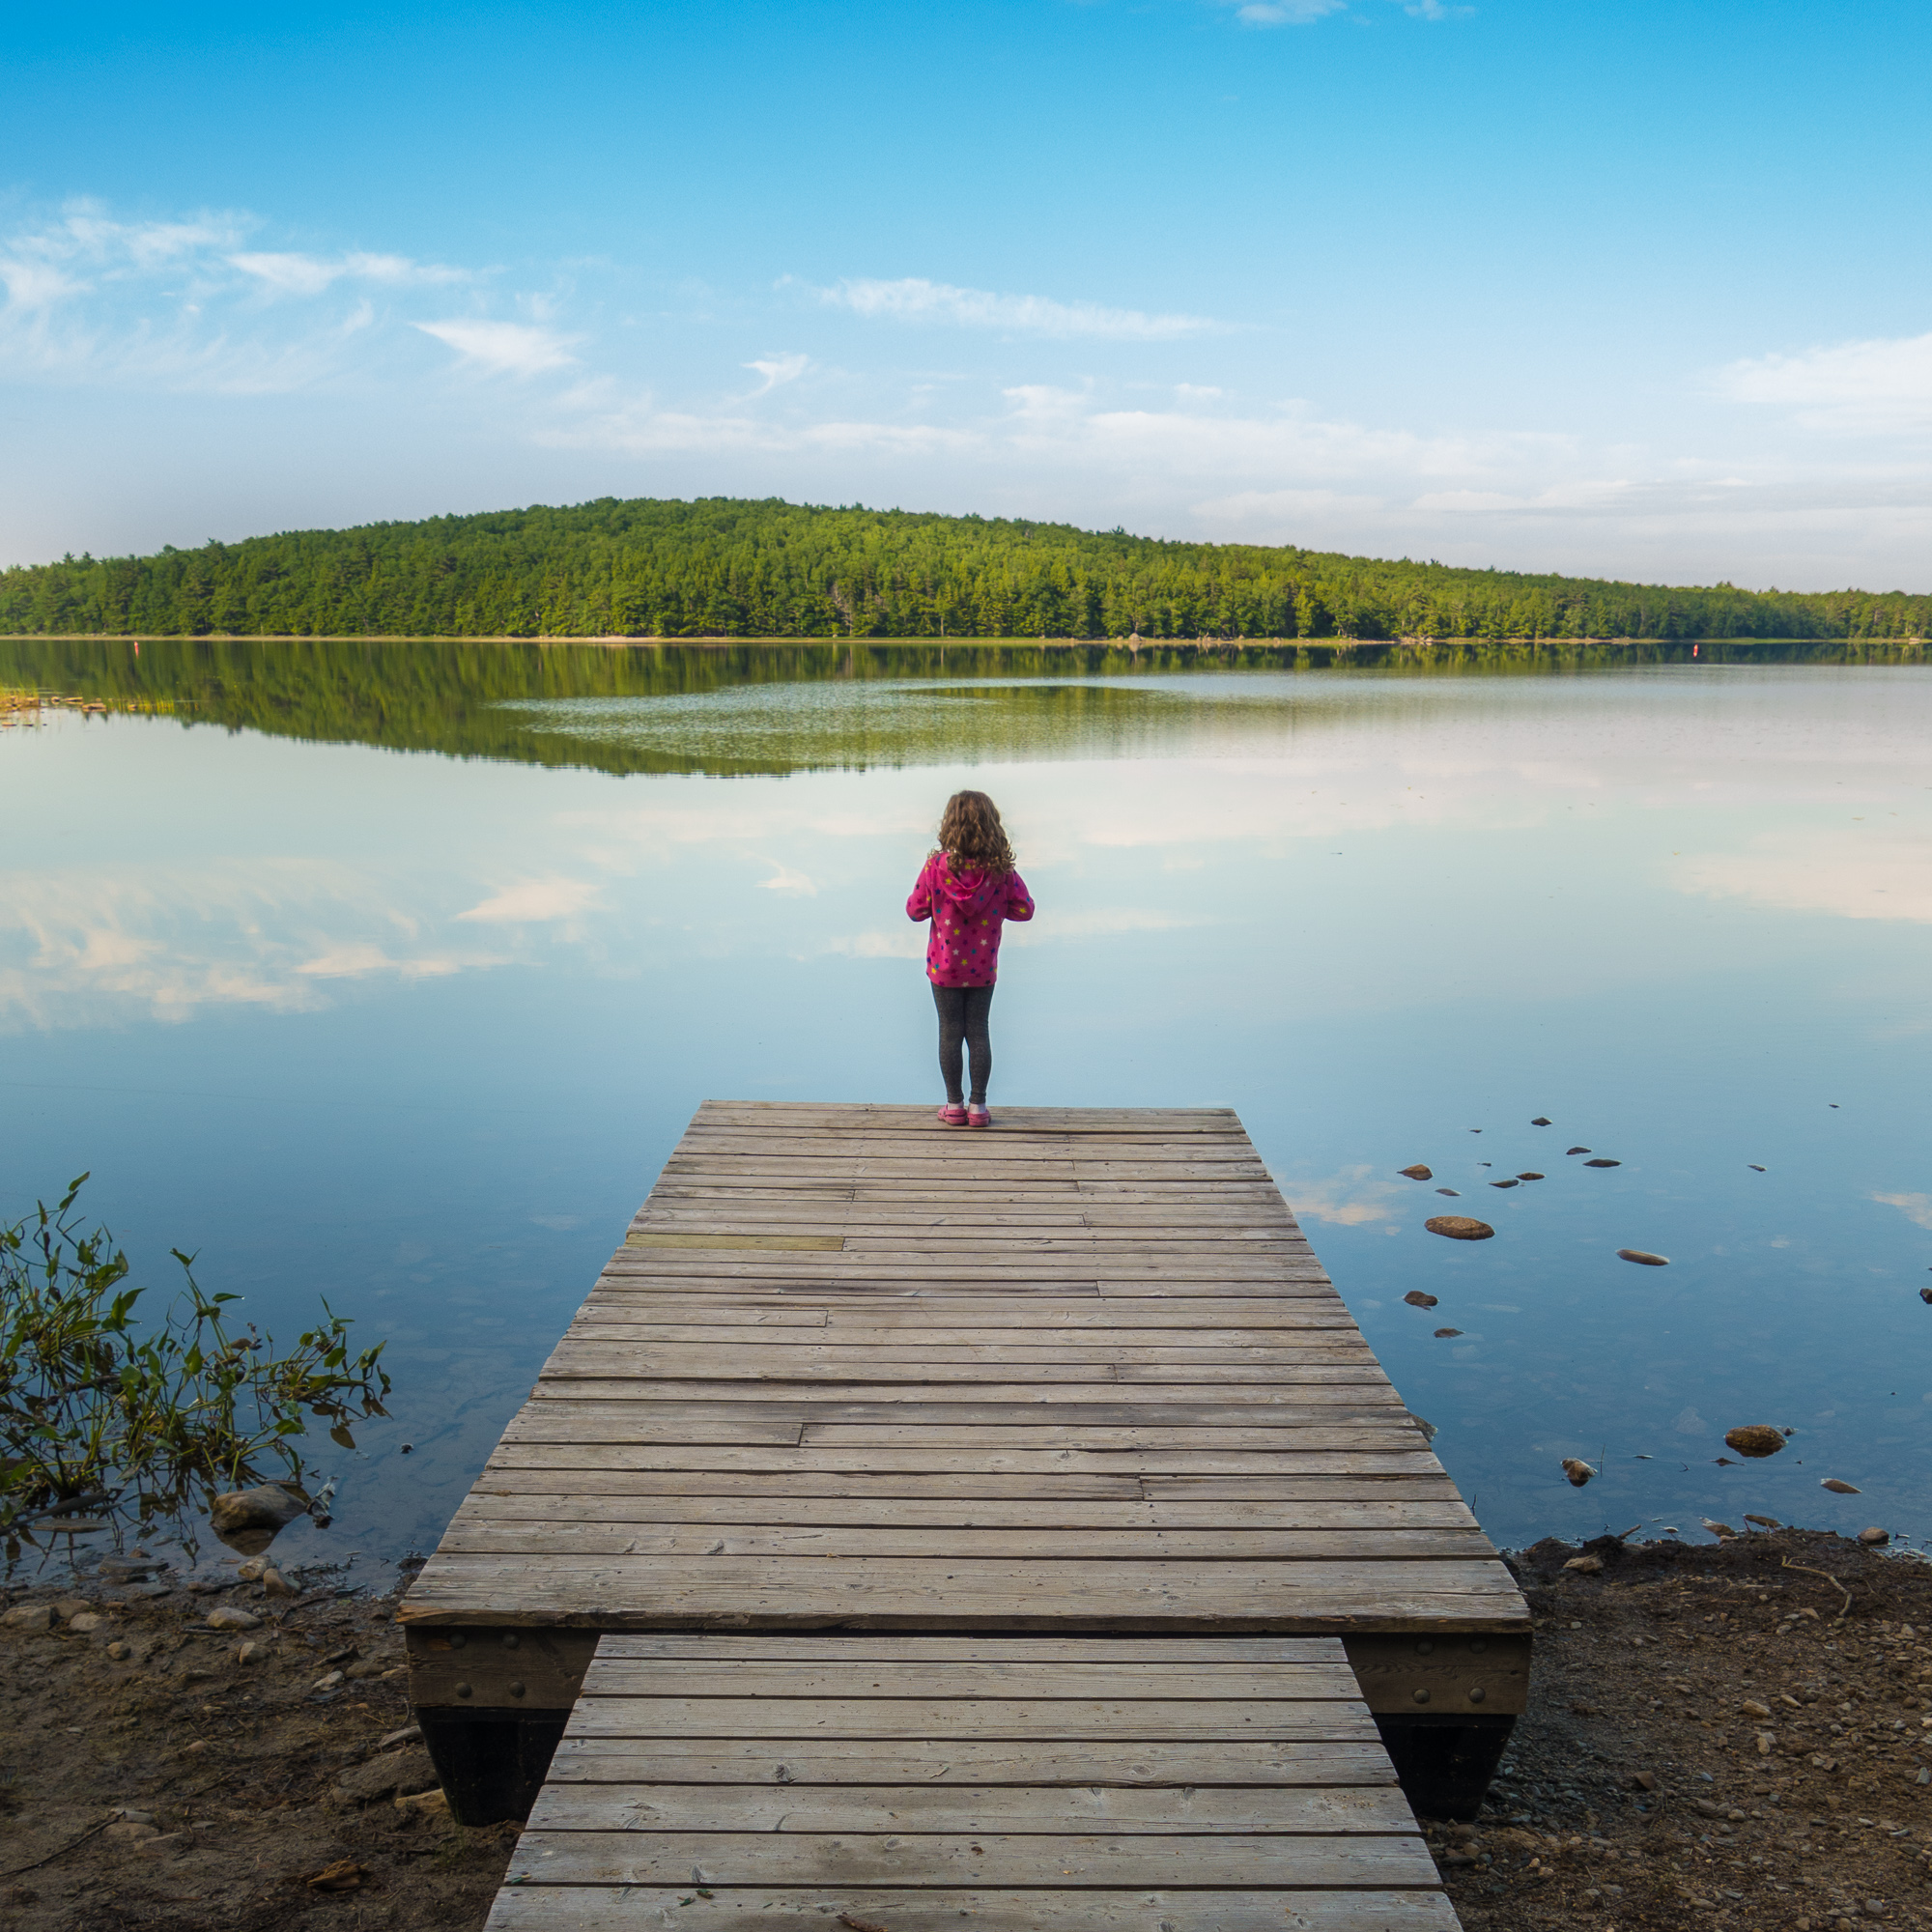
There are numerous places to photograph; hiking trail, paths for biking and waterways to paddle.  Check out the  Kejimkujik National Park and the Friends of Keji Cooperating Association websites for all the possible activities. 

Biking and hiking trails

If you are looking for more detail about the park and the Backcountry camping and paddling,  Paul Illsley has a amazing site full of detailed topo maps & photos of the park. http://www.paulillsley.com/kejimkujik/

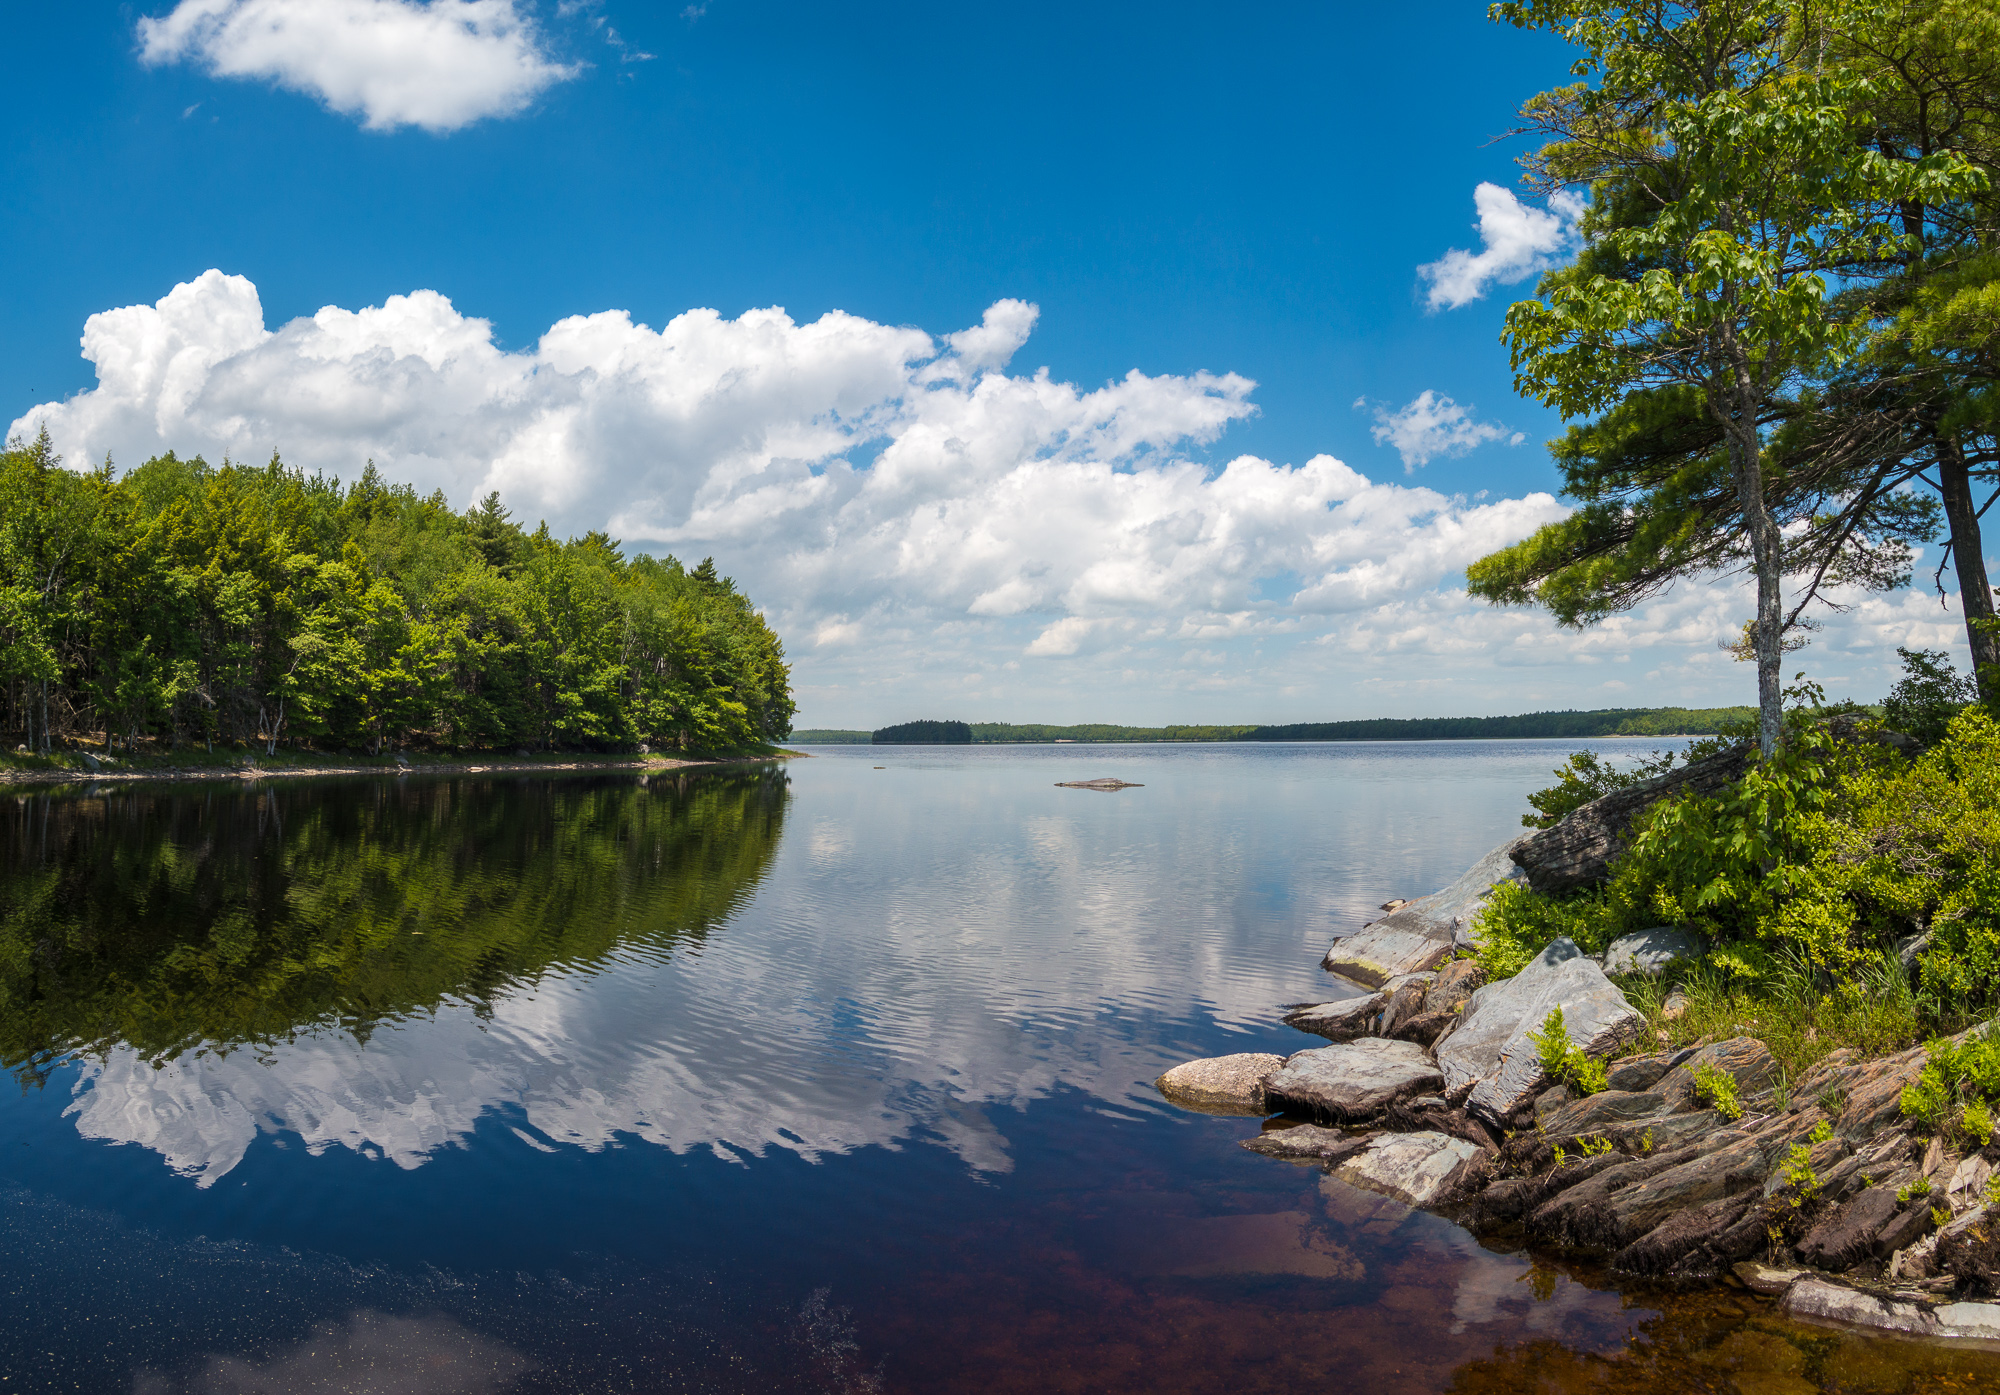
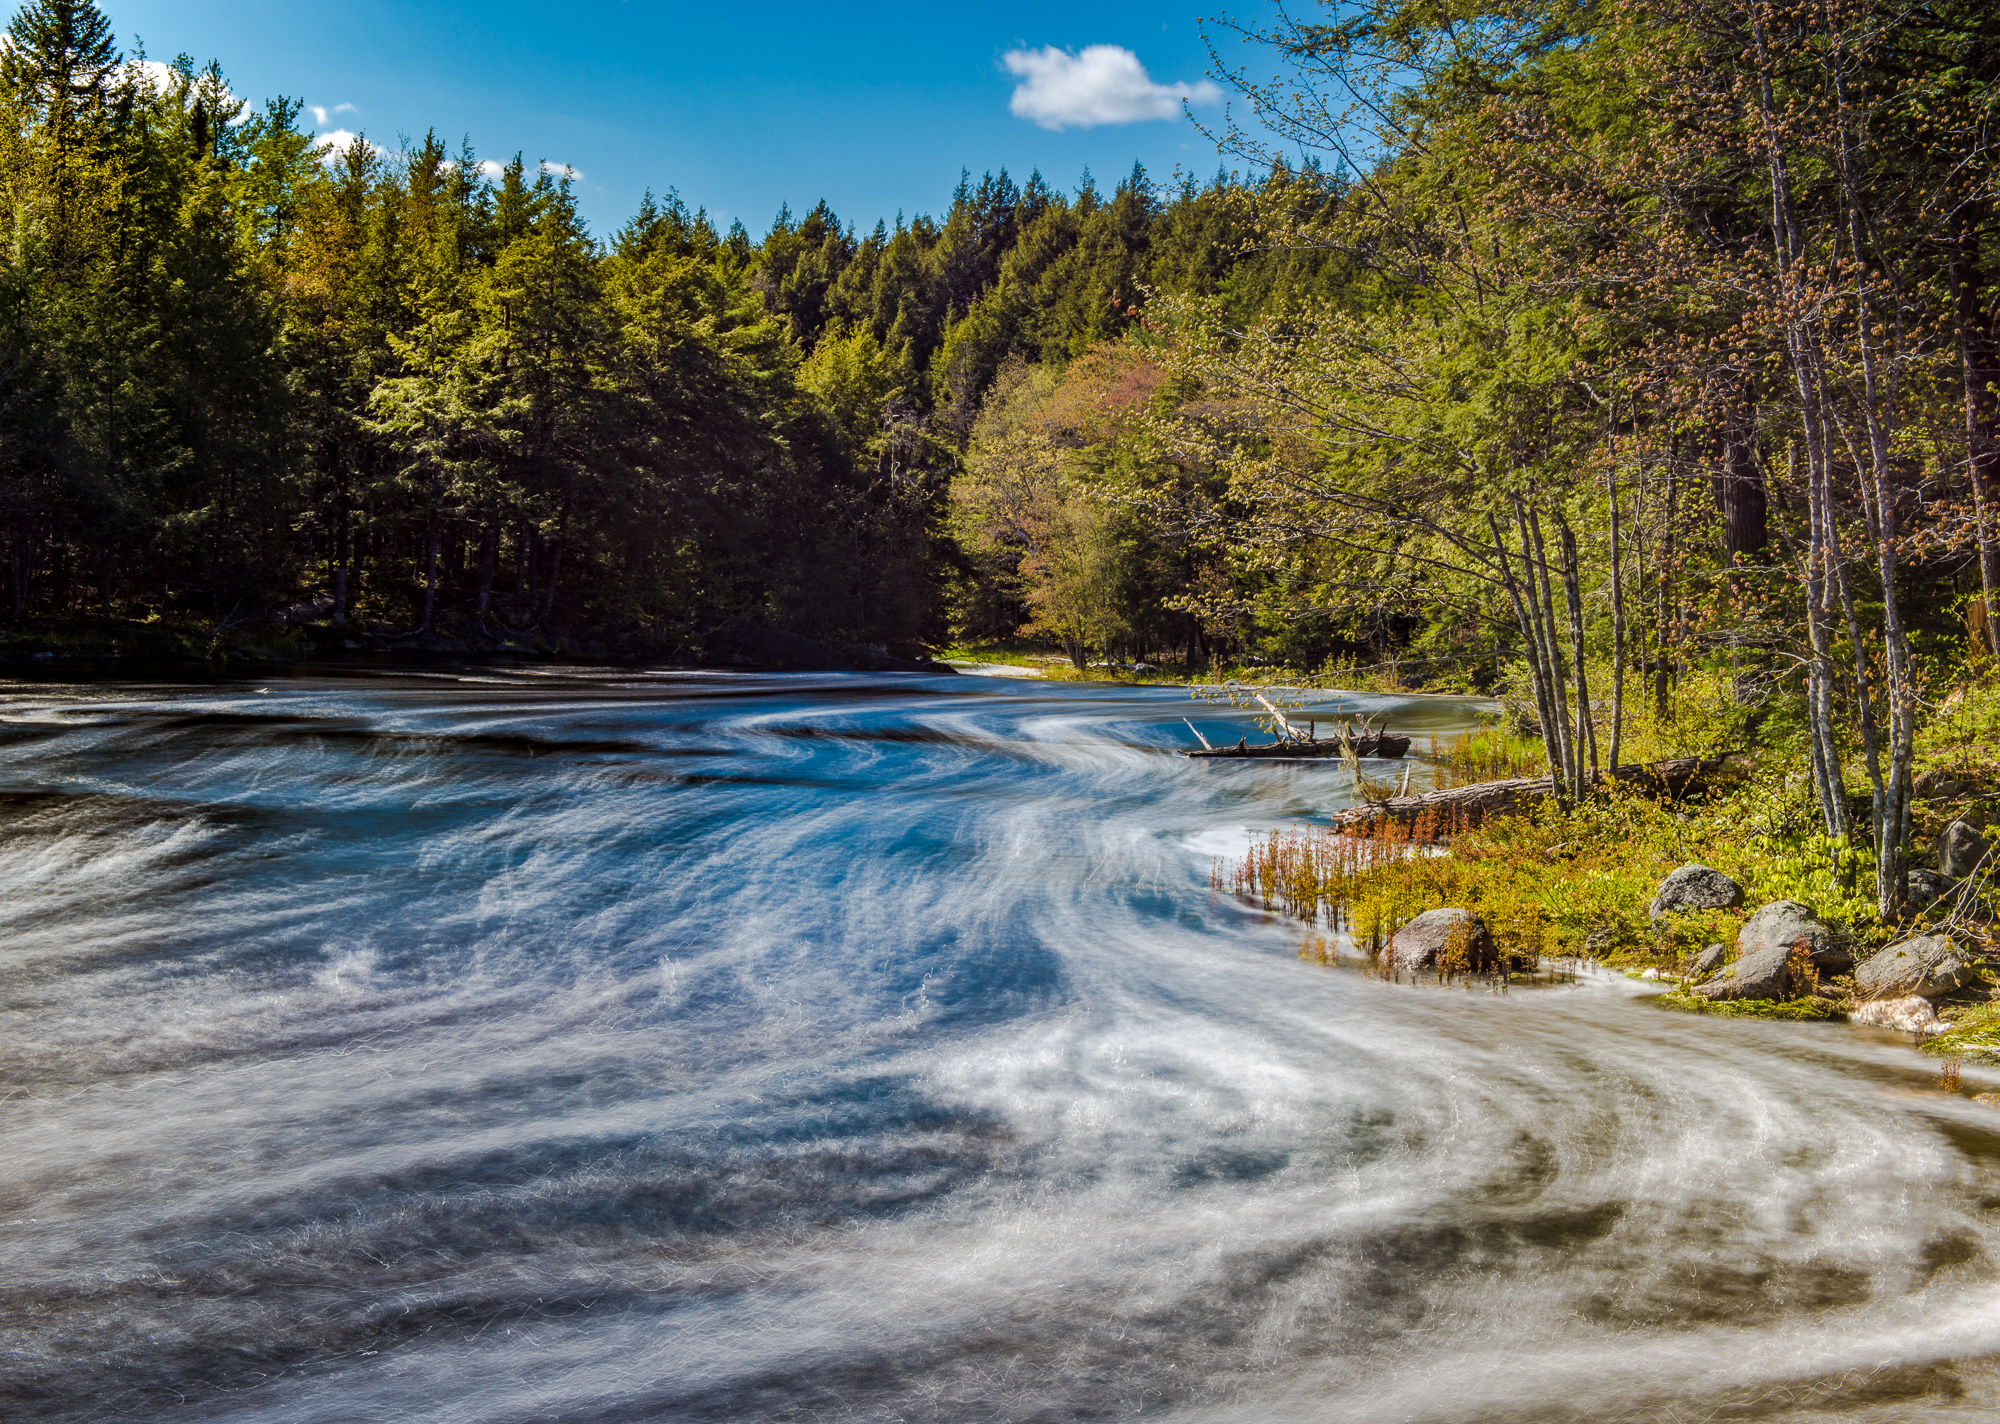
Mersey River panoramic image.

Another spectacular feature of the park is of course the water. This park has so many lakes, ponds and rivers.  All have different moods of light at particular times of day and season.

This region is also rich with Mi’kmaw history and of course many opportunities for camping and enjoying the natural world around you.

My hope for this blog post is simple, maybe one of these images will spark an interest for you to go and experience the park for the first-time or encourage you to revisit a past campsite in the new year.

If you have any questions about places to photograph in the park please free feel to drop me a email or leave a comment.

Cheers and keep taking photos :)
Mike

Using a Flash with your Outdoor Photography

Don't be afraid to use your flash outdoors. As a commercial photographer I am always thinking about how I can light my subject in my own style of photography. That need doesn't stop when my commercial photo assignment ends. This process continues with all my work: macros, landscapes, underwater and even just simple snapshots of my kids. 

With the sun facing me, I added an off-camera Fill Flash to add a little texture and detail to the trees.

As I stated in a previous blog post, photography is about the study of light and how that light interacts with your subject.  Lighting adds drama, style, emotion and shape to your subject. Lighting is the thing that truly separates one photographer’s style from another.

When I go for a hike, I always bring a flash with me because I want to sculpt the photograph that I see in my mind. Sometimes the ambient light works for my subject and sometimes it does not tell the story I want to express. 

For a painter, every motion of the brush is their decision. Think of the flash as a photographer’s paint brush. It gives you the creative control so you can make the photograph you see in your mind’s eye.

Using a flash does not mean you have to use huge elaborate flash systems attached to a big DSLR.  Sometimes all you need is just a “puff of light” from your Point & Shoot or Compact Camera. Just a little bit of light can make all the difference between taking a snapshot or making a photograph. “Snapshots you take, photographs you make.”

On any camera that has a flash is “daylight balanced’, meaning it is the colour temperature of bright sunlight.  When you use a flash in your photograph, it doesn't just add light to your subject it actually bring back all the colours tone on your subject.

Just a "puff of light" to add color to the face and clothes.

Just a "puff of light" to add color to the face and clothes.

When photographing something outside in the shade, you are losing the saturated warm tones of the reds, yellows, orange tones in the photograph.  It Is not that you won't have the warm tones, but they will be muted in colour. By turning on a flash when you are outdoors and letting your subject be partially lit by the flash, you can add those warm tones back into your photograph. 

The common term for this is called “Fill Flash”. Essentially, you are combining two photos in one picture,  the background that is lit by the ambient light and the foreground (subject) that is partially lit with the flash.

The next time you are at a family gathering, or out for a hike and you have a camera that has a flash; think about turning on the flash and see what happens. Try the same photo with the flash on and with the flash off, you might be amazed by the results you see.

The big trick to using a Fill Flash is controlling the intensity or direction of the flash and trying your best to blend flash lighting with the already existing natural light in the photo.  The goal is to make make the flash exposure look natural and not obviously lit with a flash. 

Currently my favourite “carry all” camera is my Sony RX100 II.  It is small enough to be always with me,  1” sensor (good image quality), Wi-Fi for instant photo sharing and of course if has a great pop-up flash and even a hot-shoe if I want to add a larger flash too the camera.

Note; if you have a small pop-up flash or a compact camera with a flash you probably need to get a little closer to your intended subject when using the flash outdoors.  The smaller flashes don't have as much power as the large cousins that attach to the top of your camera by the Hot-shoe.

A simple pop-up Fill Flash can brighten the shadows when the sun is behind your subject.

A simple pop-up Fill Flash can brighten the shadows when the sun is behind your subject.

This blog discusses the value of using a flash outdoors or in places you would not normally think too use a flash. In later blogs posts I'll be discussing how to operate your flash on and off the camera and how you can create your style and the photograph you see in your minds eye.

Remember, if you already own any digital camera with a flash it does not cost anything to practice taking digital photos, pixels are free. So why not try seeing what happens when you use your flash the next time you are outdoors exploring with your camera.

Cheers & keep making photos.  :)
Mike

The Importance of knowing Sun & Moon position in your Photography

Photographing Fall sunsets & supermoon over Halifax Harbour,

I have been planning to make these photos for almost 5 months now. At this time of year the sun sets almost directly behind the Halifax Citadel and the supermoon (Nov 14th) moon sets almost directly behind the Halifax McDonald Bridge.

Why is knowing my sun and moon position important for me?  At this time of year the sun sets directly behind the city. In the summer the sun sets to the far right of our downtown waterfront. 

By having the sun set behind the city skyline, I have the glow of twilight and shadow that adds shape and dimension to the buildings. 

Without this glow I would lose the implied shapes of the buildings and of course the saturated colours of twilight.

For the supermoon that just took place on Nov 14th, 2016.  I wanted to have a large foreground element of the bridge and city that adds scale to the moon and emphasize the effects of the supermoon phenomenon.

There is a secondary reason why this time of year is important for me.  As the temperature gets colder there is less moisture in the air, especially over Halifax Harbour.  With less moisture in the air I can achieve a much clearer image when photographing over water and vast distances. If you have a lot of moisture in the air this will create a haze in your photo and this haze will reduce the sharpness and colours in your image.

By planning out your photo in advance, a bit of luck with the weather and lots of patience you will create the image you want.

There are many resources to plan your photos in advance. I use The Photographer's Ephemeri app on my iPhone and desktop app to determine my sun and moon position. 

It is a really powerful app that has so many functions and features. It works on almost all mobile and desktop platforms.  Here is a link to the The Photographer's Ephemeri app (Link).

Thank you for taking the time read my post. Remember photography is not just about the subject matter but more about how we photograph the light and how that light interacts with our subject.

Cheers & keep taking photos. :)

Mike

Gear

  • Nikon D800
  • Nikon D7100
  • Nikon 12-14 f2.8
  • Nikon 24-70 f2.8
  • Nikon 70-200 f2.8
  • Nikon 200-500mm f5.6
  • Manfrotto tripods
  • warm gloves ;)